Various menu settings
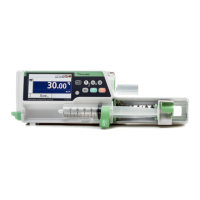
2. Tap or to input the communication port of the
destination PC/server you want to set. (Figure 3-101)
The input range is 0 to 65535.
Figure 3-101
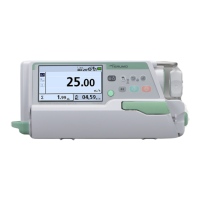
3. Tap [OK] to complete the setting. (Figure 3-102)
Proceed to “Setting the DHCP”.
Figure 3-102
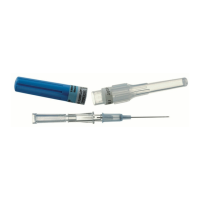
Setting the DHCP
1. Tap [DHCP] of [Controller]. (Figure 3-103)
The DHCP screen opens.
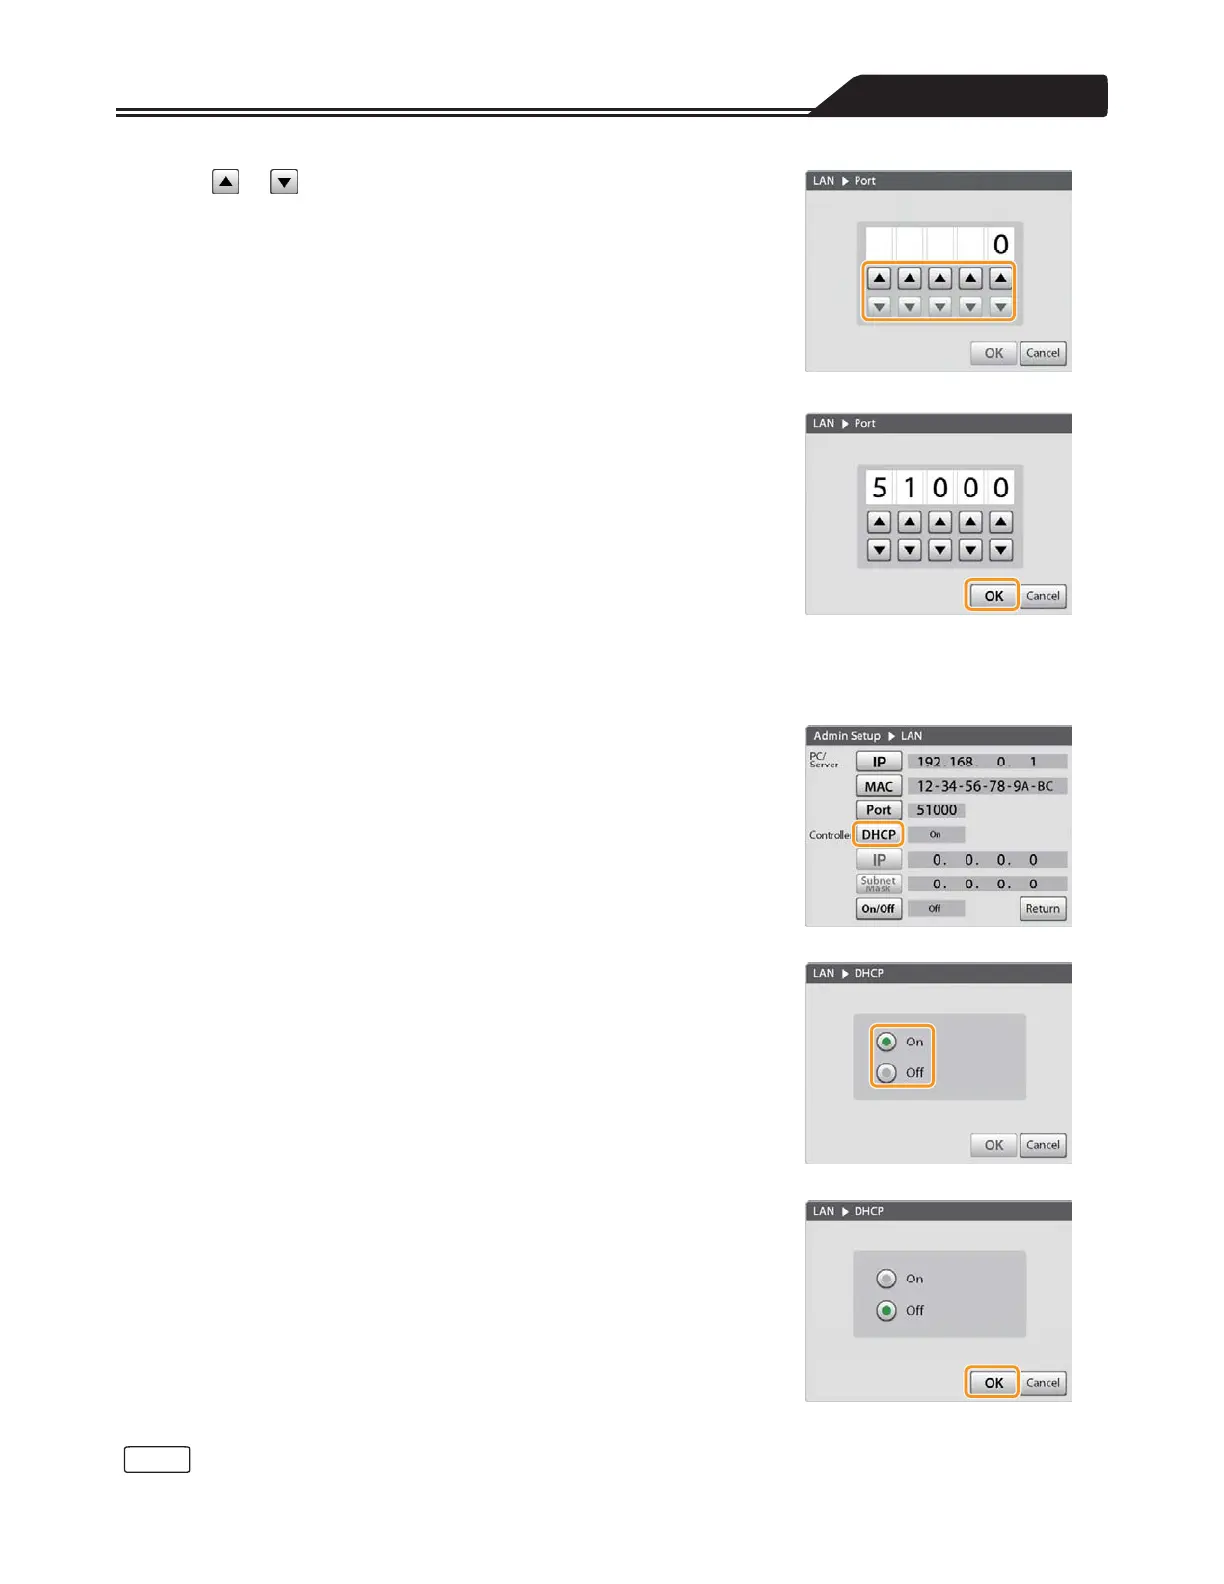
2. Select [On] or [Off]. (Figure 3-104)
The following screen examples show when [Off] is selected.
Figure 3-103
3. Tap [OK] to complete the setting. (Figure 3-105)
When the DHCP setting is set to [On], proceed to “Setting the On/Off status
of the LAN communication” (page 116).
When set to [Off], proceed to “Setting the IP address of the Controller”.
Figure 3-104
Figure 3-105
• If you do not tap [OK], the changes to the setting will not take effect.
113
Note