14-41
dummyheaddummyhead
CYLINDER HEAD
Thoroughly clean the cylinder head to remove any
cutting residue.
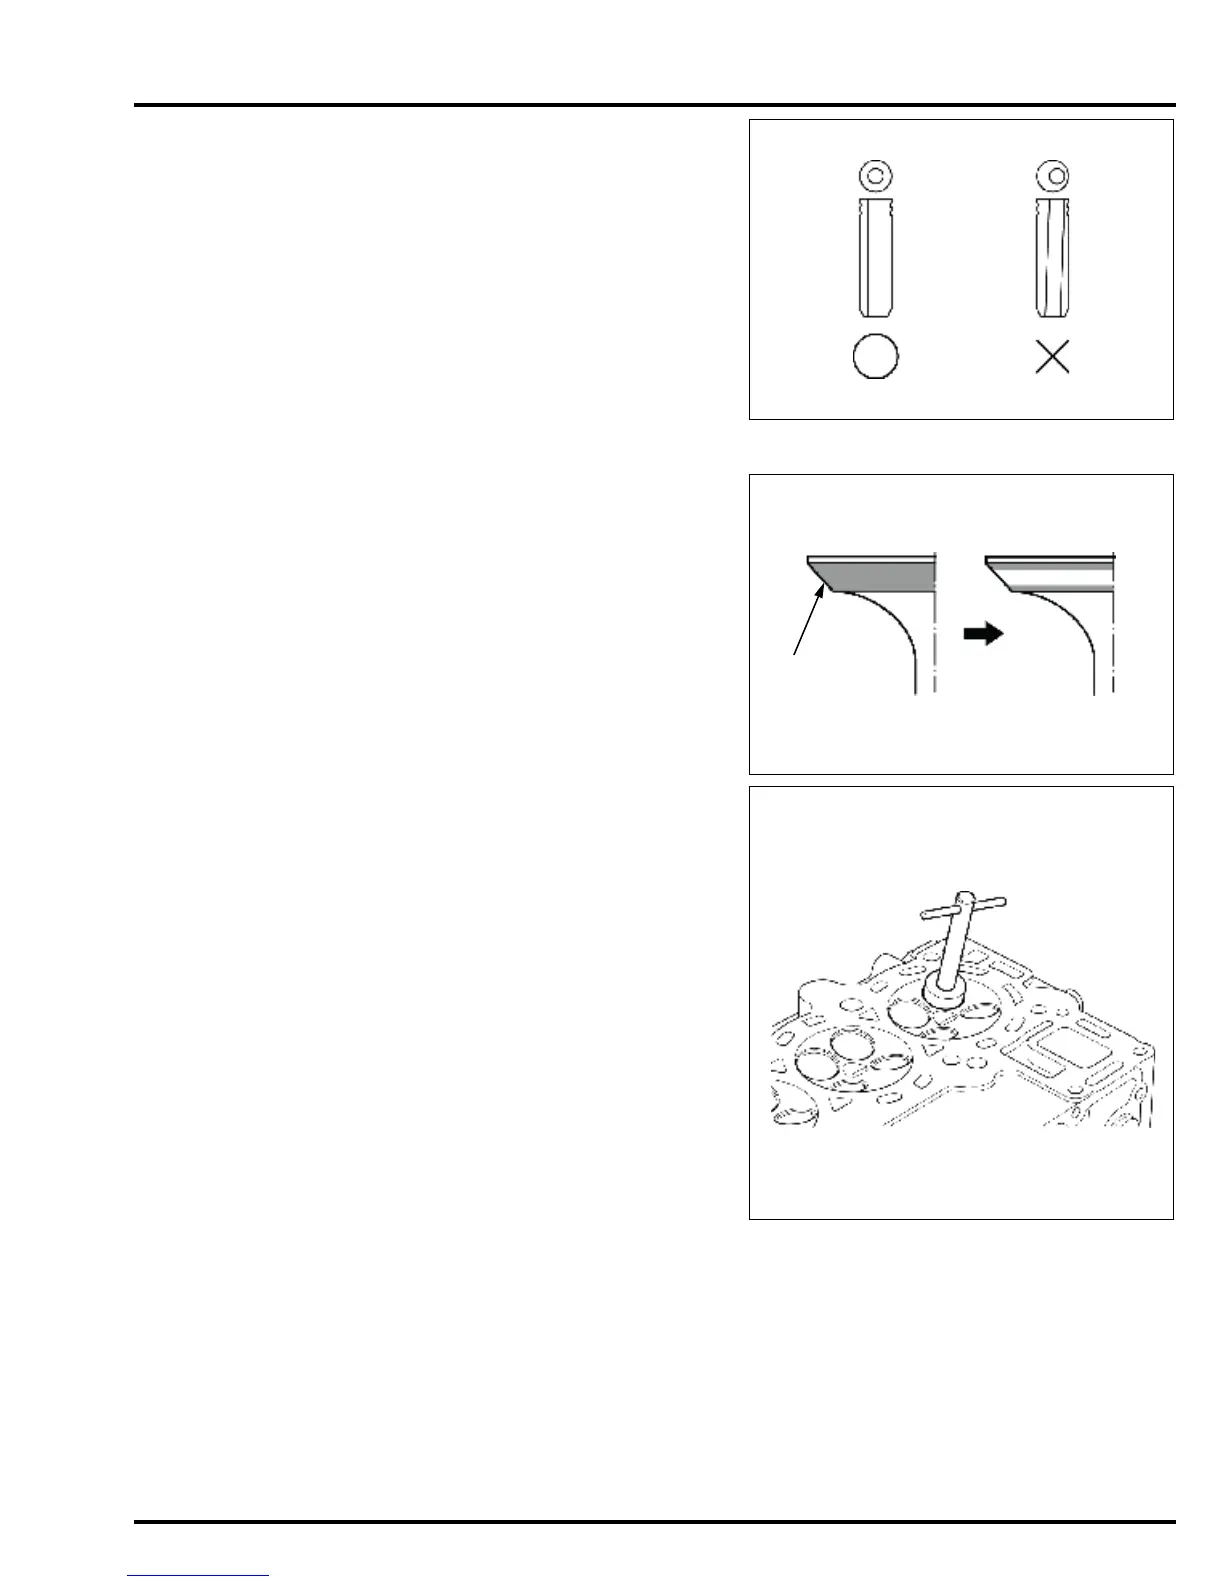
Check the valve guide bore; it should be straight, round
and centered in the valve guide. insert the valve and
check operation. If the valve does not operate
smoothly, the guide may have been bent during
installation.
Replace the valve guide if it is bent or damaged.
Check the Valve Stem-to-Valve Guide Clearance (page
14-33).
VALVE SEAT RECONDITIONING
Thoroughly clean the combustion chambers and valve
seats to remove carbon deposits.
Apply a light coat of Prussian Blue compound or
erasable felt-tipped marker ink to the valve faces [1].
Insert the valves, and then lift them and snap them
closed against their seats several times.
Be sure the valve does not rotate on the seat.
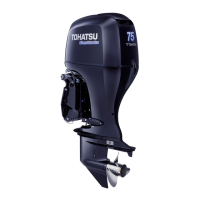
The transferred marking compound will show any area
of the seat that is not concentric.
Using the 45° cutter, remove enough material to
produce a smooth and concentric seat. Follow the valve
seat cutter manufacturer’s instructions.
Turn the cutter clockwise, never counterclockwise.
Continue to turn the cutter as you lift it from the valve
seat.
TOOLS (commercially available)
Valve seat cutter, #123 32° NWY-CU123
Valve seat cutter, #122 45° NWY-CU608
Valve seat cutter, # 111 60° NWY-CU270
Solid pilot bar, 5.5 mm NWY-140-5.5
Solid pilot bar, 5.52 mm NWY-100-5.52
T-wrench, #505 NWY-TW-505
Accessory package, #246 NWY-KACC246


 To Next Page