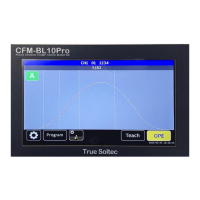
CFM-BL10Pro General instruction manual
45 / 87
CFM saves the data you entered and changed and goes back to
Program List.
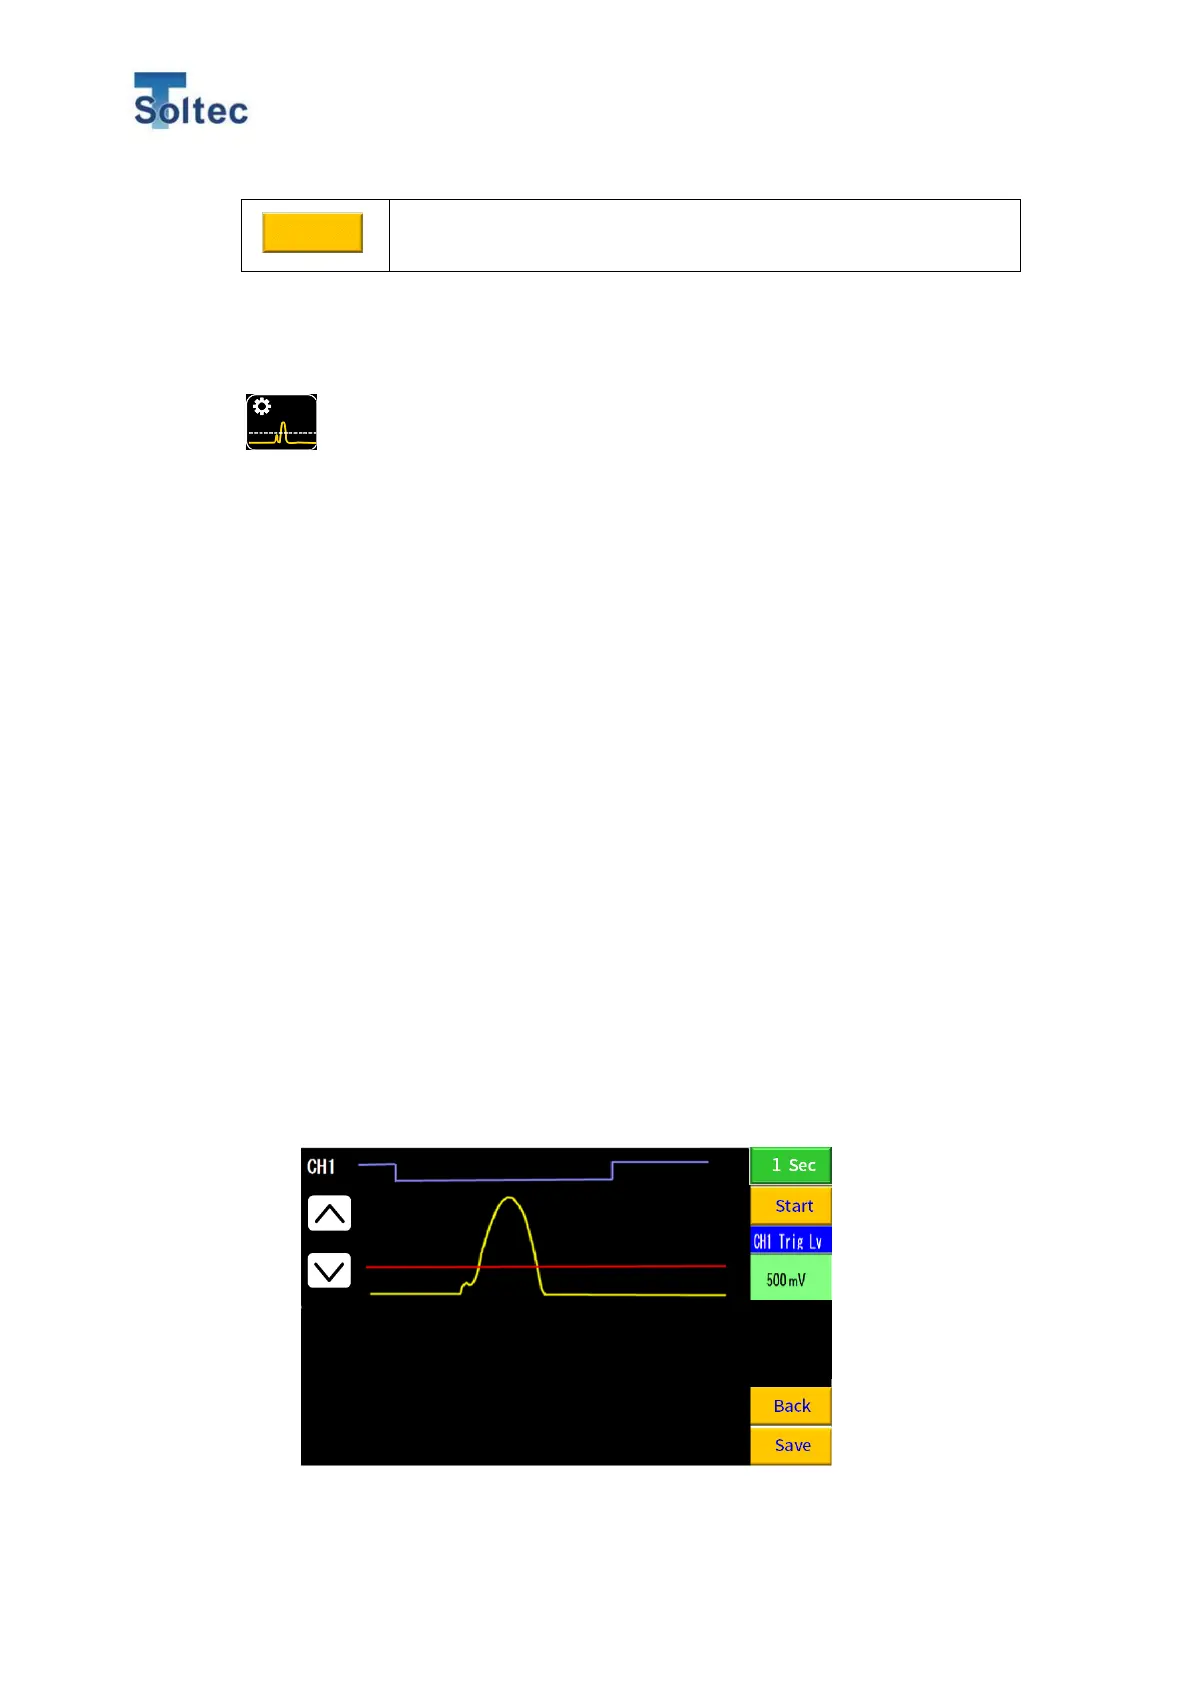
5.3.3. Trigger check screen
In the Trigger check screen, trigger level can be automatically or
manually set.
CFM captures a force curve without conditions during a certain time. Then you
can visually check a sensor signal and trigger threshold line and adjust it.
With auto trigger mode, CFM decides a start point of force curve capturing based
on the signal that is over a certain threshold value. This threshold value is what we
call the “Trigger level”.
With an external trigger sensor, you can check its On/OFF.
1. How to check the Trigger level
Auto trigger mode:
1) Prepare a product with a decided specification so you can crimp it soon
after pressing Start button.
2) Set a force curve capturing time: 5 sec or 1 sec.
3) Press Start button.
4) Crimp one good sample within the selected time in No. 2
5) After the selected time has passed, a force curve is shown in a yellow line.
And a trigger level that is appropriate for the input force curve automatically
shown in red line.
6) Press Save button and return to main display.