142
wallaceperimetersecurity.comPhone: 866.300.1110
INSTALLING VEHICLE DETECTORS AND LOOPS
Installing Vehicle Detectors and Loops
A vehicle detector passes a small current ow through the “loop” which then becomes an inducve
coil. When a vehicle passes over the loop, the detector senses the resultant drop in the inductance, and
actuates the detector output.
Loop Conguraons:
Conguraons dier depending on the applicaon. In parking applicaons, a loop may be as small as 4 x 6
feet (122 x 183cm). In trac applicaons employing one of our swing or slide gate operators, the smallest
loop should not be less than 6 x 6 feet (183 x 183cm) in order to detect high bed vehicles.
Rules to Follow for Security Gate Applicaons:
The side of the loop closest to the gate must be located at least 4 (122cm) from the line of travel.
1. The shortest side of the loop should be between 6 and 8 feet (1.8 and 2.4m) in length. The longest
side of the loop should be between 6 and 20 feet (1.8 x 6.1m) in length. For applicaons that need to
span a wide area, use several smaller loops. Do not connect more than 200 square feet (18.6 sq. m)
of loop area to a single detector.
2. In applicaons with mulple loops, keep each loop at least 6 feet (1.8m) apart. This avoids “cross talk”.
It is possible to have loops closer together by selecng dierent frequencies. An advantage of using
HySecurity model HY5B detectors is that problemac “cross talk” is not possible.
3. For greater sensivity and less chance of false calls caused by the moon of the gate, it is beer to
use mulple smaller loops, connected in a series circuit, to one detector instead of a single large loop.
4. To avoid interference, keep loops at least 2 inches (5cm) above any reinforcing steel. Do not route loop
wires with, or in close proximity to, any other conductors, including other loop leads, unless shielded
lead-in cable is used. Never route high voltage circuits in PVC conduit near a loop.
5. Loop and lead-in wire should be one connuous piece. Avoid splices, if possible. If a splice is necessary
for any reason, “pot” the splice in epoxy or use heat shrink to ensure that the quality of the splice
covering is the same as the original wire jacket.
6. Use only 14-, 16-, or 18-gauge stranded wire with a direct burial jacket. Cross-linked polyethylene
insulaon types, such as XLPE or XHHW, will last much longer and are less prone to damage during
installaon than convenonal insulaon types. Preformed loops can be used before road surfacing or
under pavers.
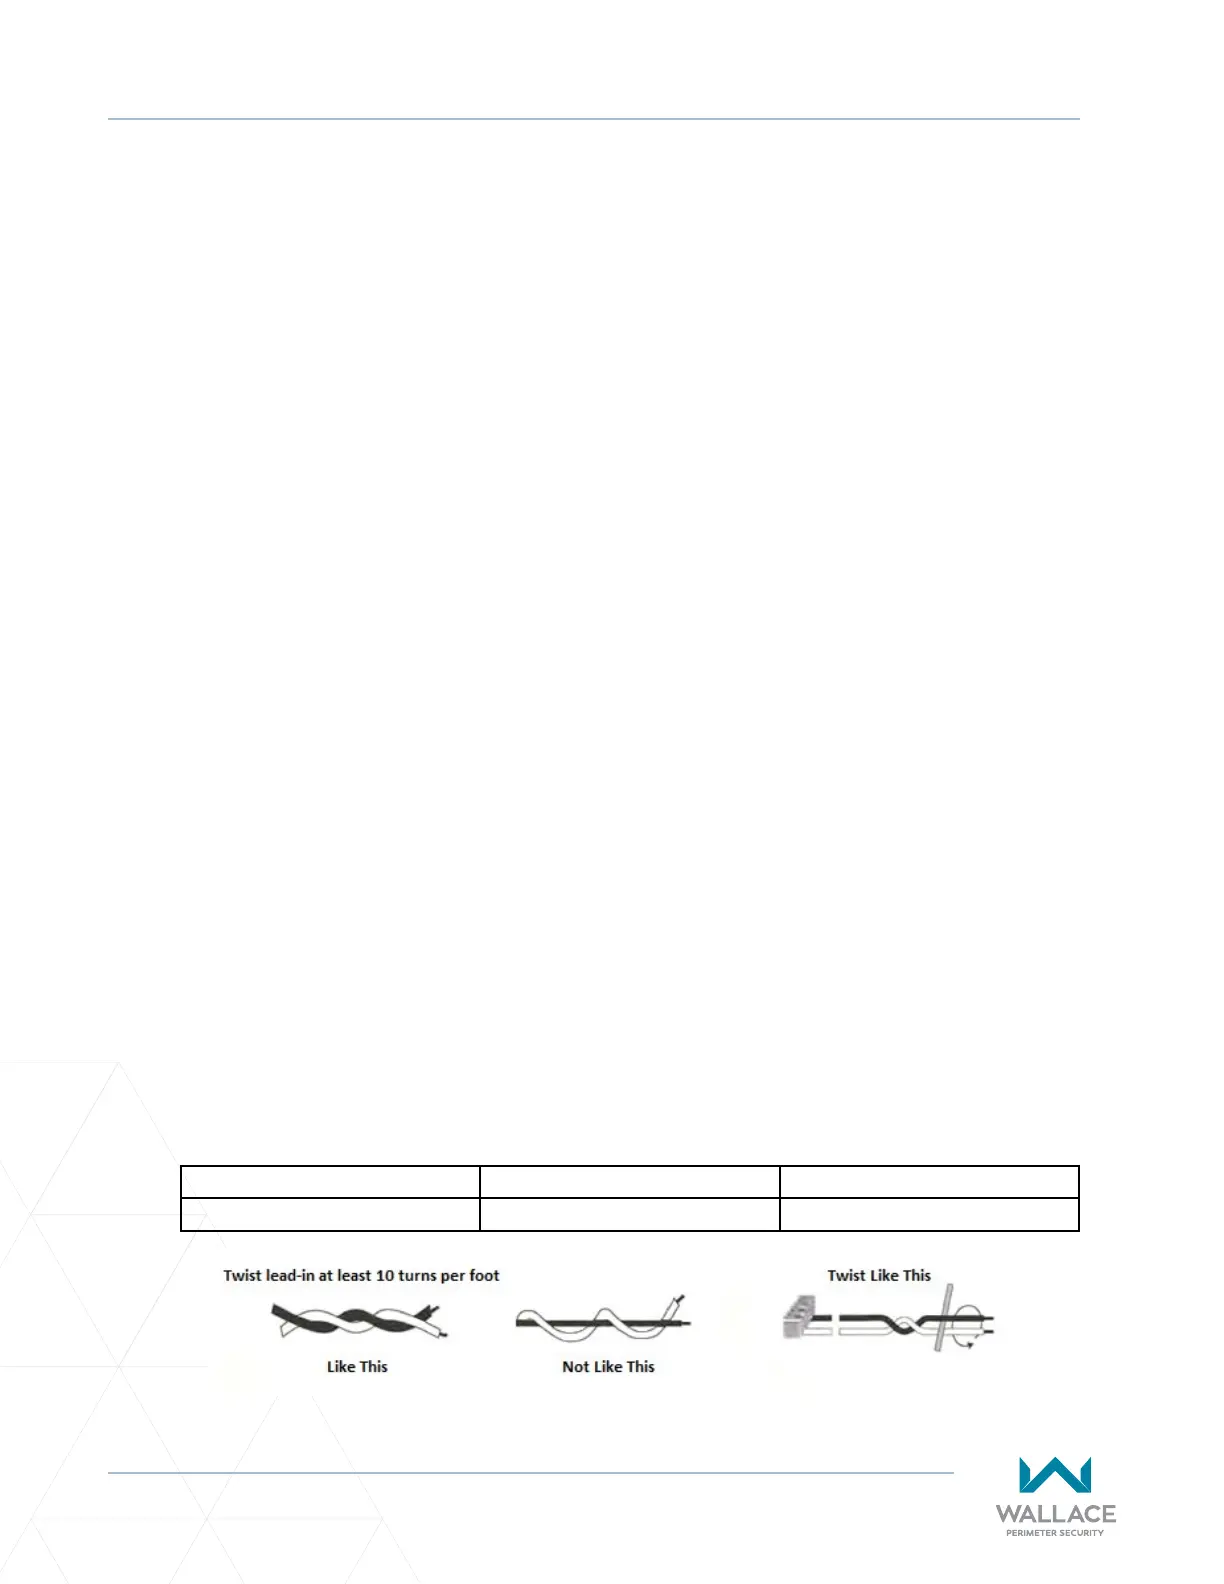
7. Twist loose tails of lead-in wires ghtly, approximately ten mes per foot. See Figure 39.
8. Follow this guide for the correct number of turns in the loop:
12 to 20 sq. . = 5 turns 20 to 60 sq. . = 4 turns 60 to 240 sq. . = 3 turns
3.7 to 6.1 sq. m = 5 turns 6.1 to 18.3 sq. m = 4 turns 18.3 to 73.1 sq. m = 3 turns
Figure 39. Wire Twist Lead-ins