178
wallaceperimetersecurity.comPhone: 866.300.1110
CLOCK BATTERY REPLACEMENT
To install the two new baeries, reverse the removal procedure:
1� Connect the red wire to red terminal on the le baery and slide the baery onto the tray.
2� Aach the blue wire to the black terminal.
3� Insert the second 8Ah baery and connect the blue wire to the red terminal.
4� As you slide the baery onto the tray, connect the black wire to the black terminal on the right
baery. See “Figure 52. New DC Baery Replacement” on page 177�
If you have diculty removing the
baeries through the access hole,
an oponal method for baery
replacement is to remove the
control box. Four Phillips-head
screws secure the control box to
the chassis. Remove the screws and
remove the control box to access
the baeries. Be careful that you
do not inadvertently disconnect
the control box wire bundles. An
assistant for this alternave method
of baery removal/replacement is
highly recommended. See Figure 53.
Clock Baery Replacement
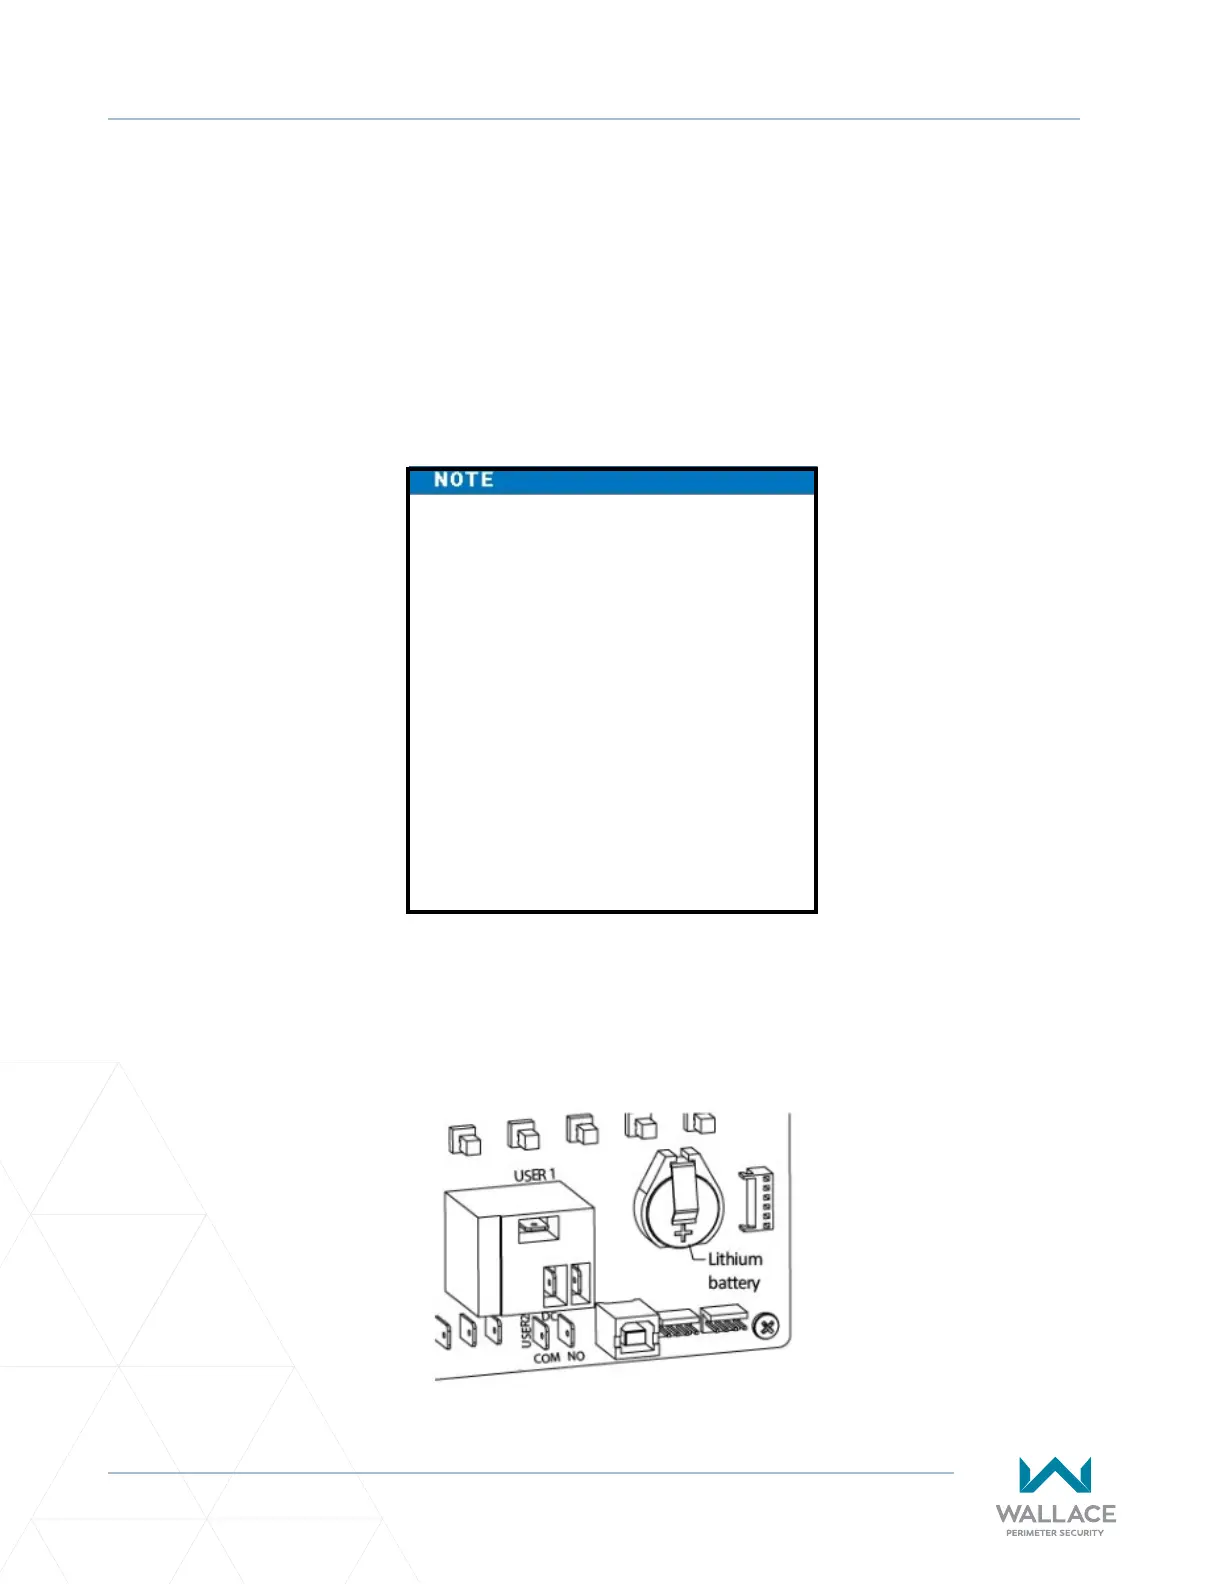
A lithium coin baery supports the clock so the date and me is retained even when the main power is
turned o. (See Figure 54.) Replace the baery about every ve years (or as needed) with a DL 2025,
DL 2032, or CR 2025, or CR 2032 baery.
Figure 54. Clock Baery Replacement