Maintenance3140−1/A1
Winterthur Gas & Diesel Ltd.
4/ 5
3. Assembly
1) Apply clean engine oil to the new 2-part gaskets.
2) Attach the new 2-part gaskets (2 and 3, Fig. 4) to the axial detuner.
3) Make sure that the new 2-part gaskets (2, 3) can move freely around the axial
detuner.
4) Put the tension springs (4, 5) around the 2-part gaskets (2, 3).
5) Use the engine room crane to attach the top cylinder to the manual ratchet
94016−011 with all the lifting devices as shown in Fig. 3.
6) Carefully lower the top cylinder into position on the bottom cylinder. Make sure that
you do not damage the tension springs and 2-part gaskets.
Note: Use the two taper pins (1, Fig. 4) to help you get the top cylinder in the
correct position.
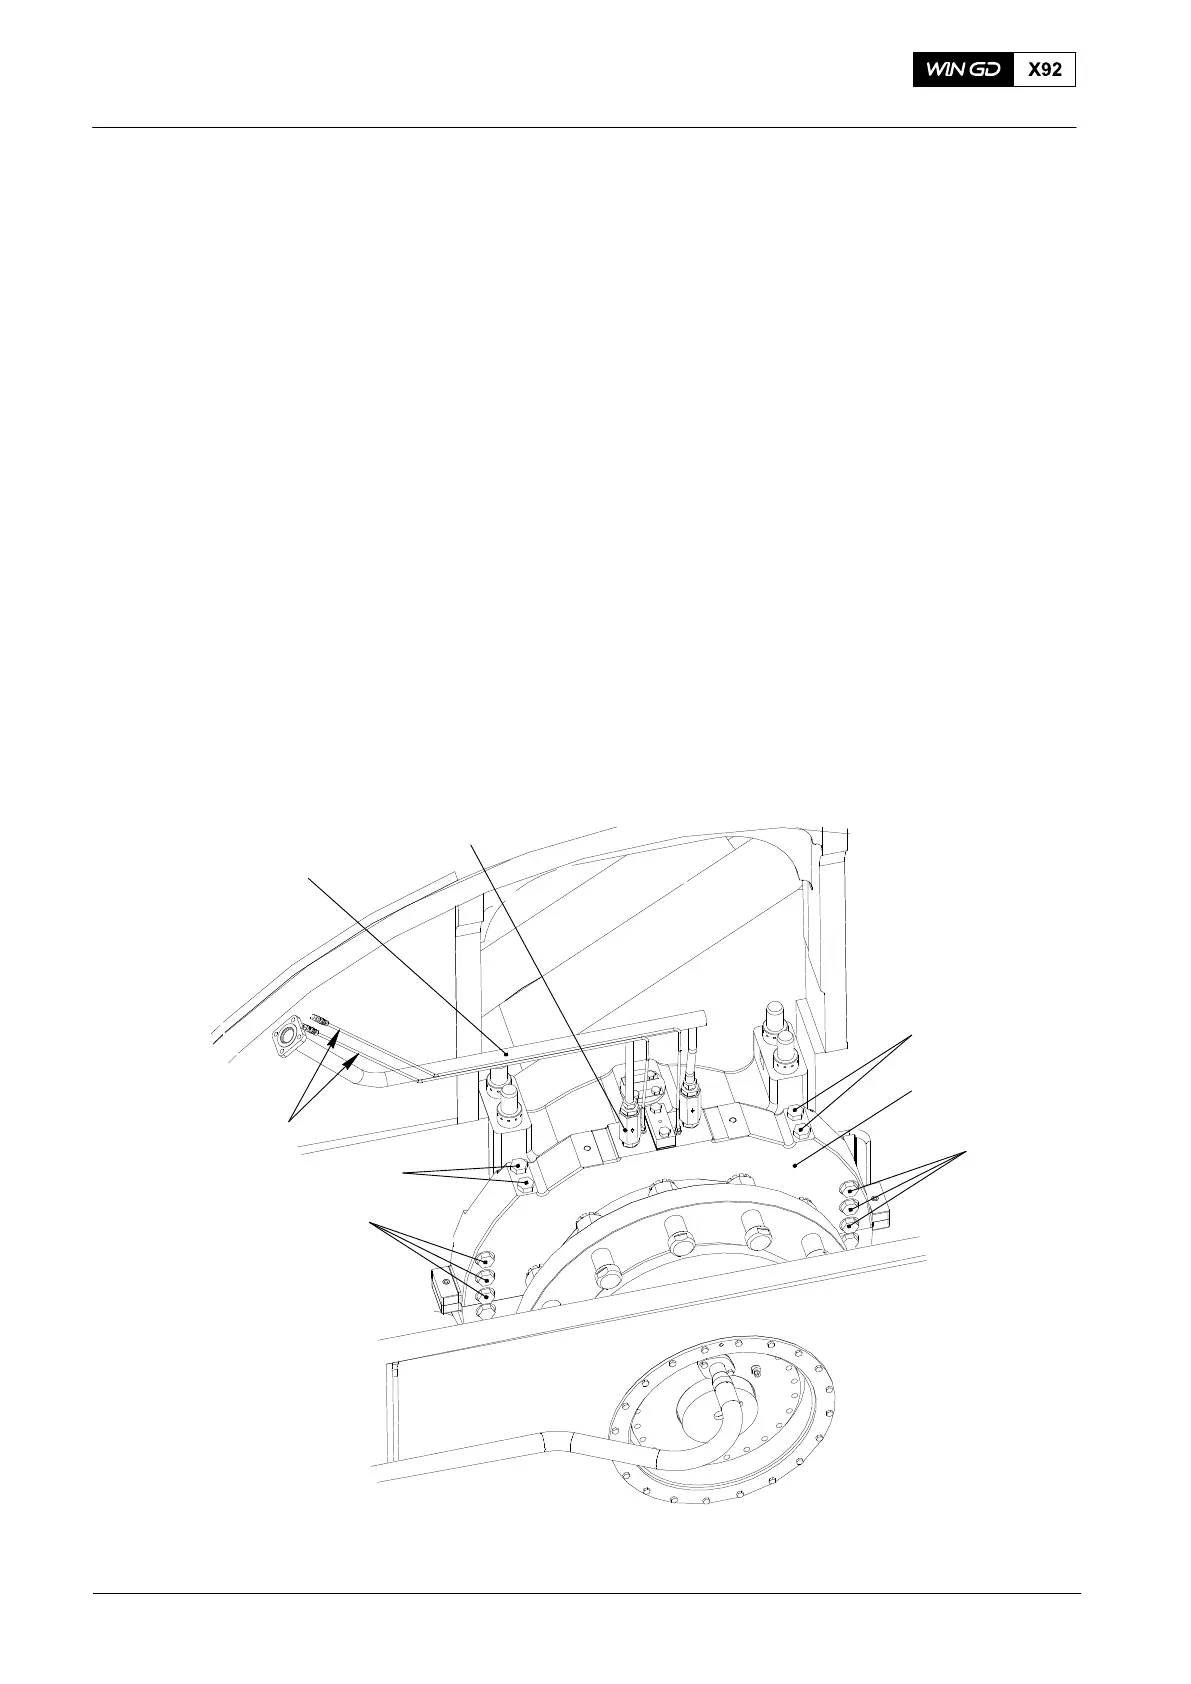
7) Install the four M30x670 bolts (1, Fig. 5) and tighten them with standard torque, see
0352-1.
8) Apply Molykote paste to the threads of the six bolts (3).
9) Torque the six M36x320 bolts (3) to 1500 Nm (55° ).
10) Attach the two pipes (4) to the top cylinder (2).
11) Attach the oil inlet pipe (5) and the two non-return valves (6).
3
3
1
4
2
1
5
WCH02651
Fig. 5
6
2015
Axial Detuner: Disassembly and Assembly