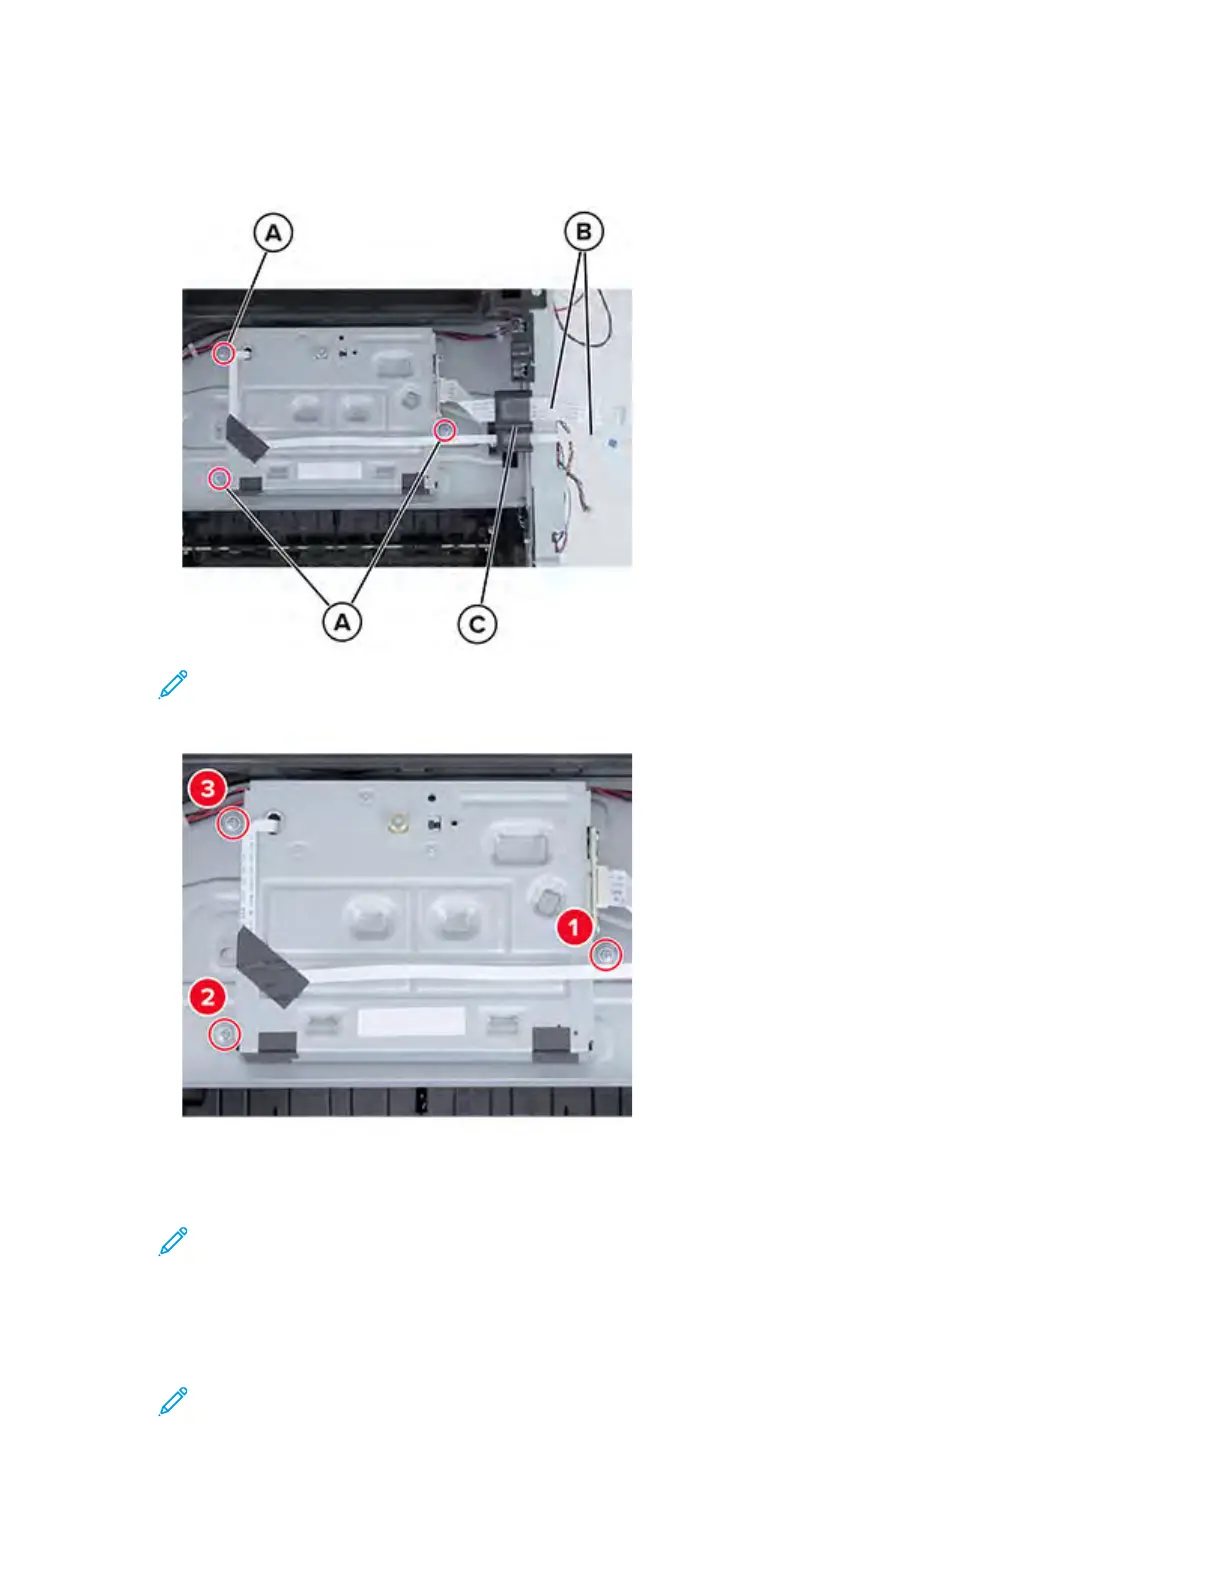
6. Remove the three screws (A), remove the two cables (B) from the toroid (C), and then remove the
printhead.
Note: Installation note:When installing the printhead, tighten the screws in the following the
order:
RReeddrriivvee RReemmoovvaall
Note: For a video demonstration, see Redrive Removal.
1. Remove the right cover. See Right cover removal.
2. Remove the left cover. See Left cover removal.
3. Disconnect the control panel cables. See Control Panel Removal.
Note: Do not remove the control panel from the top cover.
Xerox
®
B310 Printer
Service Manual
177
Parts Removal