Action Yes No
You may need a pair of pliers
to remove pieces of plastic
inside the imaging unit.
2 Make sure that there are no
obstructions between the
charge roller and
photoconductor drum.
Does the problem remain?
Step 4
Check if the printer is using a
genuine and supported Xerox
toner cartridge.
If the printer is using a third-party
cartridge, then refer the users to
their cartridge supplier.
Is the printer using a genuine and
supported Xerox toner cartridge?
Go to step 6. Go to step 5.
Step 5
Insert a genuine and supported
Xerox toner cartridge.
Does the problem remain?
Go to step 6. The problem is solved.
Step 6
Remove, and then insert the
imaging unit.
Does the problem remain?
Contact the next level of support. The problem is solved.
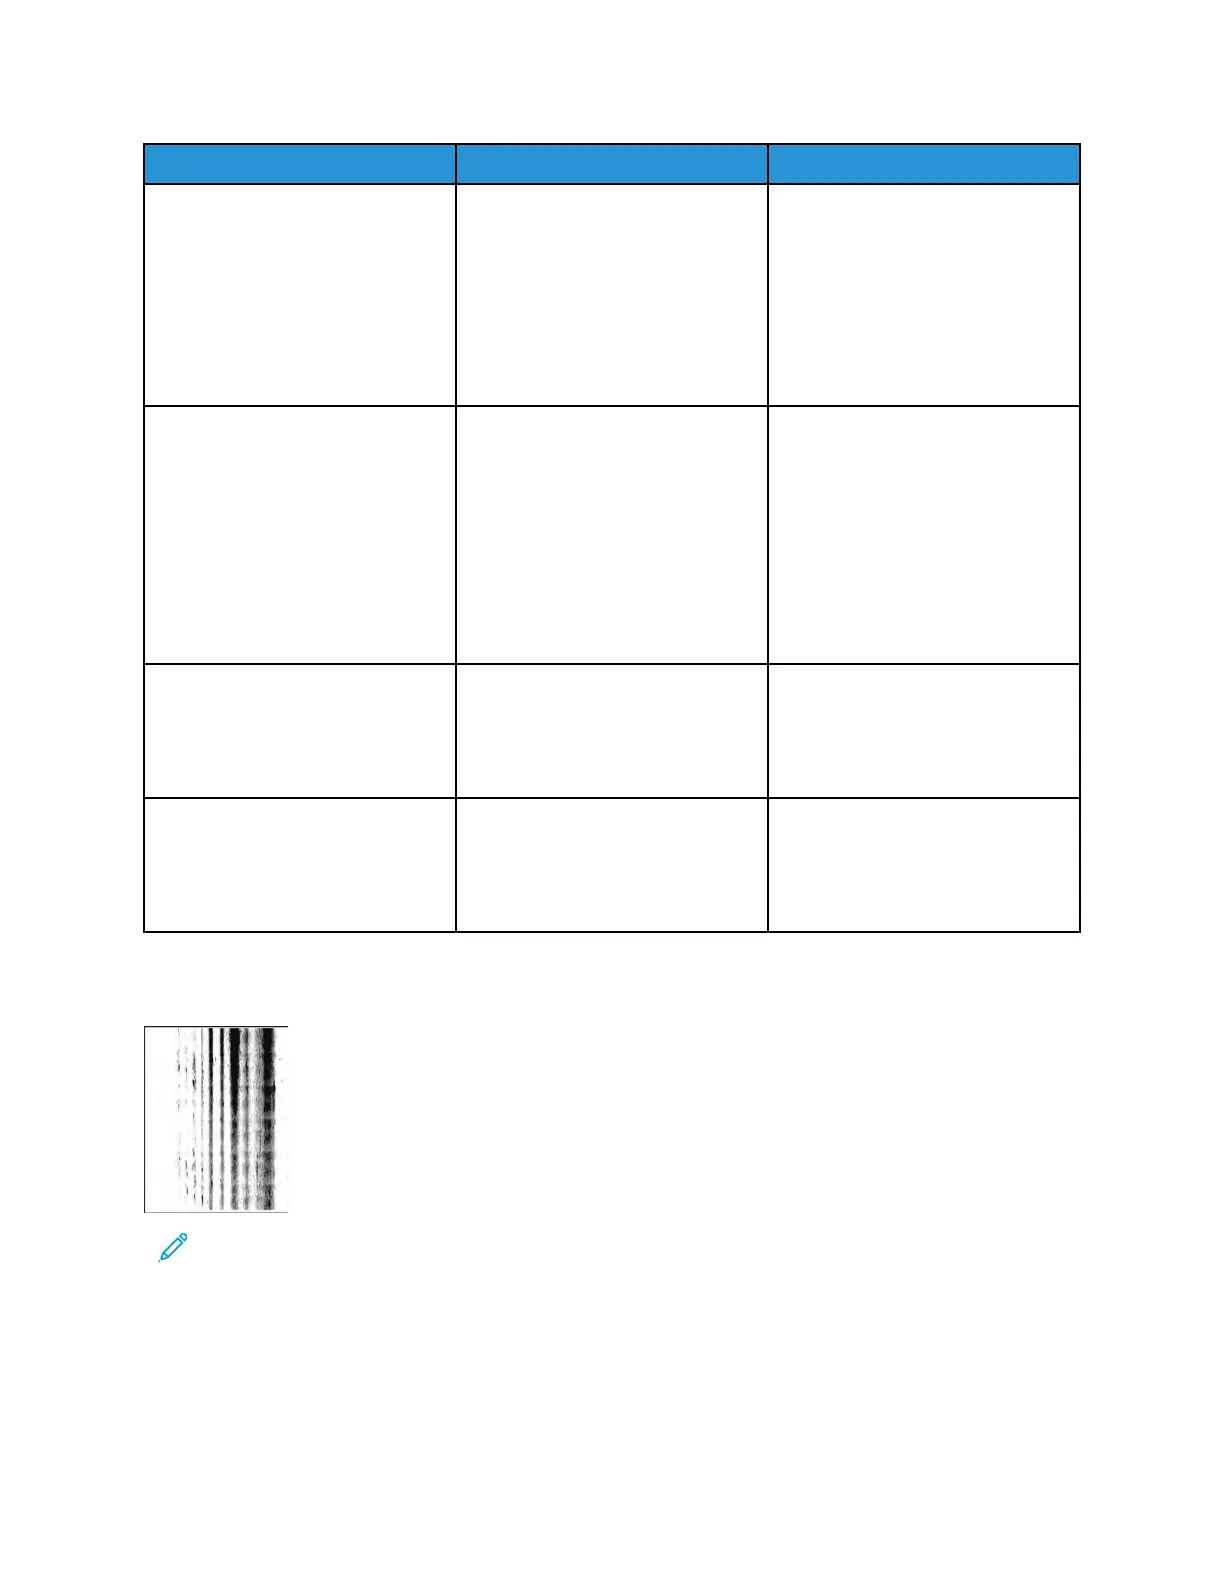
VVeerrttiiccaall DDaarrkk SSttrreeaakkss WWiitthh PPrriinntt MMiissssiinngg CChheecckk
Note: Before performing this print quality check, print the Print Quality Test Pages. From the
control panel, navigate to Settings > Troubleshooting > Print Quality Test Pages, and then
perform the initial print quality check. See Performing the initial troubleshooting check .
58
Xerox
®
B310 Printer
Service Manual
Diagnostics and Troubleshooting