Action Yes No
Step 3
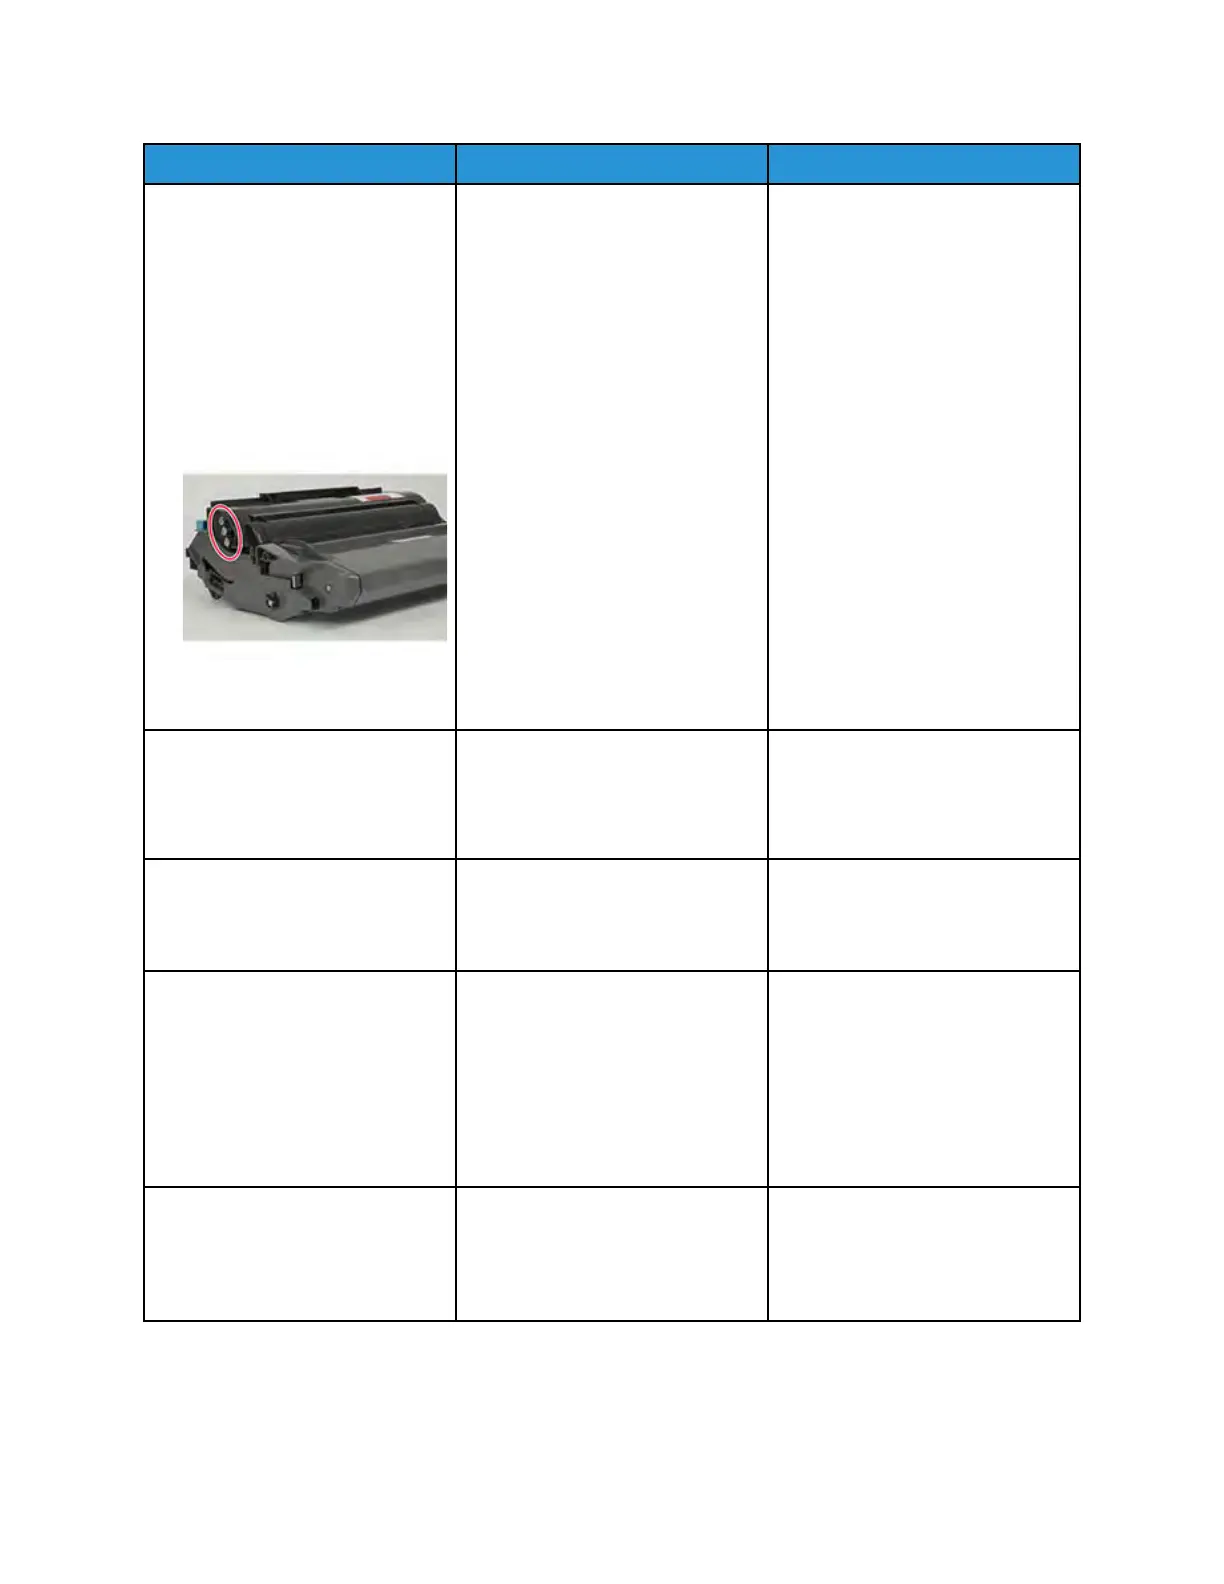
1 Remove any packing material
left on the imaging unit.
You may need a pair of pliers
to remove pieces of plastic
inside the imaging unit.
2 Check the charge roller contact
on the right side of the
imaging unit for damage and
contamination.
Is the charge roller contact free of
damage and contamination?
Go to step 6. Go to step 4.
Step 4
1 Perform a POR.
2 Perform a print test.
Does the problem remain?
Go to step 5. The problem is solved.
Step 5
Replace the imaging unit.
Does the problem remain?
Go to step 6. The problem is solved.
Step 6
1 Remove the right cover. See
Right cover removal.
2 Make sure that the HVPS1
cable on the controller board
and HVPS is properly
connected.
Does the problem remain?
Go to step 7. The problem is solved.
Step 7
Replace the HVPS. See HVPS
removal.
Does the problem remain?
Contact the next level of support. The problem is solved.
Xerox
®
B310 Printer
Service Manual
51
Diagnostics and Troubleshooting