Scan
Xerox
®
DocuCentre
®
SC2020
User Guide
144
2. Press the <Services Home> button.
3. Select [Email].
4. Specify a recipient from the following, and then select [OK]:
[New Recipient]: Enter an email address directly.
[Address Book]: Select from the following types of address books:
• [Device Address Book - Individuals]: Select an email address registered in the address book.
• [Device Address Book - Groups]: Select a group of emails registered in the address book.
• [Search Network Address Book]: Search an email address from the LDAP server address book.
Select the recipient you specified from the [New Recipient] to remove or edit the recipient.
Select the recipient you specified from the [Address Book] to remove or see details of the recipient.
You can also change the email to Bcc.
5. Specify scan options such as [Output Color], [Resolution], [2-Sided Scanning], and [File Format] on the
[Quality] and [Options] tabs. For more information, refer to
File Format on page 198.
Notes:
•
Users need to be registered in the Email address book before you can select [Address Book]
on the control panel.
• If you are using the LDAP server address book, [Email Server Address Book] must be set to
[On]. For more information, refer to
Email Server Address Book on page 179.
6. Press the <Start> button to send email.
Operations during Scanning
While the device is scanning document, you can cancel the currently executing job, and check or cancel the
pending jobs.
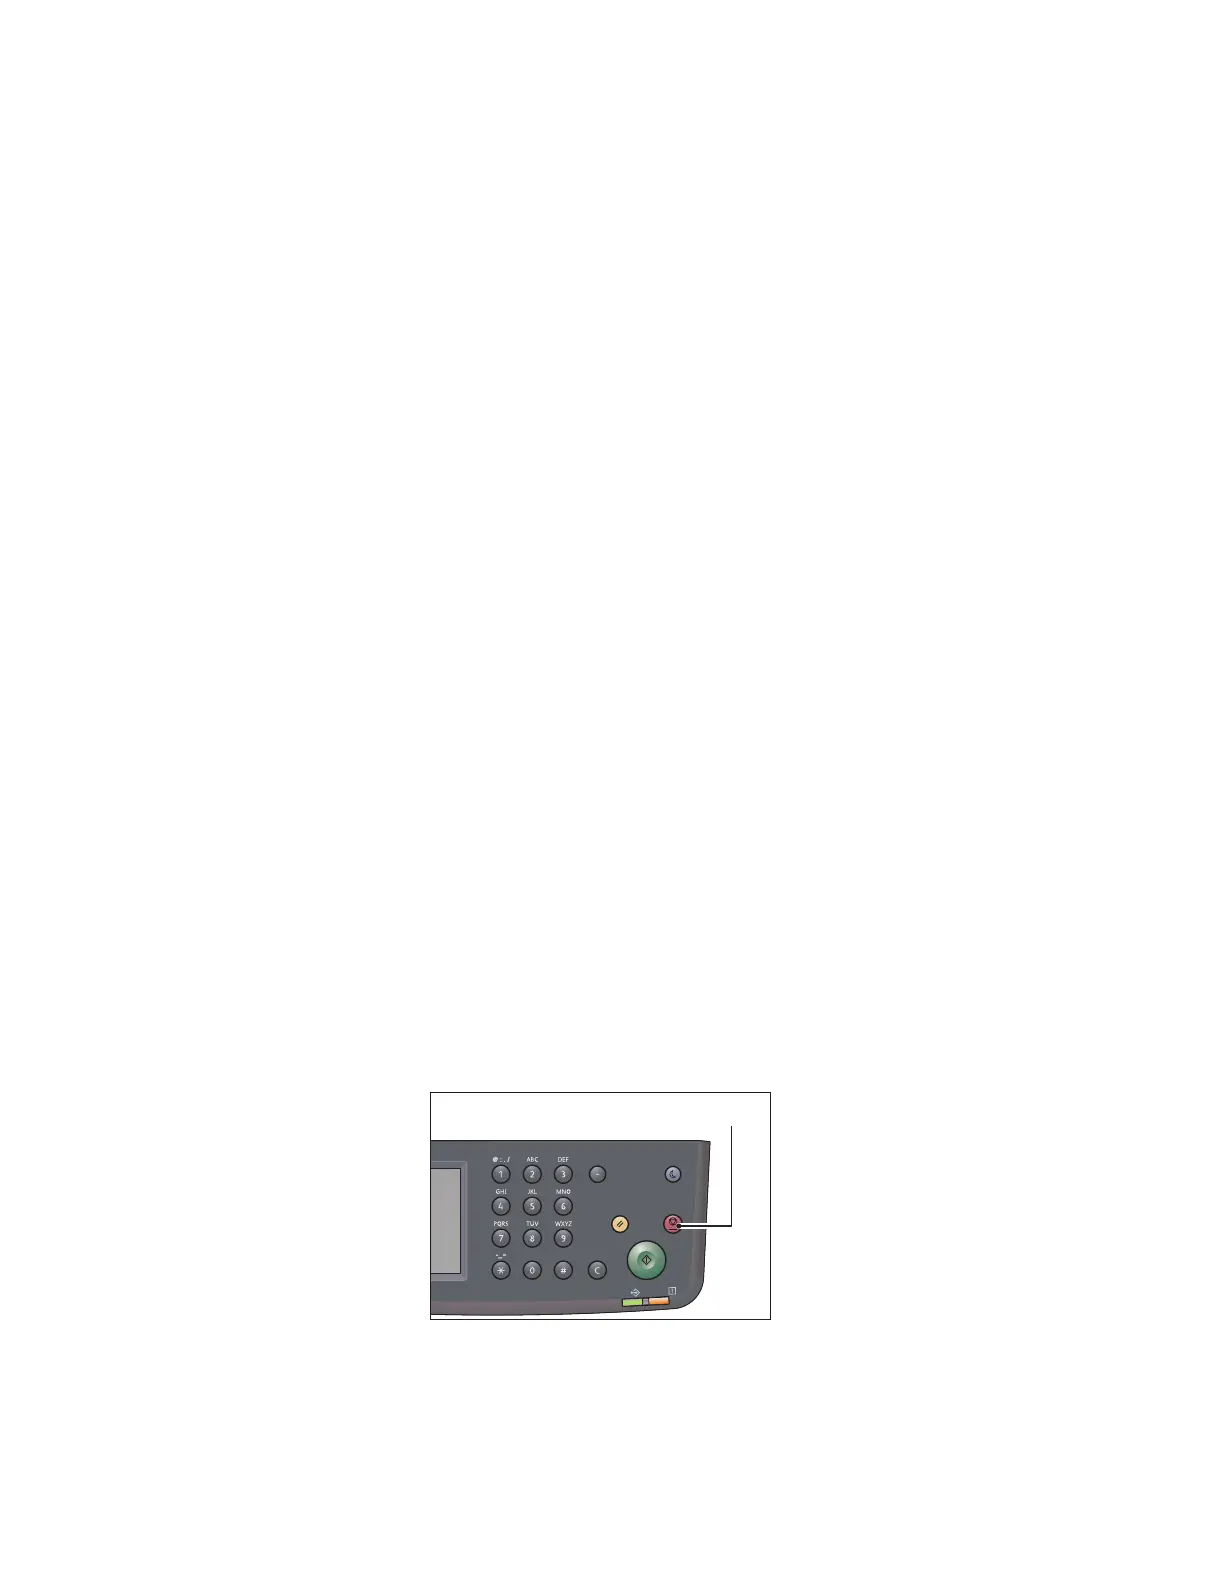
Canceling the Current Scan Job
To cancel the currently scanning job:
On the device
Press the <Stop> button.
On the computer
Select [Delete] on the screen that appears while scanning.
Power Saver
Redial/Pause
Data
Error
Clear All Stop
Start

 Loading...


