Repairs/Adjustments
Phaser 3200MFP / Workcentre PE220 04/07 4-25
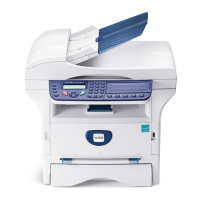
7. Release the 4 gears (RDCN, OPC, Fuser,
Feed) from the frame, Figure 4.
Figure 4
8. Remove 4 screws securing the motor
bracket and remove it. Then remove 2
screws securing the motor and remove it,
Figure 5.
Figure 5
Replacement
Replacement is the reverse of the removal
procedure.
REP 15.1 Main Drive Assembly
Phaser 3200
Parts list on PL 8.2
WARNING
Switch off the electricity to the machine. Dis-
connect the power cord from the customer
supply while performing tasks that do not
need electricity. Electricity can cause death or
injury. Moving parts can cause injury.
1. Remove the scan assembly, REP 8.
2. Remove the middle cover, REP 12.
3. Remove the main PBA, REP 14.1.
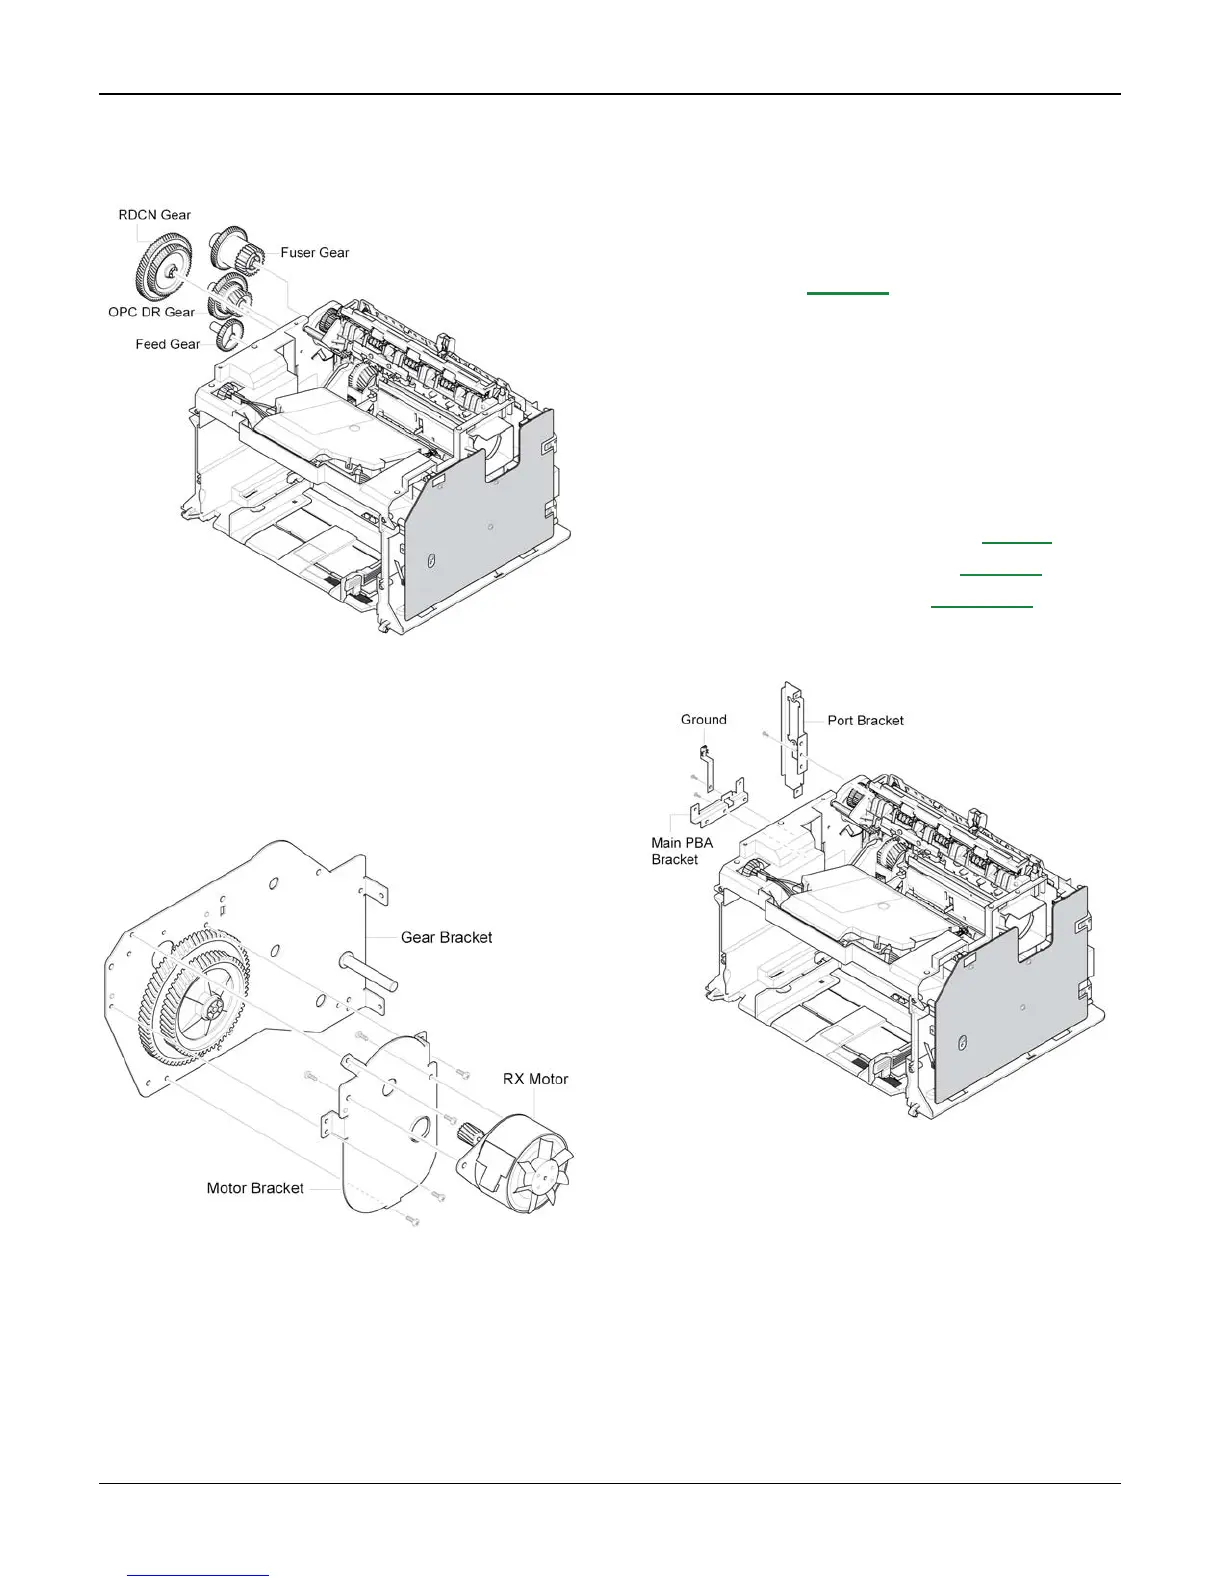
4. If necessary, remove bracket port, bracket
main PBA and ground, Figure 1.
Figure 1

 Loading...