Stratus OCT User Manual PN 2660021134133 A
Data Management
7-19
Site ID and Logo
Note: You must create a Clinical Site ID to successfully export images and data,
because exported data must be associated with the source clinic.
You can create a clinical site ID and designate a graphic logo. The logo graphic must be in
bitm
ap format and have a “.bmp” extension. You must copy the logo graphic file from the
source system either to compatible removable media or directly to the Stratus OCT hard
drive (for networked systems). For removable media, insert the media into its drive on the
Stratus OCT and follow these steps:
1. In the Stratus OCT M
AIN WINDOW, select Register > Clinical Site ID from the Options
menu (click Options > Register > Clinical Site ID). The Clinical Site ID dialog box
appears.
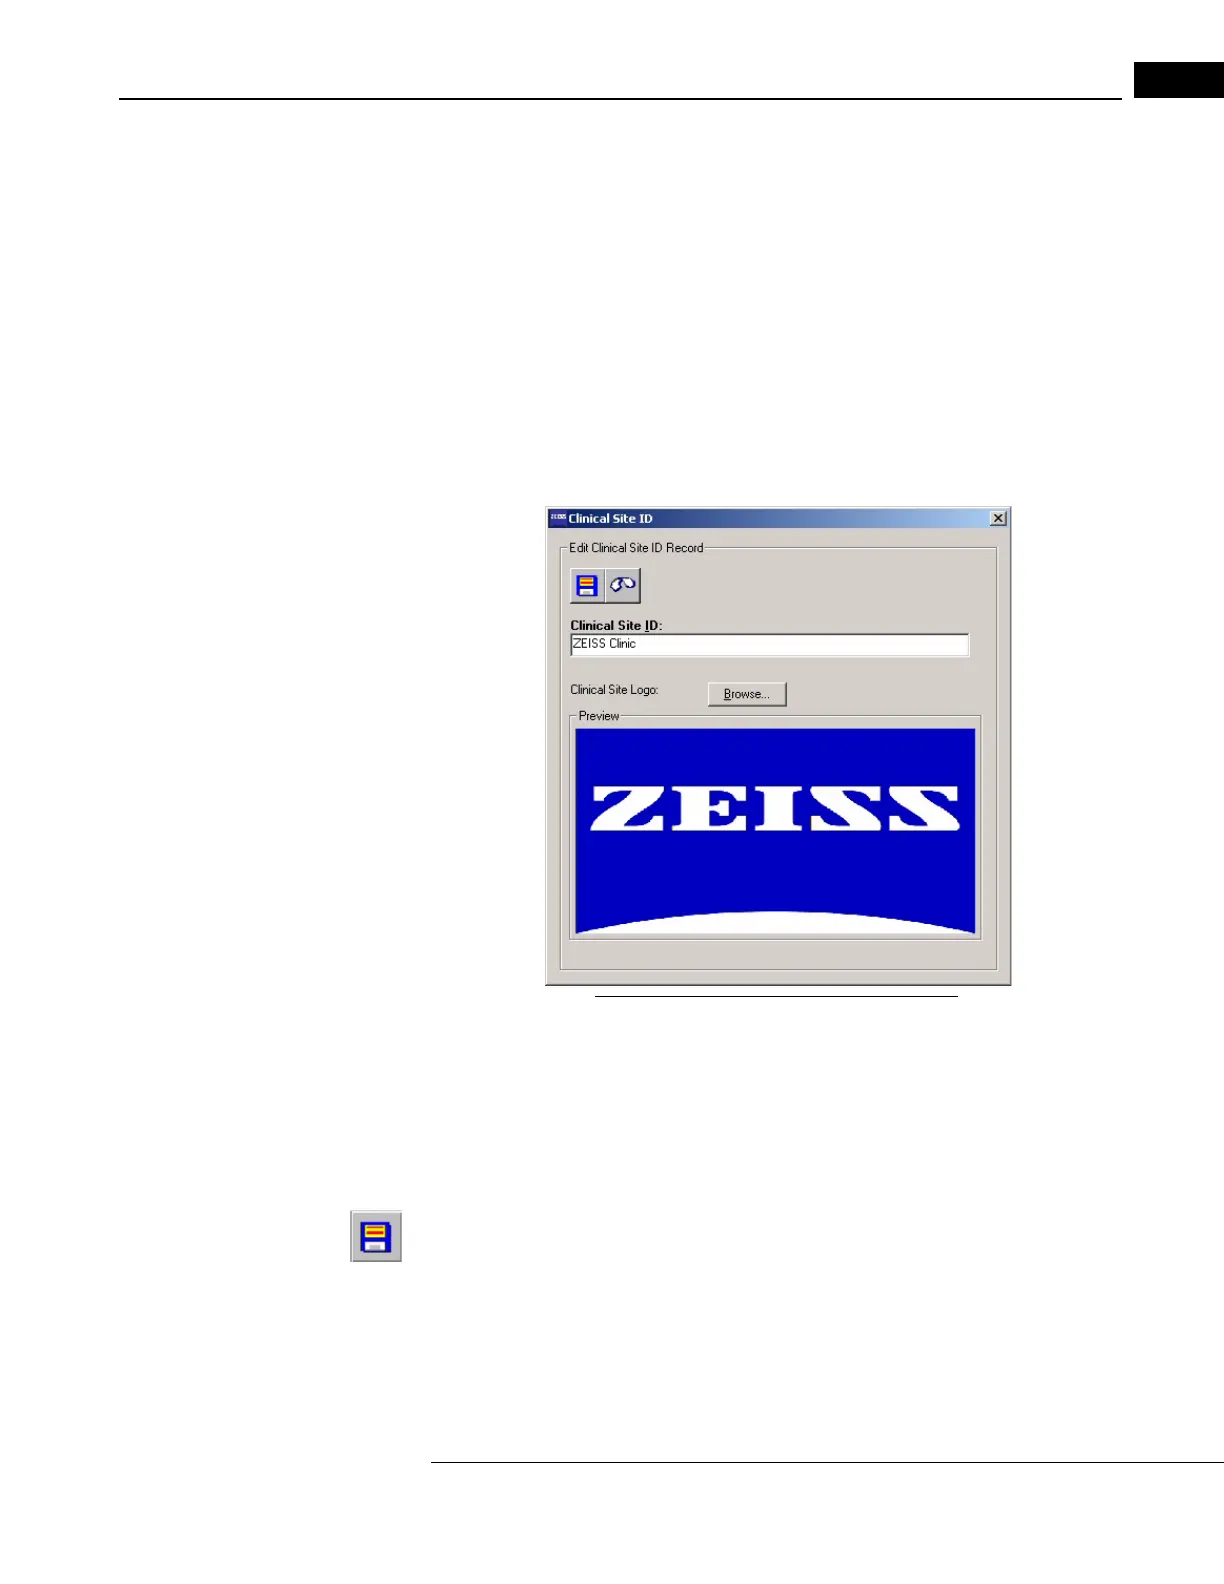
Figure 7-14 The Clinical Site ID Dialog Box
2. To enter the clinic name, type up to 64 characters, including spaces, in the Clinical
Site ID field.
3. To select a clinic logo for display on printouts, click the Br
owse button. Use the
Browse dialog box to find the logo graphic file on the hard drive or removable media,
(depending on your transfer method).
4. Select the logo graphic file and click OK. The gr
aphic file is copied to the database on
the Stratus OCT. Back in the Clinical Site ID dialog box, the Preview pane displays
the selected logo. Click the
Save button when finished.
Note: The logo is resized to fit the entire Preview pane. When printed, the logo is
resized to fit in a small square area of fixed size. This can affect the appearance of
the logo on printouts, especially if it is rectangular