Analyze Scans
Stratus OCT User Manual PN 2660021134133 A
5-6
Note: From applicable analysis output windows, Stratus gives you the ability to edit
the retinal boundary layers automatically provided by the retinal and RNFL thickness
algorithms. For more information, see Edit Layers on page 6-8.
Print Analysis Output
To print any analysis output screen, select Print from the File menu (click File > Print), or
click the Print button on the toolbar. The attached color printer prints the analysis output in
portrait layout.
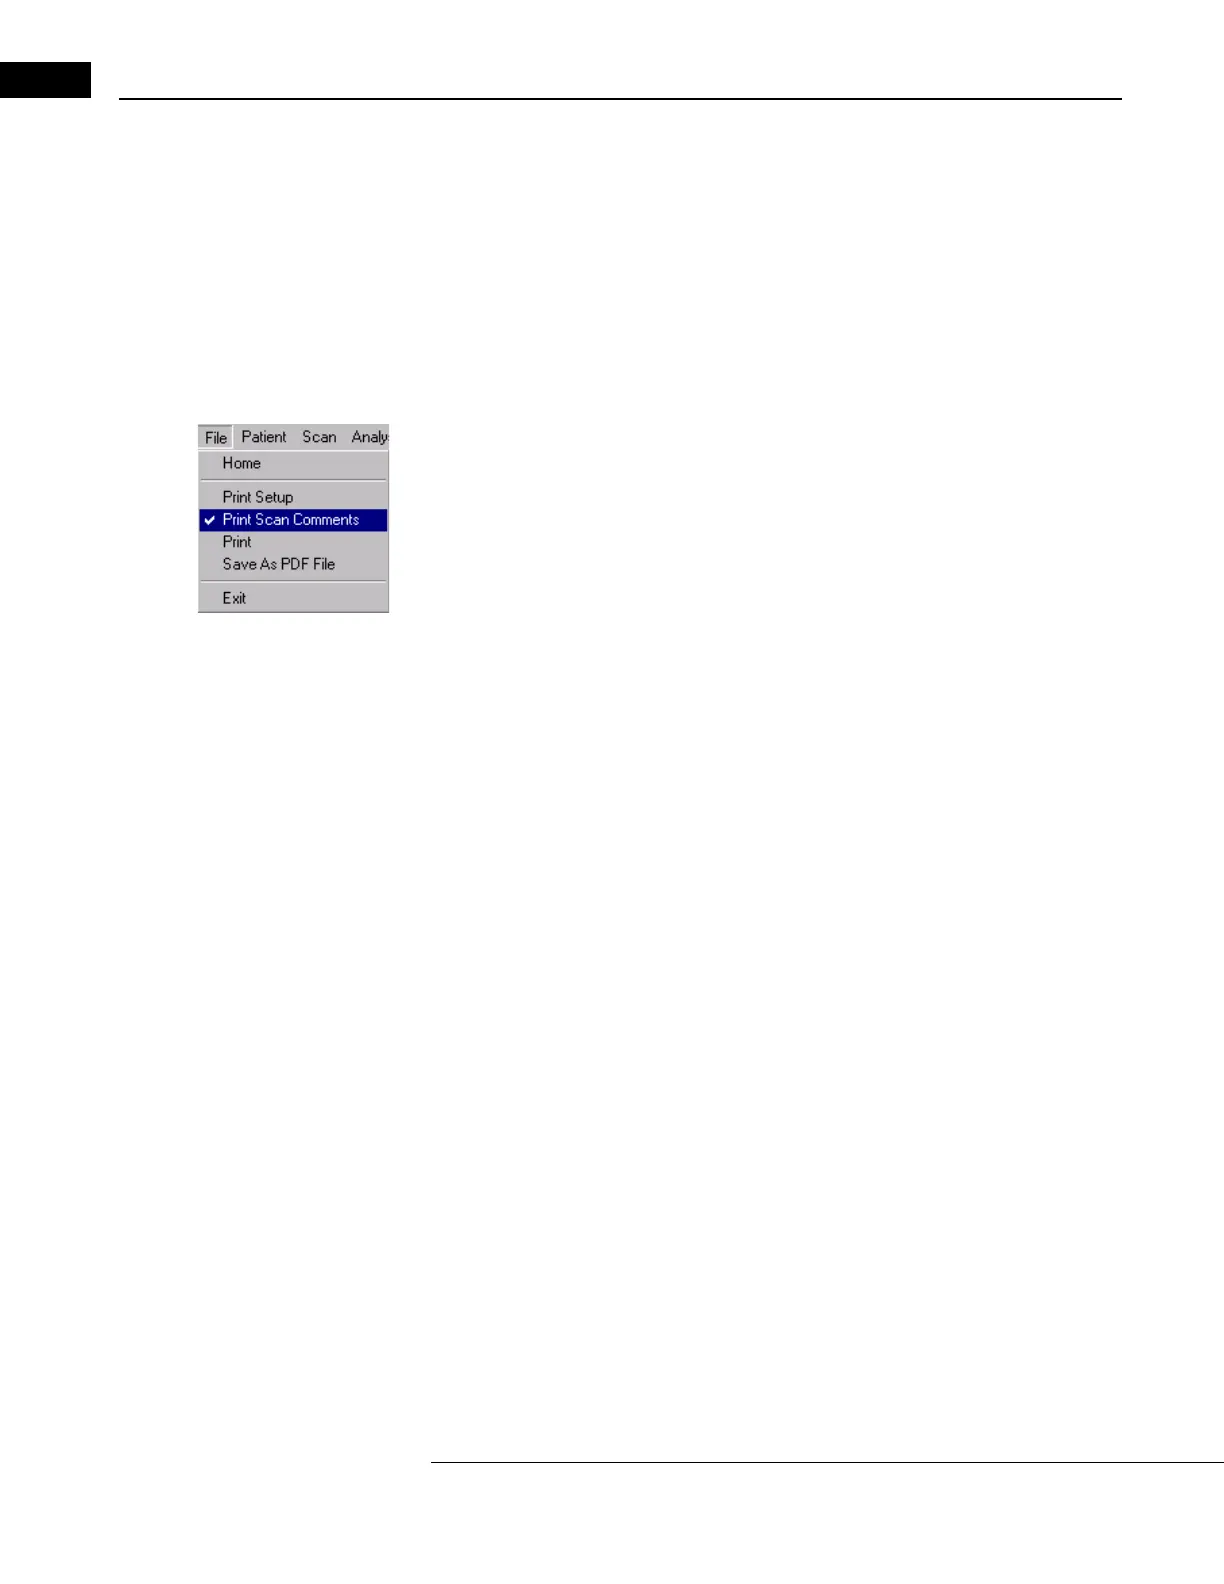
Print Scan Comments
If you have selected Prin
t Scan Comments from the File menu (click File > Print Scan
Comments), you will get a second printout page that includes individual scan comments
for every scan in the group. When Print Scan Comments is selected, it has a checkmark
beside it, as seen at left.
Exam comments, entered in the Comment Tab of the SCAN ACQUISITION WINDOW (Figure
3-14, page 3-19), cannot be printed with the analysis output. Exam comments are printed
when you Print Clinical Notes (page 7-2).
Save As PDF File
You can save any analysis output as a PDF file by selecting Save As PDF File fr
om the File
menu (click File > Save As PDF File). Use the Save dialog that opens to name and save the
file anywhere on the C: drive, on DVD or on the network server. The PDF printout looks
exactly like the paper printout.
Customize Printouts With Site
ID And Logo
The Stratus OCT enables you to custo
mize your analysis printouts with a clinic name and
logo (or other graphic). Once selected, these elements will appear in the lower right corner
of all analysis printouts.
You can create a clinical site ID and designate a graphic logo. The logo graphic must be in
bitm
ap format and have a “.bmp” extension. If necessary, you must copy the logo graphic
file from the source system to removable media. Then insert the disk into its drive on the
Stratus OCT and follow these steps: