Preventive Maintenance and Troubleshooting
Preventive maintenance
117
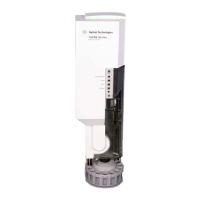
2. Remove the syringe, and carefully remove the needle support rod from the
injector.
3. Press the STOP button. The red LED will start flashing a double flash.
Press STOP three times more, moving through displays of three, four, and
five flashes. The sequence of five flashes is the starting point for
alignment.
4. Press START to begin the alignment procedure. The injector will go
through the following three steps:
• The turret homes (this is a clockwise and then a counterclockwise
continuous motion).
• The syringe carriage starts moving up and down repeatedly to set a
position relative to the inlet.
• The syringe carriage is stepped down until it touches the turret. This
sets the position relative to the turret.
When the alignment is complete, the red LED will return to two flashes, and the
yellow Align LED will go out. Power-cycle the controller to return it to the
ready state. Return your syringe and needle support rod to their original
positions.
 Loading...


