Preparing for Operation
Selecting and installing syringes
53
5. Move the plunger carrier loop down and tighten the plunger screw.
Checking your work
❐ Move the plunger carrier up and down. If the syringe plunger does not move
along with the carrier, repeat the previous steps. Be sure the plunger carrier
screw is tight.
❐ Check that the needle is aligned with the needle guide in the foot by moving
the slide up and down. The needle should slide smoothly in the needle guide.
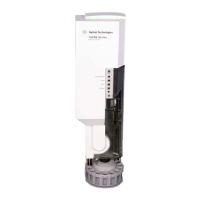
Figure 41. Plunger carrier and needle support with needle installed
Caution Failure to use the on-column syringe when injecting into an on-column inlet
could damage the injector, syringe, and column.
Slide
Syringe latch
Syringe clip
Plunger carrier
Flange guide
Plunger carrier screw
Needle support foot
 Loading...


