Job Aid: Replacing the SAMP on the Avaya S8500 Series server
106 Job Aids for Field Replacements (FRUs) for the Avaya S8500 Server
S8500C front panel connections
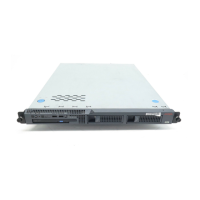
Figure 24 shows the connections that are available on the front panel of the S8500C server.
Figure 24: S8500C server, front view
Figure notes:
1. Power-on LED
1
2. Power button
2
3. Reset button
4. Hard disk drive activity LED
5. Locator LED
3
6. System error LED
1. If this LED is off, it does not mean that there is no electrical power in the server. To remove all electrical
power from the server, you must disconnect the power cord from the electrical outlet.
2. A shield is installed around the button to prevent powering down the server accidentally. You can remove
this disk-shaped shield if you prefer.
3. This LED can be remotely lit to aid in visually locating the server.
7. USB port
8. USB port
9. Hard disk drive
10. CD eject button
11. CD drive activity LED
h3msf8cc LAO 031706
CD-RW
DVD
7
1
2
3
4
5
6
8
9
10
11

 Loading...