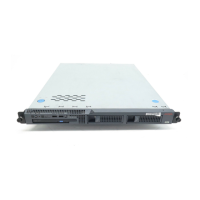
Job Aid: Replacing the Avaya S8500/B/C server
28 Job Aids for Field Replacements (FRUs) for the Avaya S8500 Server
Note:
Note: The RSA card resides in PCI-X slot 1 located under the adapter support bracket.
Remove the adapter support bracket and the riser connector together.
3. Loosen the captive screw located to the right of the slot labeled PCI 1.
4. The riser connector must be removed by pulling straight up on the adapter support bracket.
Place one finger under the screw on the far end of the riser connector and one finger under
the adapter support bracket near the captive screw and pull straight up, as shown in
Figure 3
.
Figure 3: Removing and replacing the Remote Supervisor Adapter (S8500 only)
5. Remove the RSA card from PCI-X slot 1 by pulling the card gently out of the riser card
connector.
Figure notes:
1. Remote Supervisor Adapter
2. Adapter support bracket
3. Riser card connector
4. Connector
5. Captive screw
h3msrrsa LAO 071803
1
2
L
I
N
K
T
X
/
R
X
L
I
N
K
T
X
/
R
X
P
C
I
1
P
C
I 2
1
0
0-12
7
-, 3
,0
A
, 5
0
/6
0
H
z
2
00
-24
0 -, 1
,5A
, 50
/60
H
z
133
M
H
z/64 B
it, 1
00 M
H
z/6
4 B
it
1
2
3
4
5

 Loading...