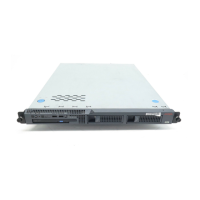
Replacing the S8500 server
03-300529 Issue 4 January 2008 31
Figure 4: Removing and replacing the NIC (S8500 only)
Installing the NIC in the replacement S8500 server
For these steps, see Figure 4.
1. Carefully grasp the NIC by the top edge or upper corners and align it with the PCI-2
expansion slot. Press the NIC firmly into the expansion slot.
!
WARNING:
WARNING: Be sure that the NIC is completely and correctly seated in the PCI-2 expansion
slot of the S8500 server. Incomplete insertion might cause damage to the system
board or the NIC.
2. Position the faceplate so that it fits in the PCI-2 slot using the captive screw to hold it in
place.
Figure notes:
1. Mounting screws
2. Fan assembly
3. Captive screws
4. Smaller faceplate
5. Network interface card
PCI
1
PCI 2
1
0
0
-1
27
-, 3
,0
A
, 5
0
/6
0
H
z
2
0
0
-2
4
0 -, 1
,5A
, 5
0
/6
0
H
z
133 MHz/64 Bit, 100 MHz/64 Bit
h3msrnic LAO 080103
1
2
3
4
5

 Loading...