Fault Cause Repair
Sewing-/
embroidery
computer
LED at the
buttons aren't on
LED sewing light
and free-arm light
do not light up
Attached presser
foot hasn't been
recognised
Upper thread
indicator does not
respond
Lower thread
indicator does not
respond
Update error
Thread is caught
in the area of the
take-up lever
sewing-/embroidery computer fails to
run or runs slowly
the sewing-/embroidery computer was
kept in a cold room
turn the power switch to «0»
LED defective
eco-function active
LED defective
eco-function active
deactivated in the Setup-Program
lenses soiled (presser foot, sewing
computer)
not activated in the Setup-Program
bobbin damaged/defective
not activated in the Setup-Program
defekctive sensors
USB stick is not recognized
Update process is blocked (hourglass
stays on Display)
Update-data aren't identified
upper thread breaks
the upper thread has sprang back
invisibly into the sewing computer and
has wound around the thread lever
⦁
check the setting in the Setup-Program
⦁
alter the speed control
⦁
place the sewing-/embroidery computer in a warm room one
hour before use
⦁
turn the power switch to «I»
⦁
take the sewing-/embroidery computer to the nearest
authorized BERNINA dealer
⦁
take the sewing-/embroidery computer to the nearest
authorized BERNINA dealer
⦁
turn off eco function
⦁
take the sewing-/embroidery computer to the nearest
authorized BERNINA dealer
⦁
turn off eco function
⦁
activate in the Setup-Program
⦁
clean the lenses periodically using a soft damp cloth
⦁
activate in the Setup-Program
⦁
check the bobbin and exchange if necessary
⦁
activate in the Setup-Program
⦁
take the sewing-/embroidery computer to the nearest
authorized BERNINA dealer
⦁
use a BERNINA USB stick
⦁
remove the stick and turn the sewing computer off and on
again. Proceed with the update as indicated by the message
⦁
don't save update-data in a folder
⦁
unzip update-data
⦁
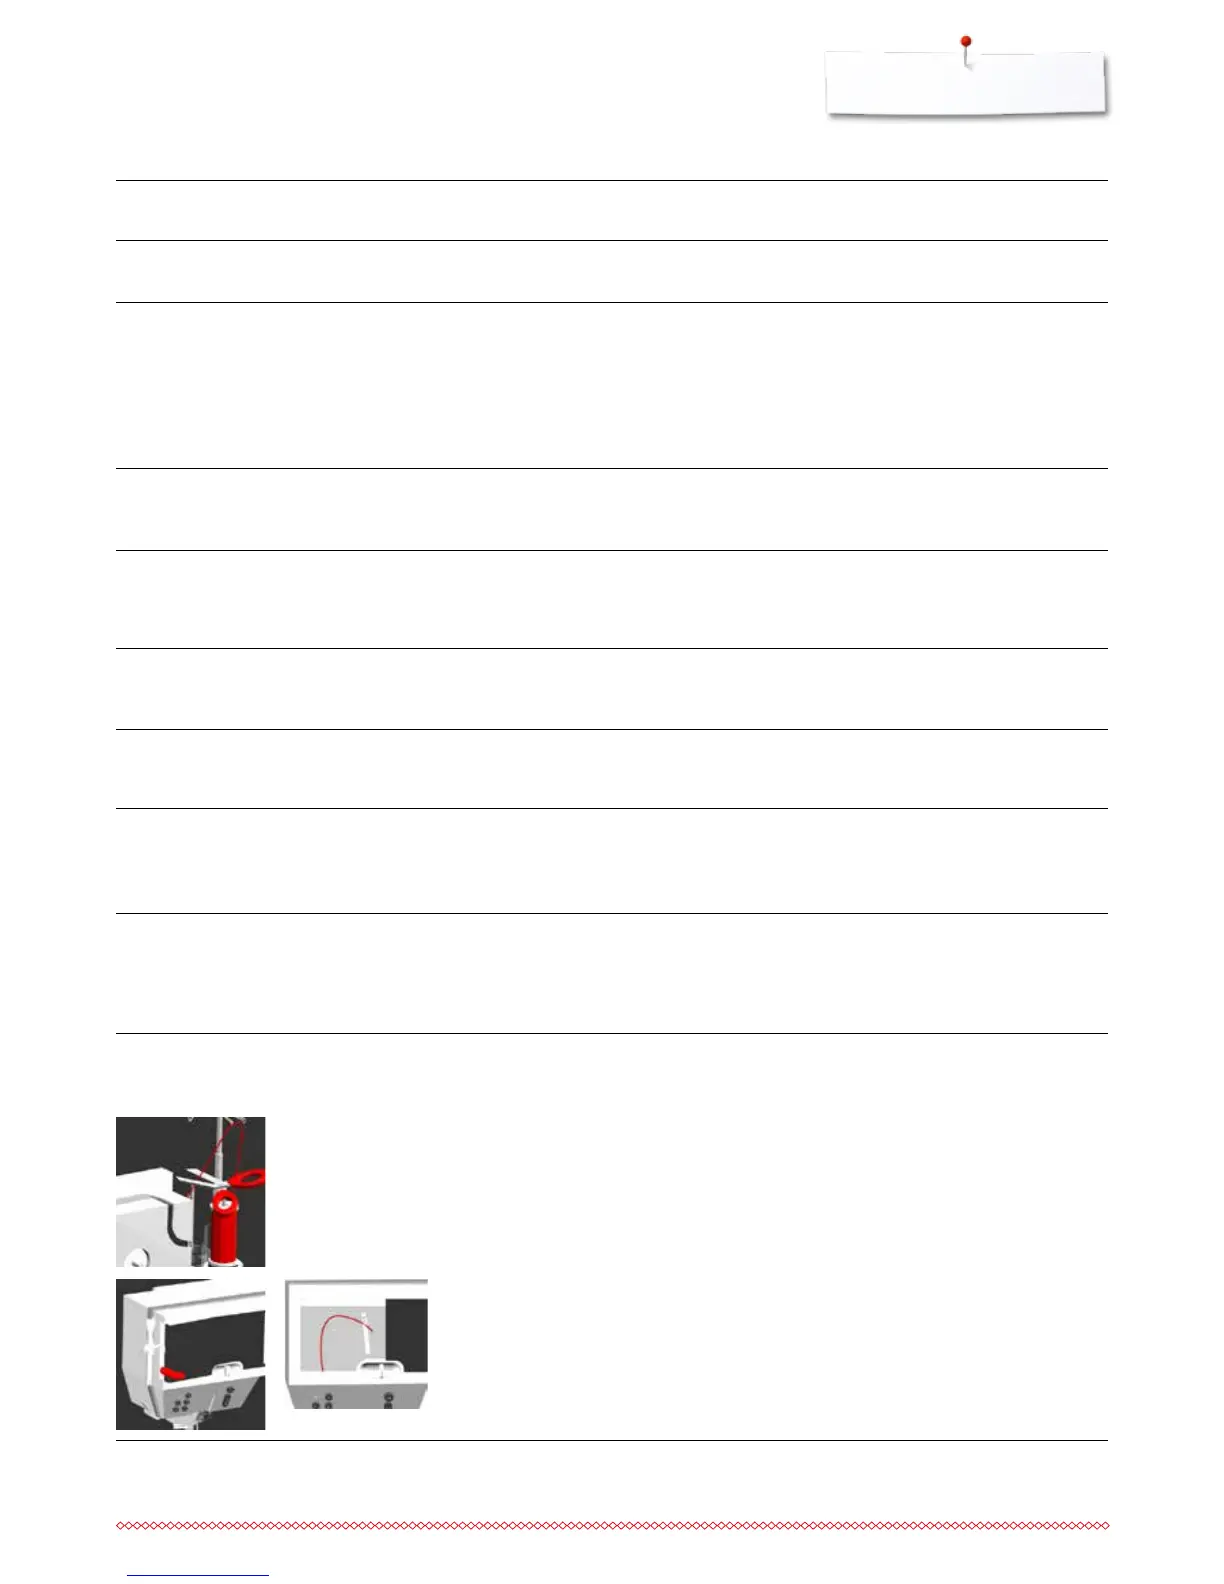
cut the thread at the thread spool
Remove the cover on the left of the Display as follows:
⦁
using the left hand, insert the multifunction tool into the slot on
the left side of the cover and press onto the latch.
⦁
simultaneously remove the cover towards you using the right
hand
⦁
remove any thread remnants from the thread lever/regulator
carefully with tweezers
⦁
attach the cover and push backwards until it engages
Stitch width not
adjustable
setting activated in the security
program
⦁
deactivate setting
Display is inactive calibration data incorrect
eco-function active
⦁
re-calibrate the Display in the Setup-Program
⦁
turn off eco function
 Loading...