!
Biodex Medical Systems, Inc. © 2016 157
8. Set the reading interval in either half-lives or hours depending on your selections above.
Use the <▲> and <▼> to increase or decrease the reading interval.
9. Touch to highlight the <set time until normalized reading> button if you are using a
normalized calculation method. Use the <▲> and <▼> to increase and decrease what will be
the normalized reading for the calculation.
NOTE: The averaging method does not have a normalized reading.
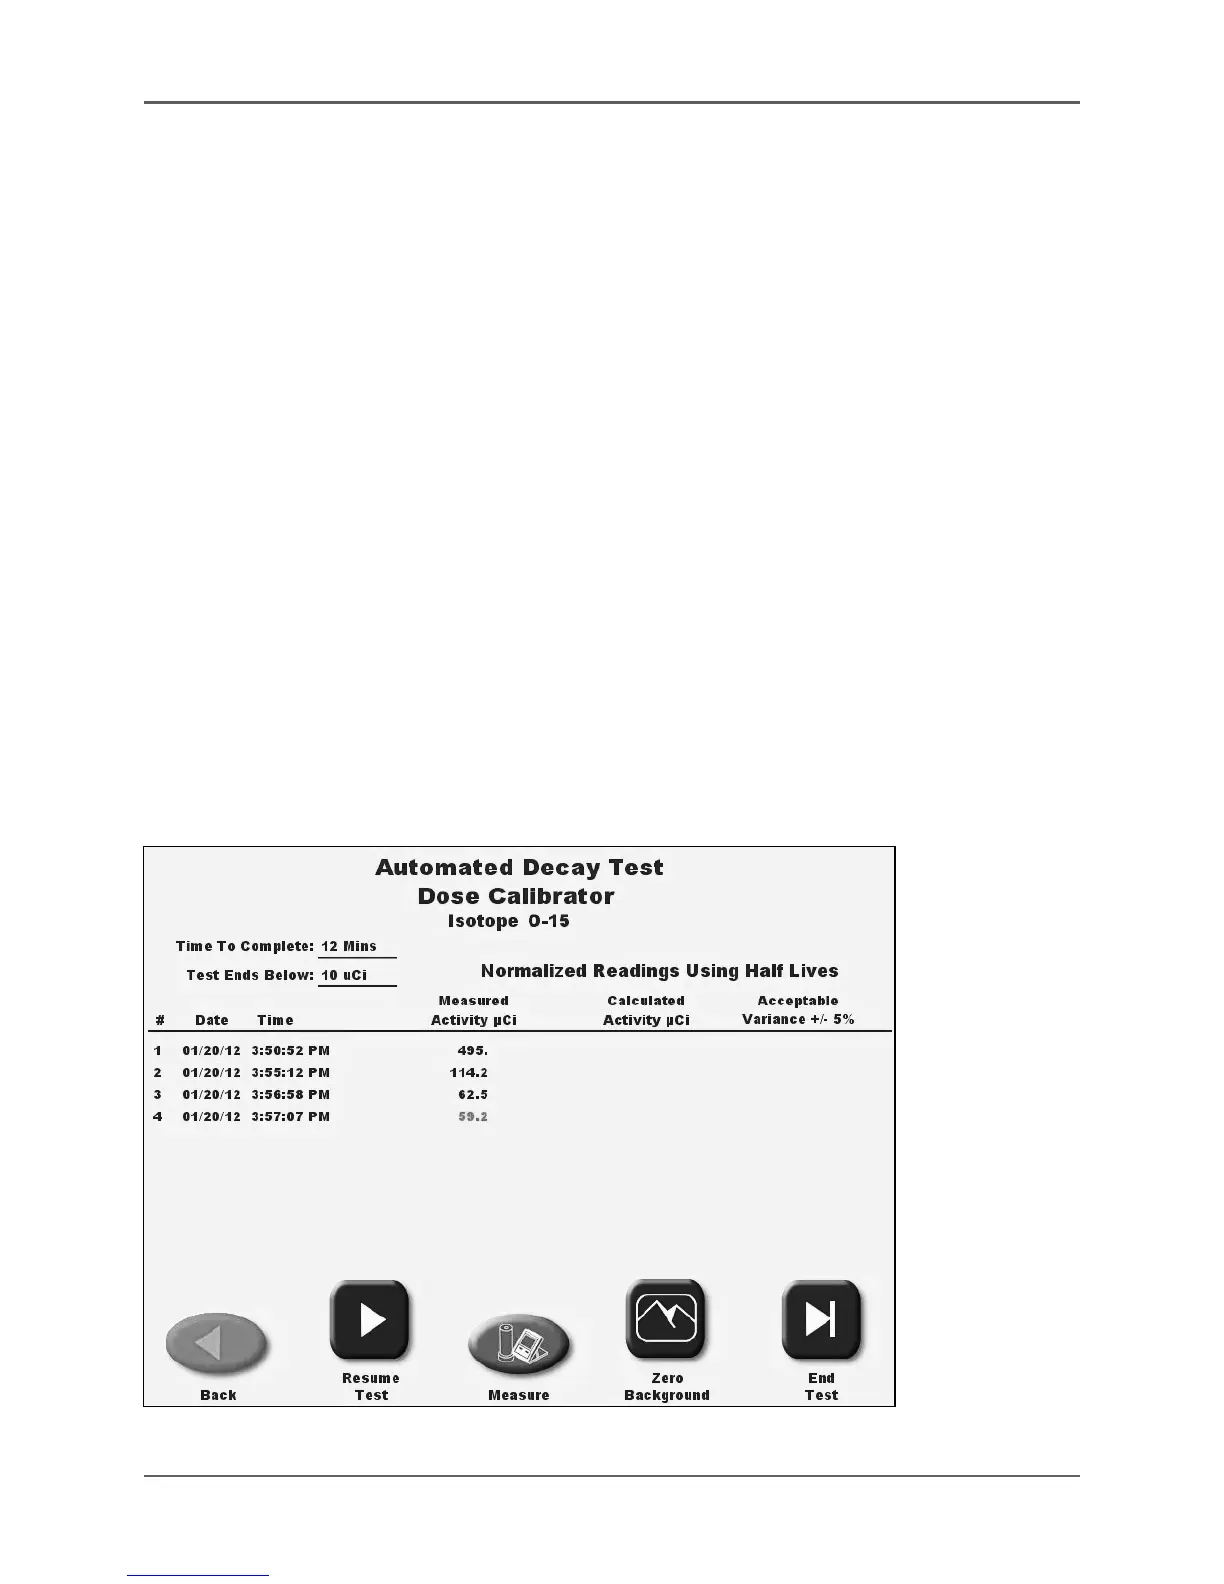
10. Touch <Enter> to return to the Automated Decay Test screen. The live detector reading is
displayed in red on the screen. <Zero Background> if required.
11. Place your source into the detector. You can use Tc-99m, or another short half-life isotope
to perform the linearity test.
12. Touch <Start Test> to record the first test reading. The system will automatically show the
isotope activity as it is decaying and the clock time increasing from when the test began.
The system will automatically take the next reading, and the ones after that, at the proper
elapsed time.
NOTE: Touch <Pause> Test to pause the test and allow use of the dose calibrator for
counting or other functions, such as choosing <Measure> to return to standard DOSE
CALIBRATOR OPERATION.
NOTE: You can pause the test, remove the source from the chamber, and perform a <Zero
Background> if desired. It is important to Zero Background at low activity if the room
background level changes.
Figure 6.27. Automated Decay Test screen.