Figure 119. Installing the display-panel assembly
Steps
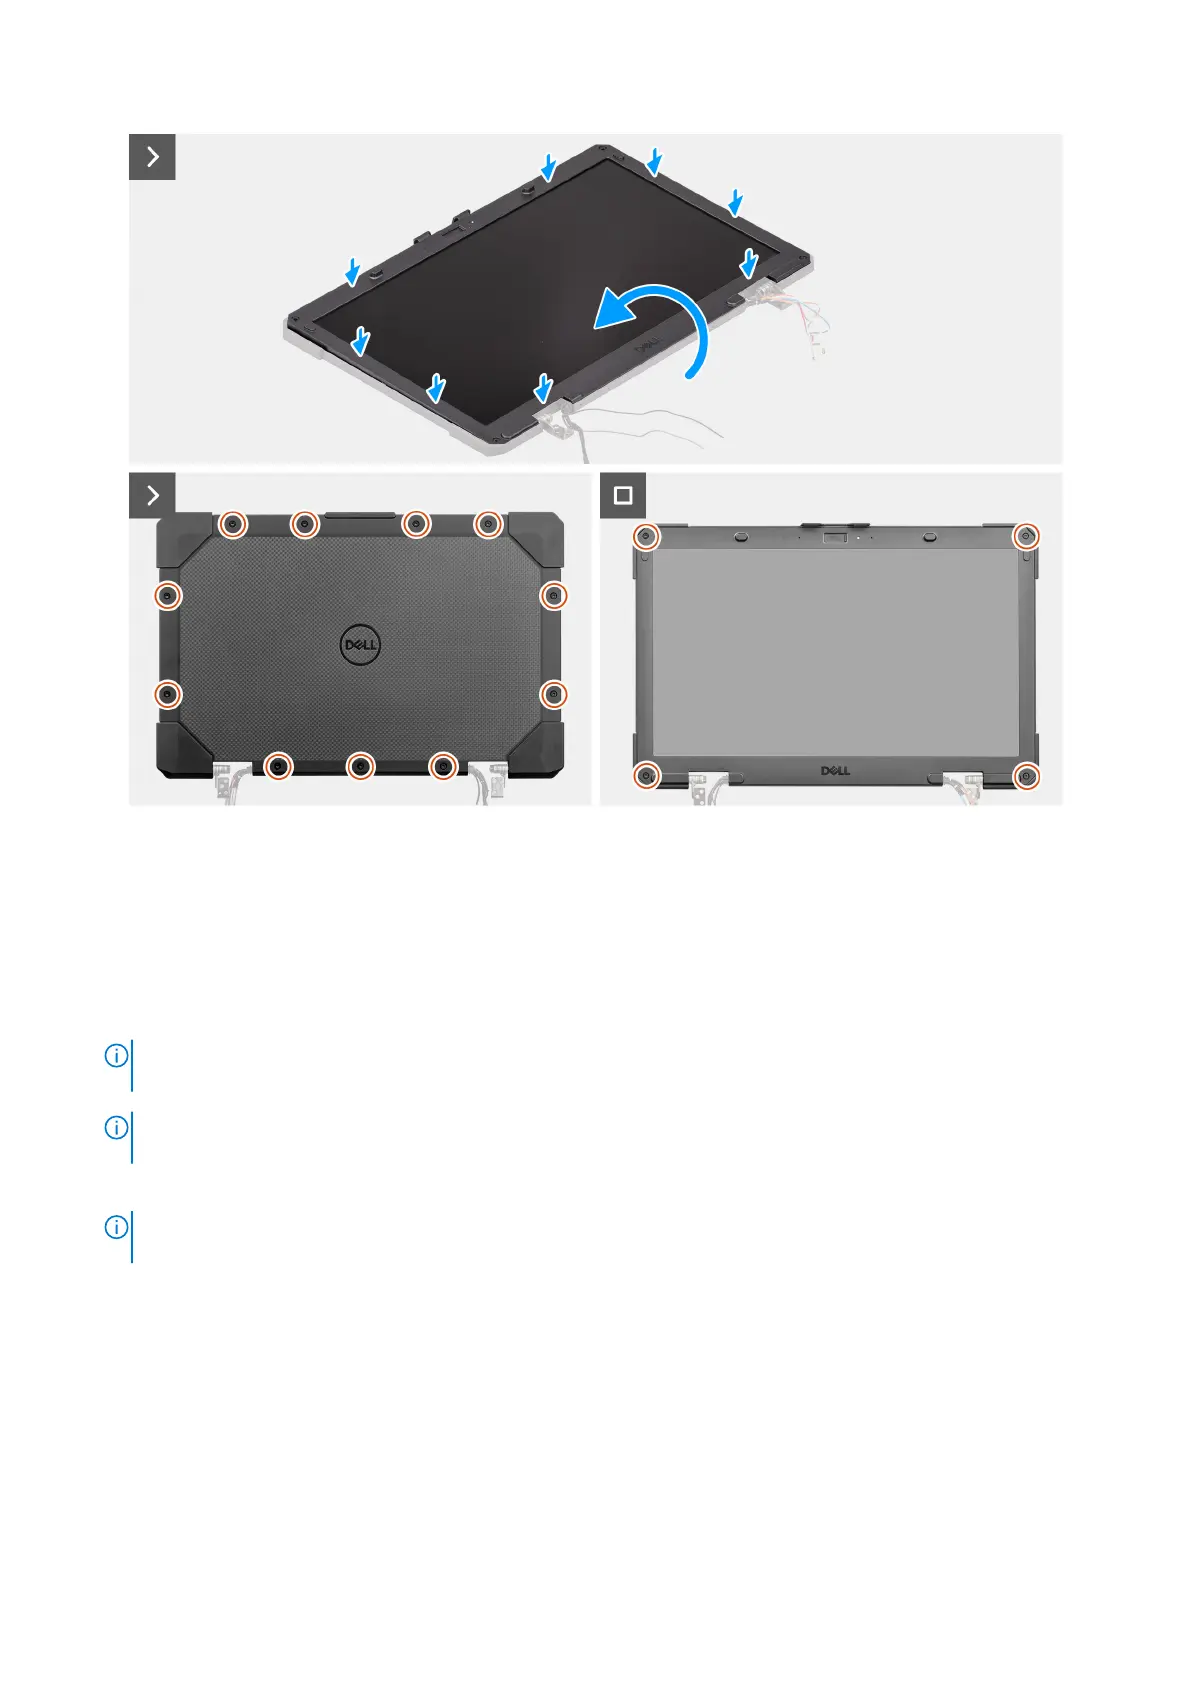
1. Connect the touch cable to its connector on the touch screen board.
2. Connect the eDP cable to its connector on the display-panel assembly and flip the display-panel assembly on the display
back-cover assembly.
3. Align the display-panel assembly with the display back-cover assembly. Gently snap the display-panel assembly into place.
4. Replace the 11 (M2.5x6, T8) epoxy screws that secure the display-panel assembly to the display assembly.
NOTE:
Ensure that the display-panel assembly is placed on a flat surface when replacing the screws to avoid light
leakage from the LCD.
NOTE: The epoxy screws are designed for single use. When replacing the display-panel assembly, ensure to use the
epoxy screws shipped with the replacement package.
5. Replace the four (M2.5x6, T8) epoxy screws to secure the display-panel assembly to the display back-cover assembly.
NOTE:
The epoxy screws are designed for single use. When replacing the display-panel assembly, ensure to use the
epoxy screws shipped with the replacement package.
Next steps
1. Install the display assembly.
2. Follow the procedure in after working inside your computer.
156
Removing and installing Field Replaceable Units (FRUs)