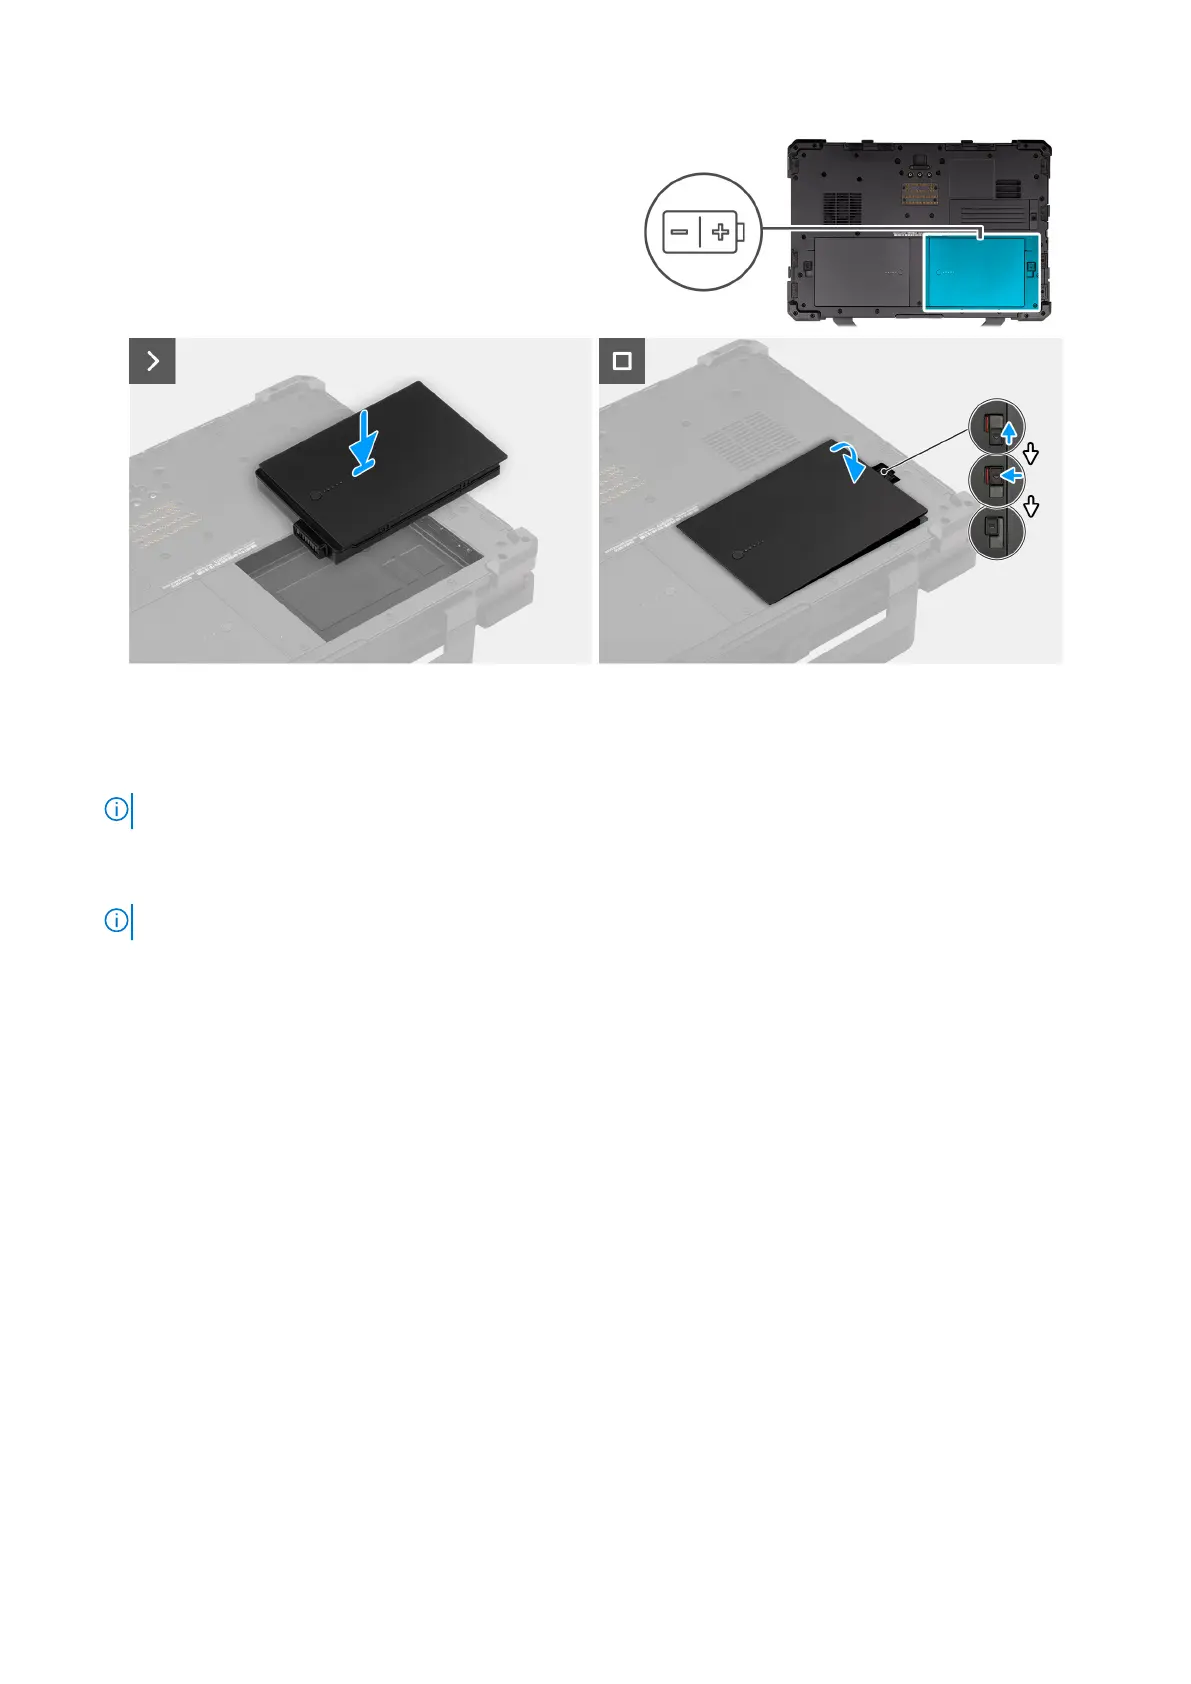
Figure 16. Installing the right-side battery
Steps
1. Align the pins on the battery with the connector on the computer.
NOTE: Ensure that the metal pin of the battery is aligned in place.
2. Place the battery into the battery bay until it clicks into place.
3. Slide the battery latch to the locked state.
NOTE: Ensure that the battery release latch is in the locked state.
Next steps
1. Follow the procedure in after working inside your computer.
Stylus
Removing the stylus
Prerequisites
1. Follow the procedure in before working inside your computer .
About this task
The following image indicates the location of the stylus and provides a visual representation of the removal procedure.
52
Removing and installing Customer Replaceable Units (CRUs)