Figure 123. Installing the palm-rest assembly
Steps
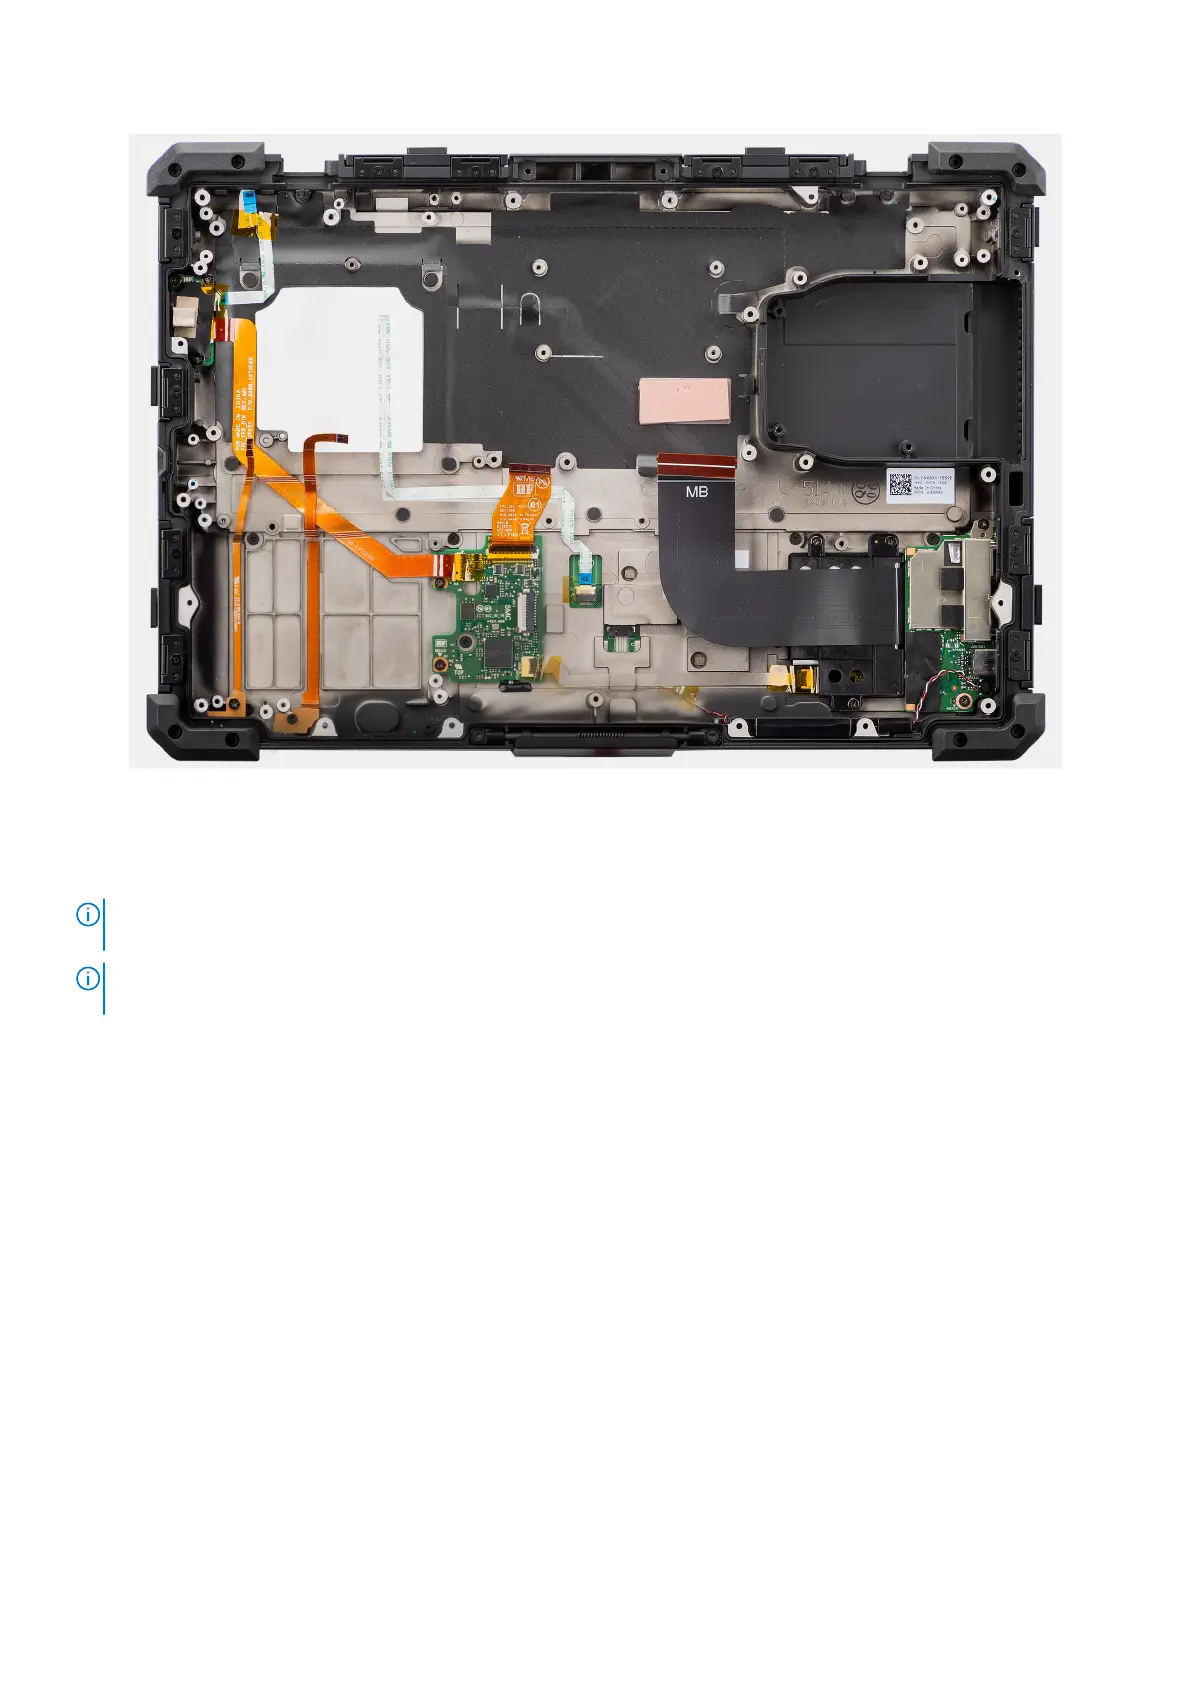
After performing the succeeding steps, you are left with the palm-rest assembly.
NOTE:
The palm-rest assembly is preassembled with the touchpad, power button board, power button with fingerprint
reader, LED board, USH board, left I/O-board, speakers, NFC module.
NOTE: Depending on the configuration of the computer, the rear I/O-board (including cover) and optional Fischer port
must be transferred over to the new replacement palm-rest assembly.
Next steps
1. Install the display assembly.
2. Install the system board.
3. Install the heat sink .
4. Install the fan.
5. Install the smart-card and express-card reader bracket.
6. Install the smart-card reader.
7. Install the express-card reader.
8. Install the rear I/O-board.
9. Install the dock I/O-bracket.
10. Install the dock I/O-module.
11. Install the WWAN card.
12. Install the WLAN card.
13. Install the RF switch board.
14. Install the stylus holder.
15. Install the base cover.
16. Install the keyboard (rubberized) or keyboard (standard).
17. Install the solid state drive carrier.
18. Install the batteries.
162
Removing and installing Field Replaceable Units (FRUs)