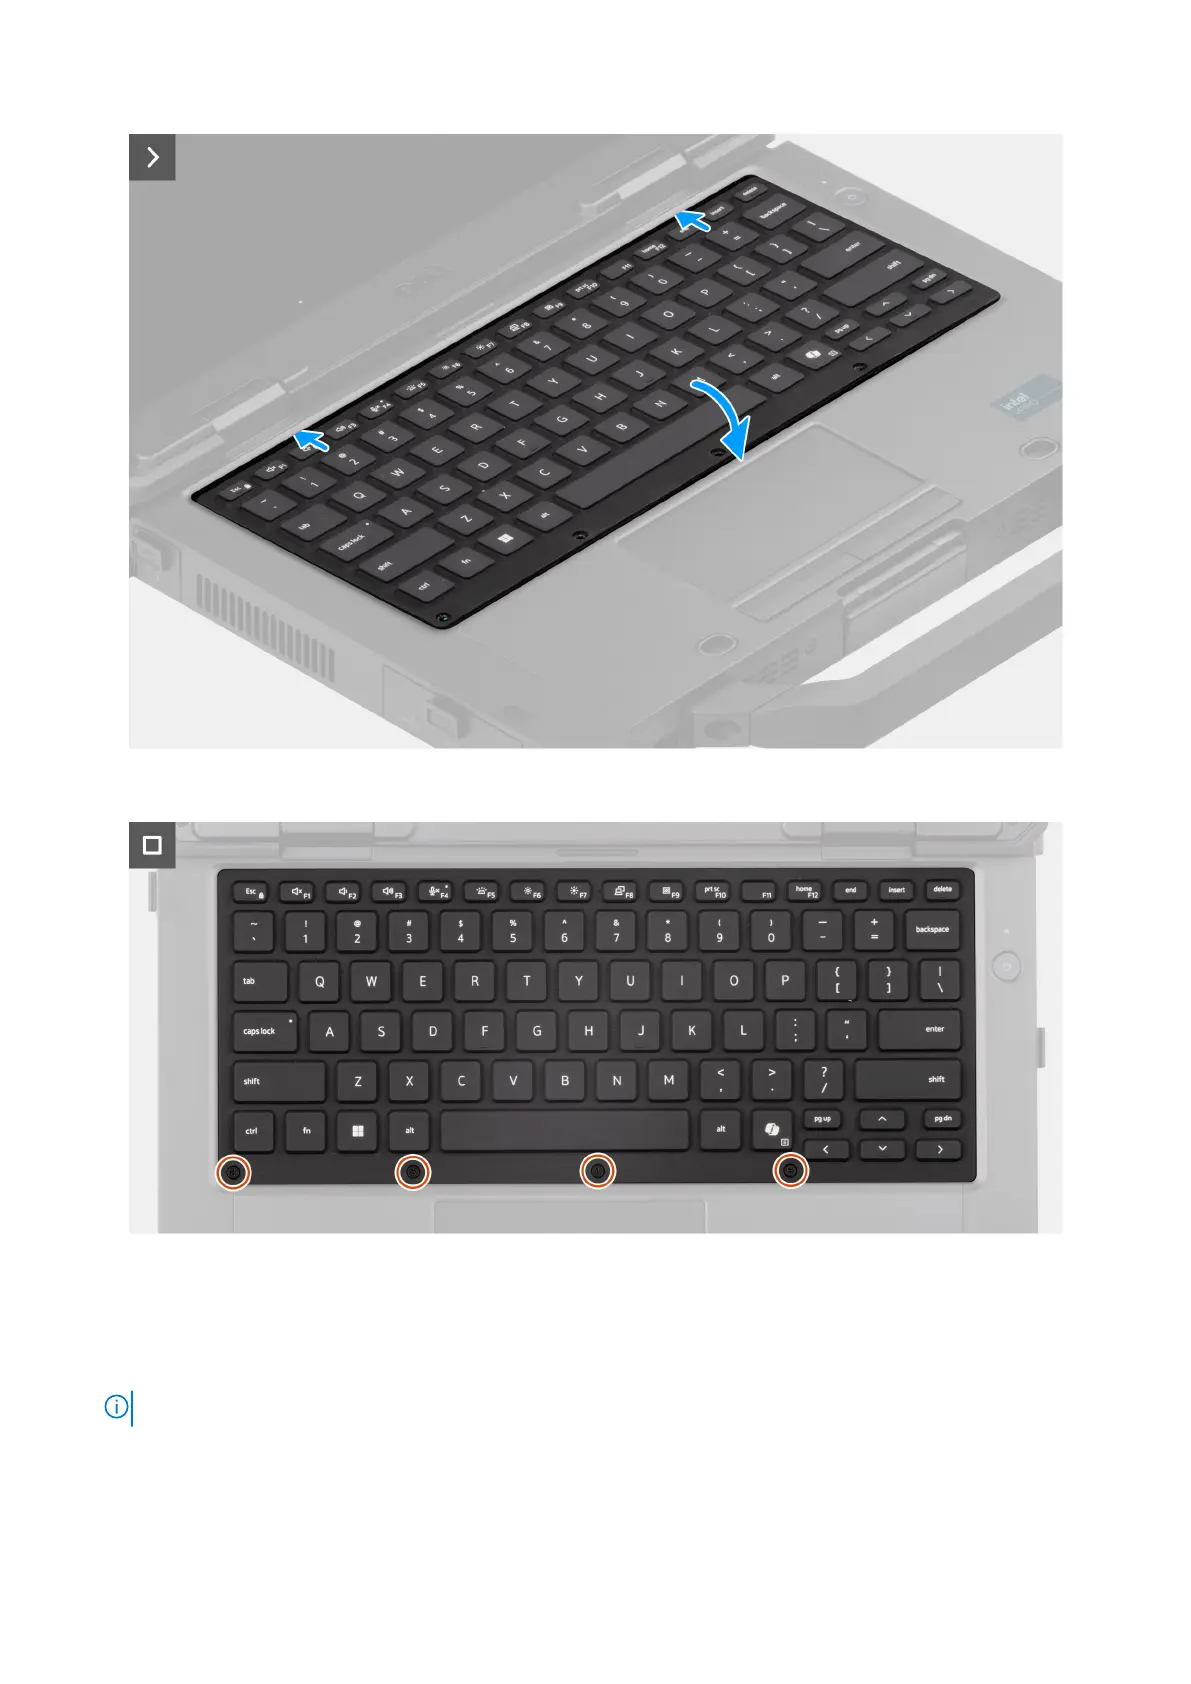
Figure 35. Installing the keyboard (rubberized)
Figure 36. Installing the keyboard (rubberized)
Steps
1. Place the keyboard on the computer chassis.
2. Connect the keyboard and backlight flexible printed cables to the connectors on the system board.
NOTE: Adhere the keyboard and backlight flexible printed cable with kapton tapes to the connectors.
3. Replace the four (M2x3) screws that secure the keyboard-cable cover to the computer chassis.
4. Rotate the keyboard on the chassis and slide it towards the display to align with the screw holes.
5. Replace the six (M2.5x5) screws to secure the keyboard.
Removing and installing Field Replaceable Units (FRUs)
69