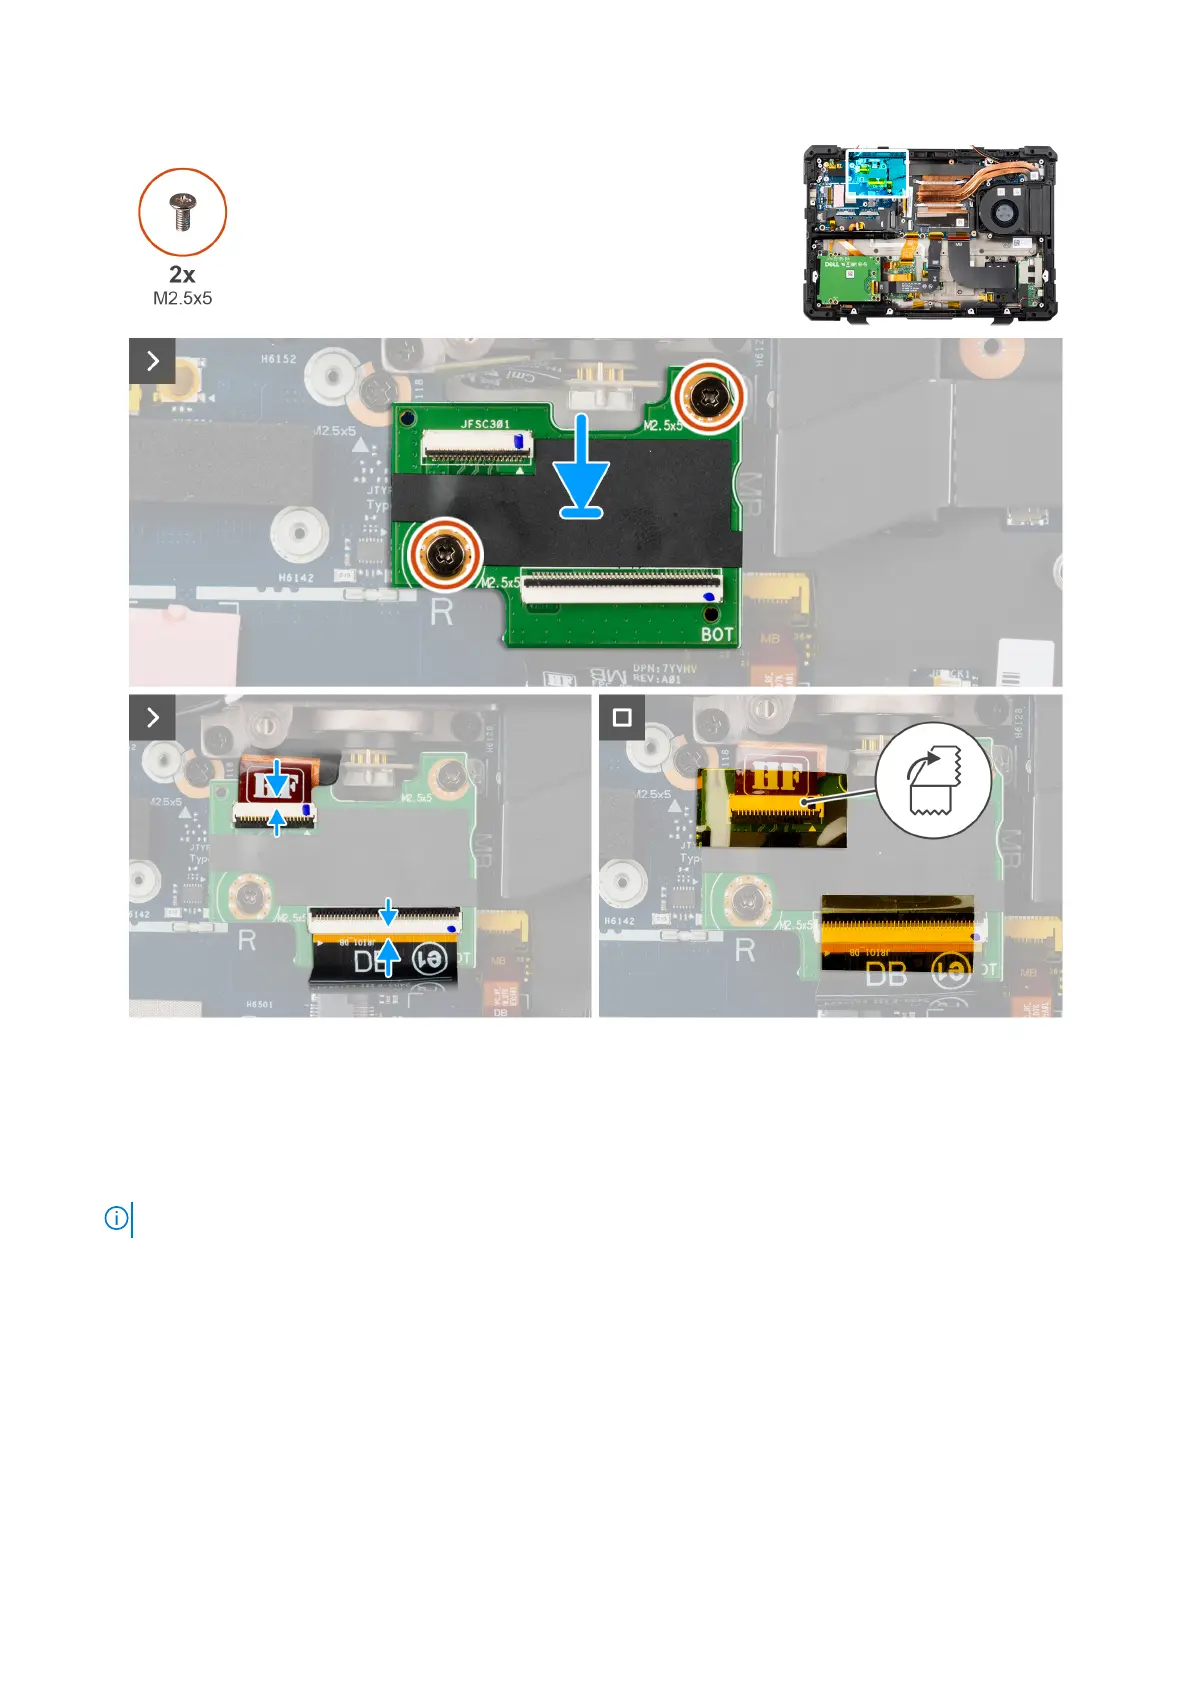
Figure 61. Installing the rear I/O-board
Steps
1. Align the screw holes on the rear I/O-board with the screw holes on the system board.
2. Replace the two (M2.5x5) screws to secure the rear I/O-board to the system board.
3. Connect the rear I/O flat printed cables on the rear I/O-board.
NOTE: Adhere the rear I/O flat printed cable with kapton tapes to the connector.
Next steps
1. Install the base cover.
2. Install the solid state drive carrier.
3. Install the batteries.
4. Follow the procedure in after working inside your computer.
Removing and installing Field Replaceable Units (FRUs)
95