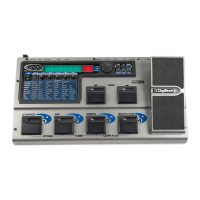
Cabinet Tuning
Cabinet tuning actually changes the resonant frequency of the selected cabinet.
This is useful for changing the tonality of your sound without having to touch the
EQ parameters. Tuning down gives the sound more bottom end while tuning up
enhances higher frequencies. The procedure for tuning the cabinets is as follows:
1. Press the CHAN ONE EQ or the CHAN TWO EQ Amp Control button to access
the Cabinet Tuning parameters.
2. Use KNOB 1 to adjust the Cabinet Tuning resonance. The Cabinet Tuning ranges
are from -12.0 (one octave below) to 12.0 (one octave above) the cabinet’s
standard resonance.
Storing Amp Parameter Edits
Once you are satisfied with your amp edits, these changes need to be stored so
that they can be recalled later. See page 92 for more information on storing
changes to a preset.
Creating HyperModels
TM
Creating new, unique HyperModels is what Digitech’s GeNetX
TM
technology is all
about. Once both channels Amps and Cabinets are selected and the Amp Parameters
and Cabinet Tunings have been adjusted, GeNetX technology lets you do something
amazing. The characteristics of each Amp and Cabinet can be combined or “Warped”
to create a completely new custom HyperModel Amp. The procedure for Warping the
Channel 1 and Channel 2 Amps together is as follows:
1. Press the
GENETX amp control button.
2. Rotate KNOB 3
to Warp the Channel 1 and Channel 2 Amps and Cabinets
together. Rotating it counter-clockwise emphasizes the Channel 1 characteristics
while rotating it clockwise emphasizes the Channel 2 characteristics. A warp
value of 1 produces the amp tone of only the Channel 1 (Green) Amp. A warp
value of 99 produces the amp tone of only the Channel 2 (Red) Amp.
Saving HyperModels
TM
(Amp Save)
When you have found your ideal warp setting for Channel 1’s and Channel 2’s Amp
Models, you can save this sound as a HyperModel for future use. This HyperModel
can be saved in one of 9 User locations. After it has been saved, it can now be
selected by either Amp Channel as the starting point for a new HyperModel. The
Amp Save procedure is as follows:
1. Press the AMP SAVE button. The AMP SAVE button will begin flashing and the
display will read
NEWAMP. The N of NEWAMP is flashing indicating that you can
name your HyperModel.
2. Use the DATA WHEEL to change the alpha-numeric character.
48
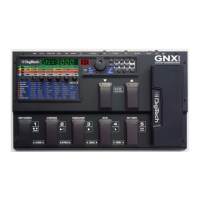
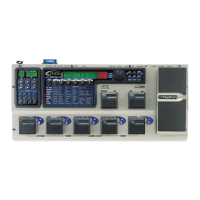
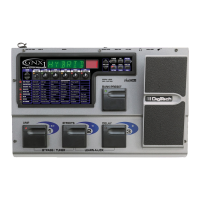
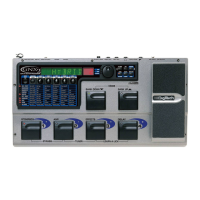
Amp/Cabinet Modeling
GNX3000 Owner’s Manual