Maintenance 6. Maintenance Parts Replacement Procedures
RC620 Rev.8 199
6.9 HDD
Replacement procedure of HDD is different depending on the absence or presence of the
RAID option.
6.9.1 Standard (HDD without RAID option)
Follow the replacement instruction described in the attachment paper RC620 Maintenance
Parts: Procedure for Replacing HDD and Setting Up coming with a new HDD.
6.9.2 HDD with RAID option
CAUTION
D
o not apply any shock to the HDD during the maintenance work.
Otherwise, not only the part may be broken and the data also may be broken
during read / save.
Before replacing the hard disk, make sure to backup the data of necessary project and
system and after replacing, restore the data.
For the details of data backup / restore, refer to Maintenance 4.3 Data Backup.
Windows and power off the Controller.
Remove 6 screws securing the front panel
and remove the front panel.
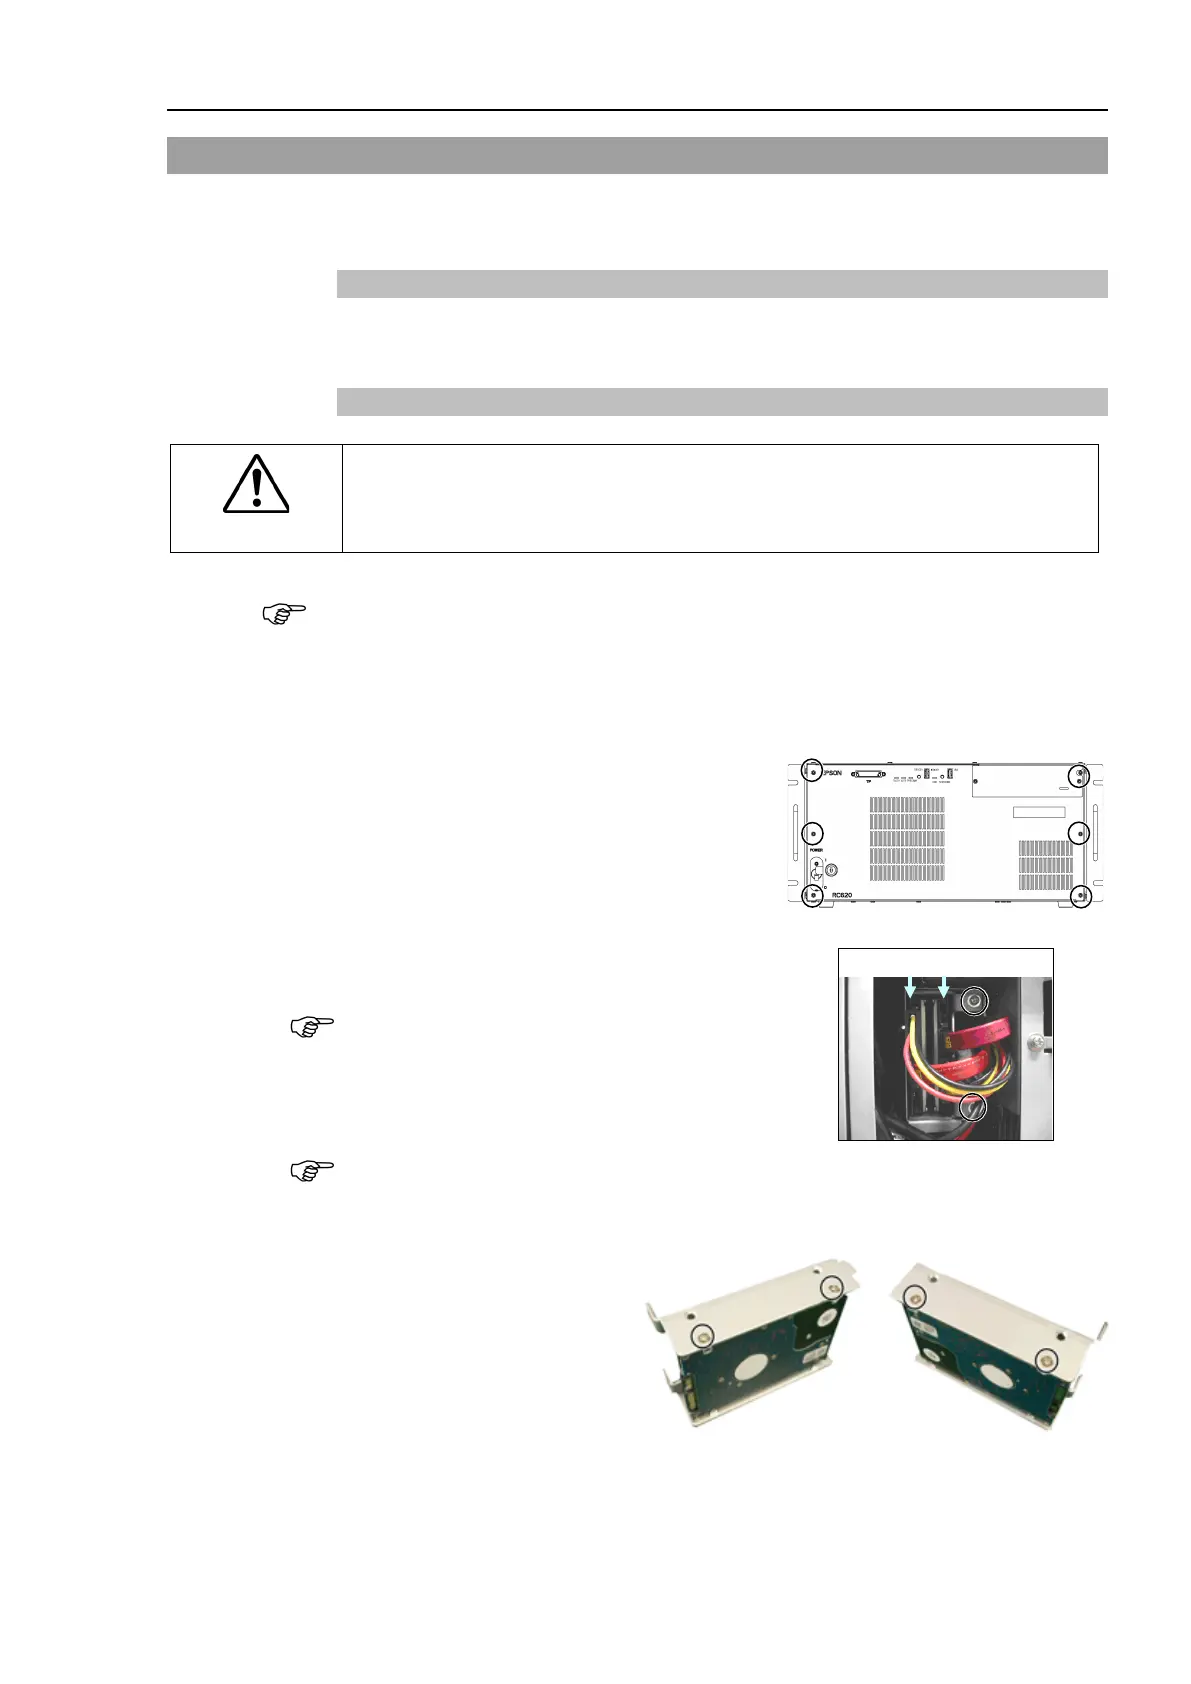
Remove the cables connected to the HDD.
Be careful not to break the HDD connector.
emove 2 set screws of the HDD fittings and
HDD with fittings forward.
Be careful not to drop the screws.
Remove the set screws (4 flat head screws) for the HDD and remove the HDD from the
fitting
s. The photos below show HDD1.
The relation of HDD numbers and port numbers is:
HDD number 1 2
↓ ↓