7.6 Replacing Parts
fi-6010N Network Scanner Operator's Guide 439
7
7.6.3 Replacing the Pad Assy
1. Remove any documents from the ADF paper chute.
2. Push the ADF release button, then hold both sides of the top cover and lift it open.
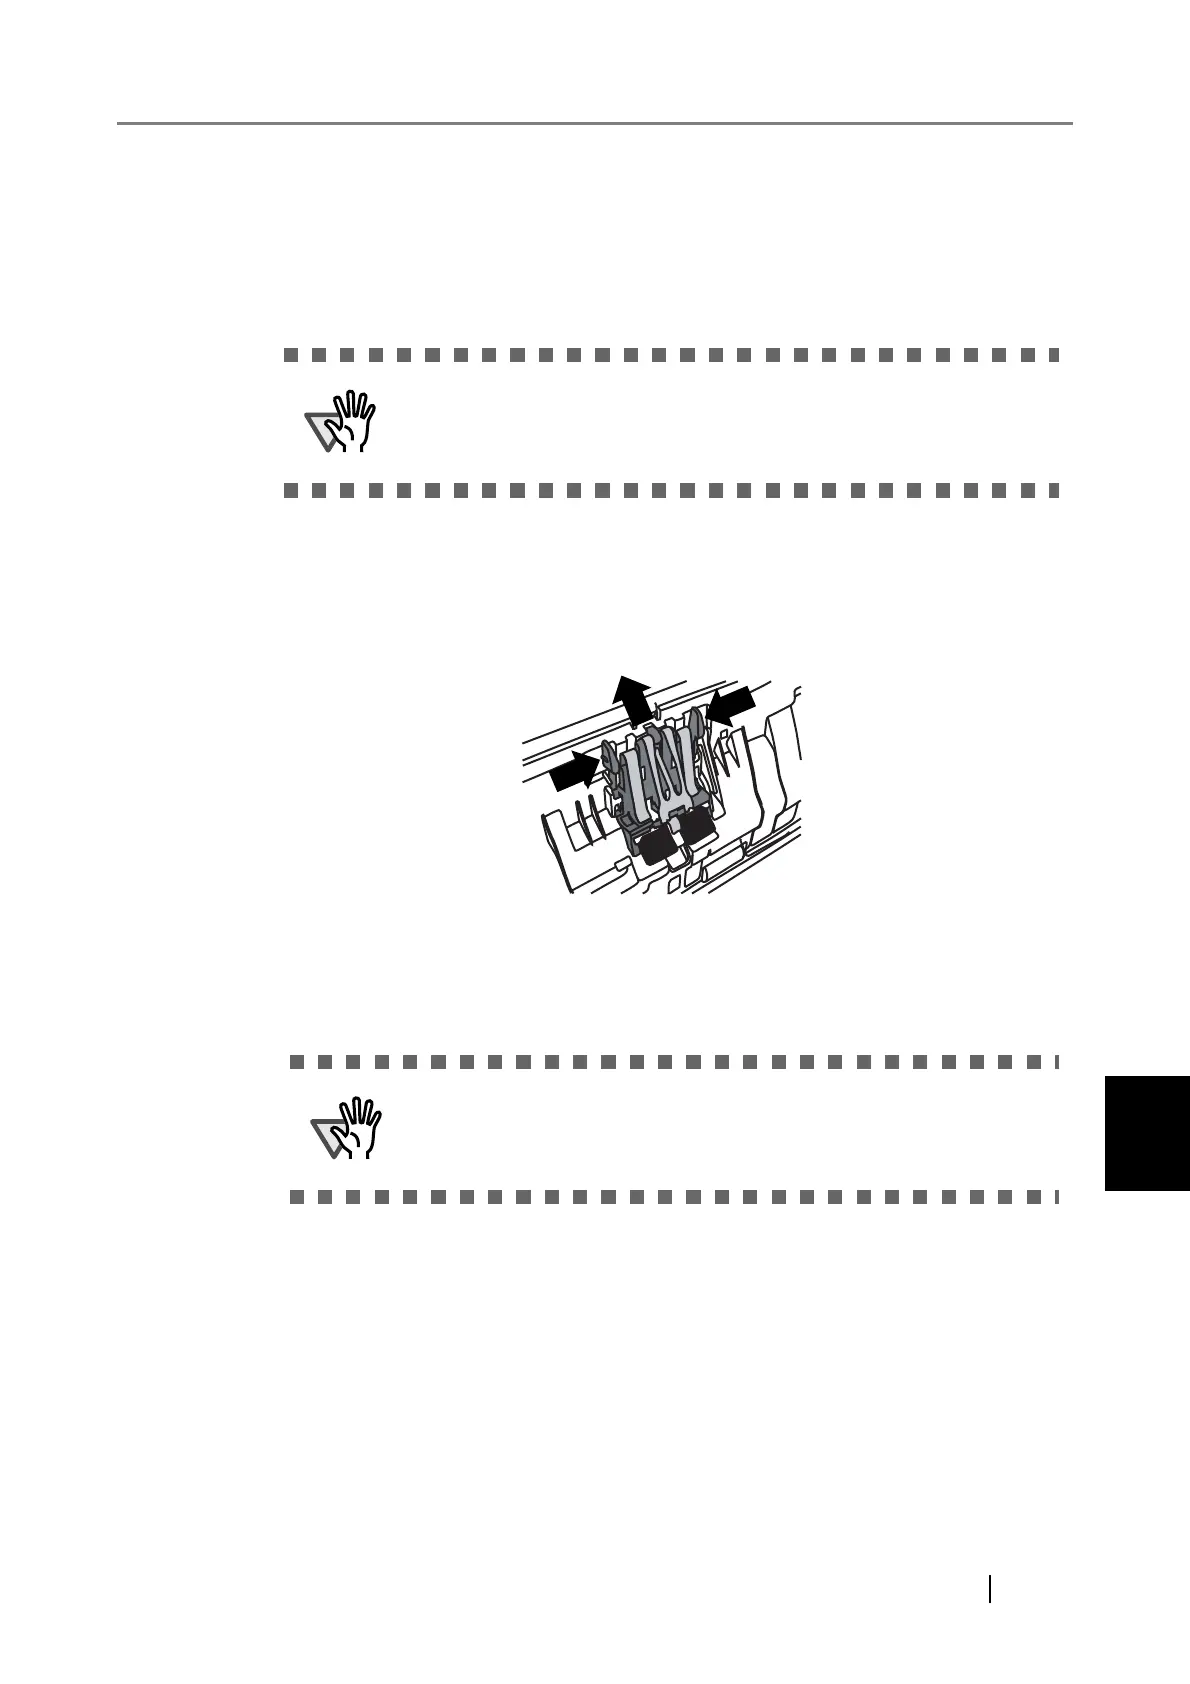
3. Remove the pad assy from the scanner.
Squeeze the prongs on either side of the pad assy together and pull it upwards and to the
front, taking care not to snag the pick springs.
4. Insert the new pad assy.
Holding the new pad assy by its sides, insert into the pad assy socket, taking care not to
snag the pick springs.
Be careful that the top cover does not shut on your fingers.
Make sure that the pad assy is firmly and fully inserted. If it is not
correctly attached, document jams and other feeding errors may
occur.
Squeeze prongs together and pull up