8 - Centralized Conguration Manager(CCM) Software
90 / 112
000HZ6006EN.US • 02 • GEM Hemochron 100 Operator Manual
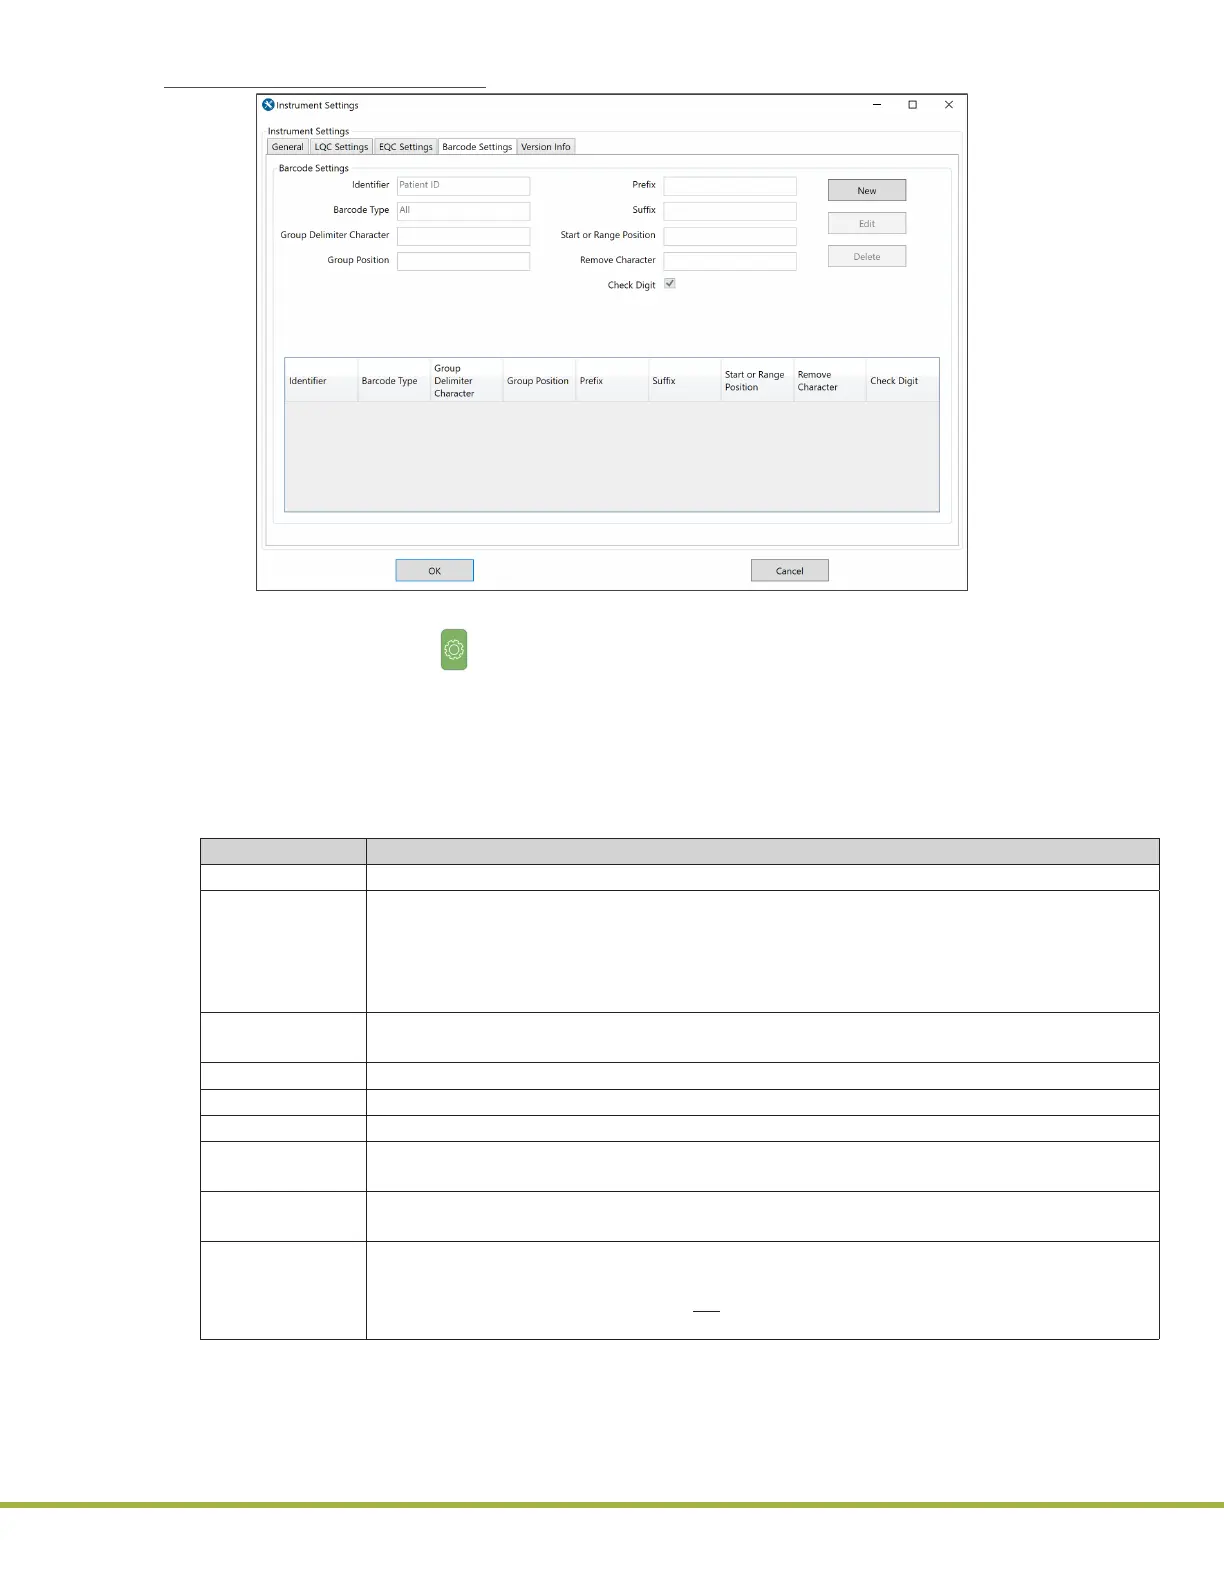
Barcode Settings Dialog Box:
Figure 92
: CCM – Barcode Settings Dialog Box
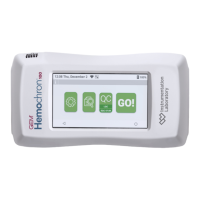
1 On the instrument, select (Settings) > Supervisor Settings > Barcode Scanner Test.
2 When the dialog box is displayed, select Scan and then scan the Operator ID and Patient ID barcodes
to verify if barcode parsing is required.
3 In the Barcode Settings dialog box (
Figure 92
) on CCM, click New. The Adding New Barcode
Settings dialog box is displayed.
4 Congure barcode parsing as needed. For a description of each setting, see
Table 17
.
Table 17: CCM – Instrument Settings > Barcode Settings
Setting Description
Identier Select Patient ID or Operator ID.
Barcode Type Select the appropriate barcode type from the drop-down list of supported barcodes.
By default, All is selected. Supported barcodes: Aztec, Codabar, Code 11, Code 128,
Code 39, Code 93, DataMatrix, EAN‑13, EAN‑8, GS1 DataBar, GS1 DataBar Expanded,
GS1 DataBar Limited, GS1‑128, Interleaved 2 of 5, Matrix 2 of 5, MaxiCode,
MicroPDF417, MSI, PDF417, QR code, Telepen, UPC‑A, UPC‑E, UPC‑E1.
Group Delimiter
Character
To separate barcode strings into groups, select the delimiter character from the drop-down
list OR manually enter the delimiter character(s) into the text eld.
Group Position Enter a number to identify the group position that will be displayed from the barcode string.
Prex To remove a prex from the barcode string.
Sux To remove a sux from the barcode string.
Start or Range
Position
To identify the starting position or range a characters that will be displayed from the
barcode string.
Remove
Character
To remove a specic character or group of characters (exact order) from the barcode
string.
Check Digit To enable or disable the validation of the check digit. By default, the check digit validation
is enabled for the following barcode types: Codabar, Code 11, Code 39, Interleaved 2 of 5.
Therefore, if the barcode string does not contain a check digit, the check digit validation
should be disabled.
5 Click OK. The information is added to the Barcode Settings dialog box (
Figure 92
).
6 Click OK again to save the changes and return to the Home screen.
7 Send the conguration data to the instrument. For more information, see
“Send Conguration Data to
Instruments” (page 95)
.
 Loading...