116 THE HASSELBLAD MANUAL
different folders, side by side on the viewer for comparison by selecting an image in the
Thumbnail Browser and then selecting Compare view in the viewer toolbar below the image,
then go to Menu View and to Compare Image. Adjustments that you might make affect
only the right hand image. The two images can be switched left to right or vice versa with the
Switch Compare Images key on the far right of the toolbar.
The Viewer Toolbar
The viewer Toolbar that is below the image with the Normal View symbol on the far left,
allows you to work with the image in the viewer. The window next to it is Compare View and
allows you to view two images side by side,. You press the S key to open the selected thumb-
nail which then appears on the left hand side of the viewer. Double click another thumbnail
for the second image.
The activated crop tool includes a placement/centering grid which can be customized in
the Crop tab in the Tools window to match the desired proportional ratios. It is then dragged
into position. Crop dimensions appear immediately beneath cropped area while the mouse is
pressed. You can determine the number of lines in the grid while pressing a numerical key.
The Neutralizing Tool allows making a rapid neutral color balance in any part of the
image. After clicking the icon, position the tool over an area that you judge to be neutral and
click again. The RGB readout at the bottom right of frame can give you more information.
The Zoom Tool can be placed over any area within the image that you want to zoom in
and will then provide a 100% view of that particular area. Clicking Alt reverts the image to the
original size.
To Mark Underexposed and Mark Overexposed, click to mark areas of the image which
are underexposed indicated as light magenta in the default setting or overexposed and
marked as light cyan. Cover the affected areas then go to Menu View Warning Options to
change threshold settings and the warning color.
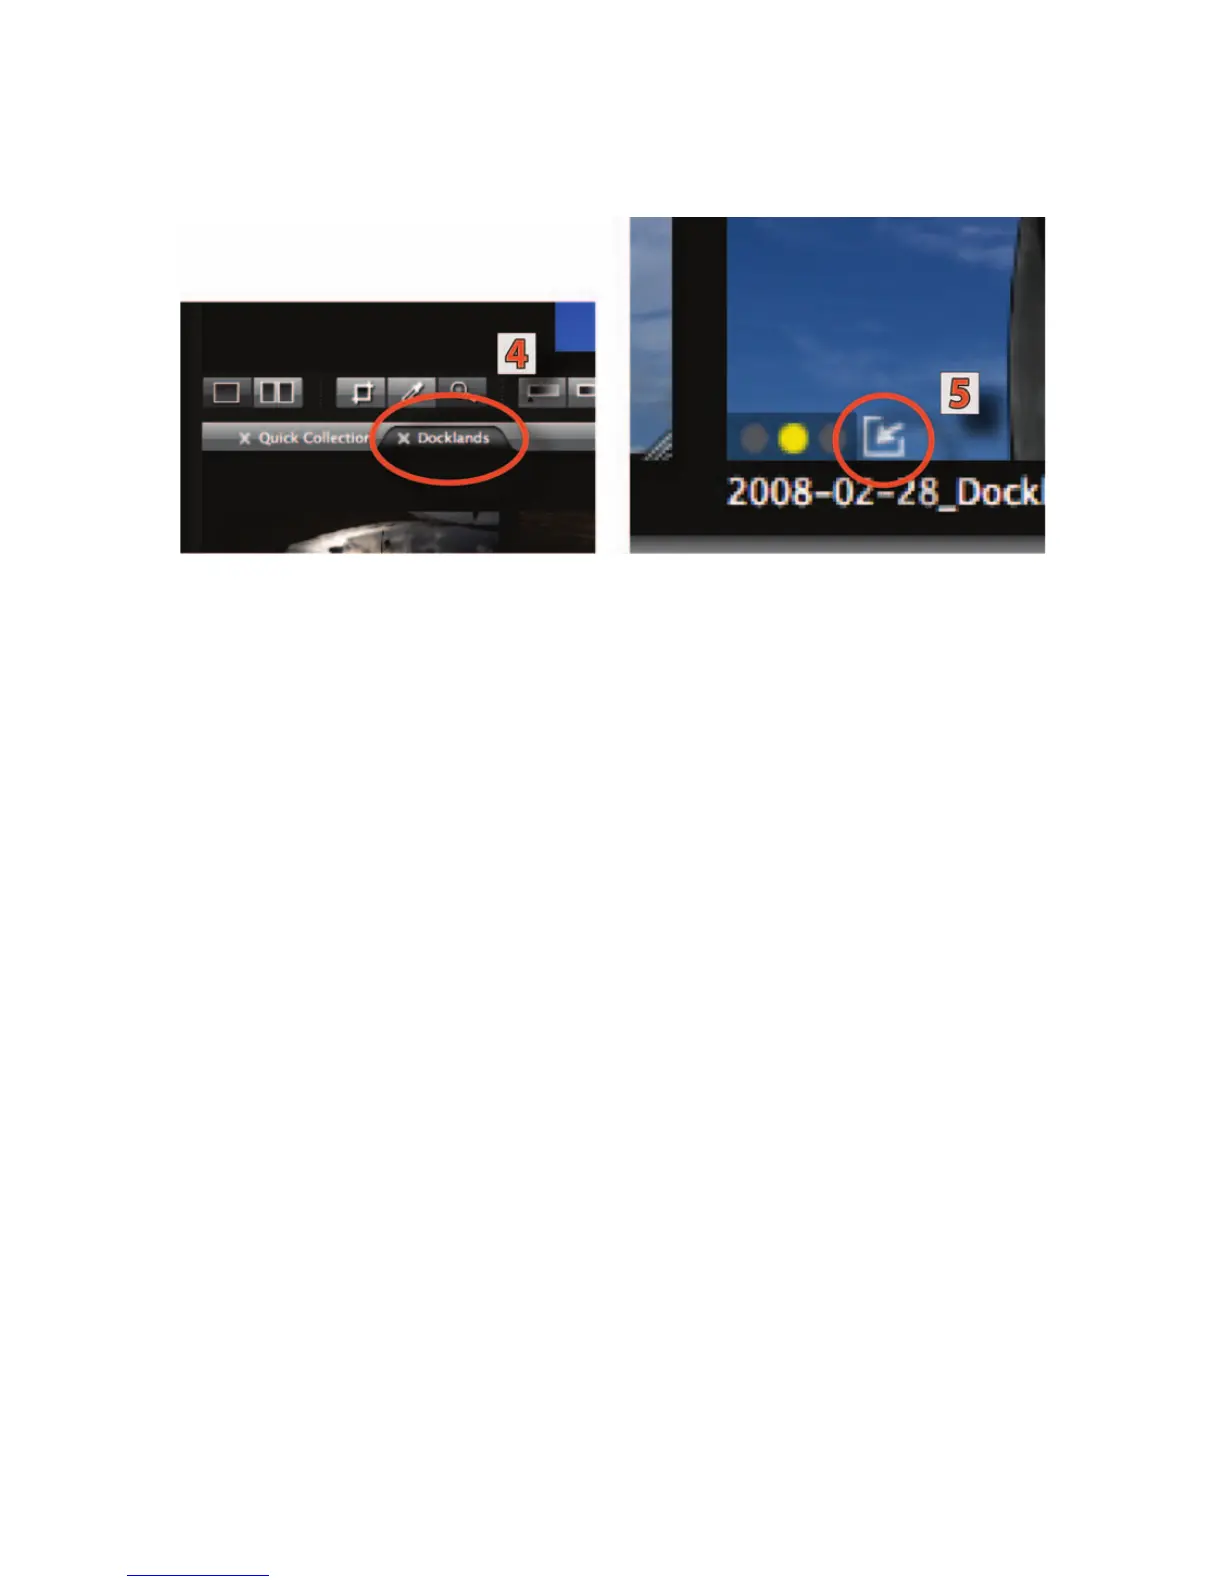
Figure 5-29 Extra Tabbed folder and Quick Collection. The extra tabbed folder appears in
the Thumbnail Browser (4). Thumbnails assigned to a Quick Collection acquire a Quick
Collection icon (5).