EasyManuals Logo
Home>Hypertherm>Welding System>XPR300

Hypertherm XPR300 Replacement Part Procedures

Hypertherm XPR300
162 pages
To Next Page IconTo Next Page
To Previous Page IconTo Previous Page
Page #51 background imageLoading...
Page #51 background image
Plasma Power Supply
1
XPR300 Field Service Bulletin 809970 51
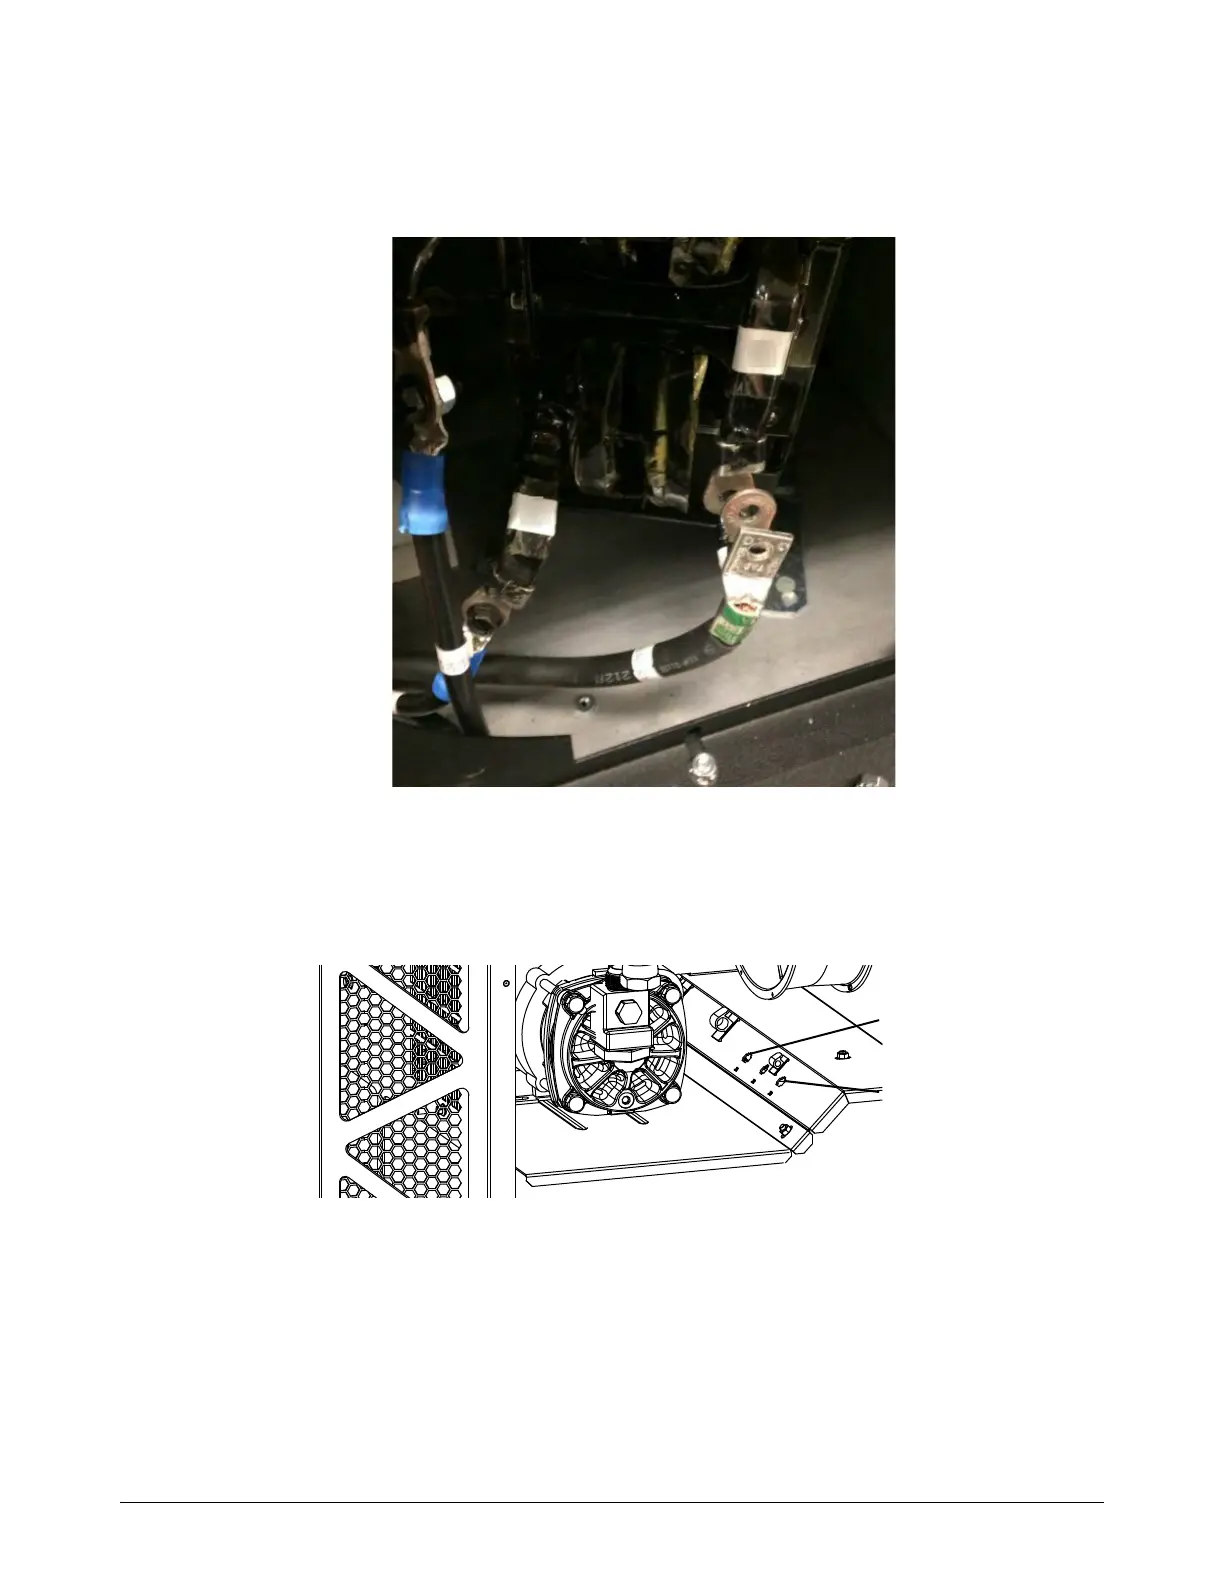
10. Use a 10 mm, hexagonal-socket wrench to remove the 3 screws from the inductor terminal.
Take a picture of the order of the wiring terminals to help when you install
the new inductor.
11 . Remove the blue/white twisted pair wires from the cable holders.
12. Press the 2 side bars and then push the connector through the hole in the sheet metal to
disconnect the connector for the thermal switches on the inductor.
J1 for Inductor 1 (L1)
J3 for Inductor 2 (L2)
J1
J3

Table of Contents

Other manuals for Hypertherm XPR300

Questions and Answers:

Question and Answer IconNeed help?

Do you have a question about the Hypertherm XPR300 and is the answer not in the manual?

Hypertherm XPR300 Specifications

General IconGeneral
BrandHypertherm
ModelXPR300
CategoryWelding System
LanguageEnglish

Related product manuals