(
(
,(
(/
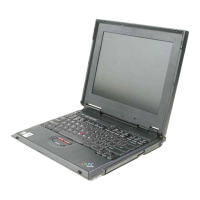
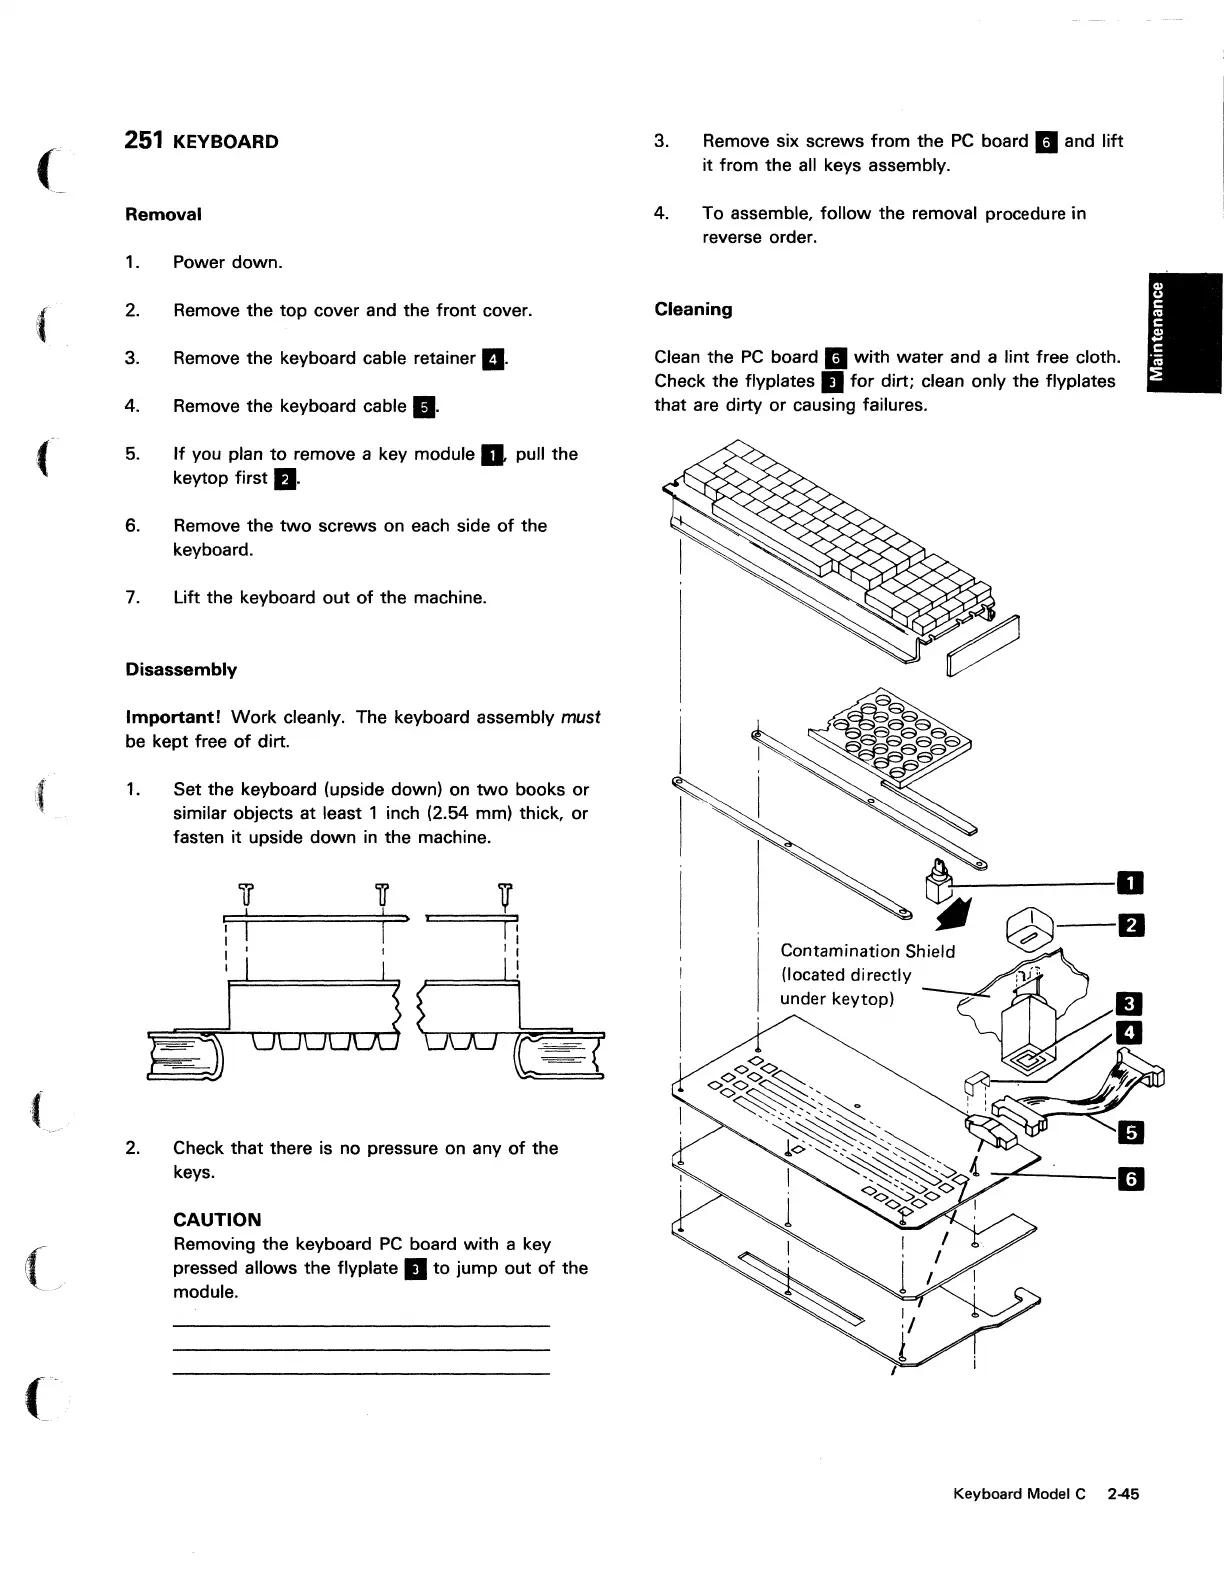
251
KEYBOARD
Removal
1. Power down.
2.
3.
4.
5.
Remove the
top
cover and the
front
cover.
Remove the keyboard cable retainer
II.
Remove the keyboard cable
g.
If
you plan
to
remove a key module D pull the
keytop first
II.
6. Remove the
two
screws on each side
of
the
keyboard.
7. Lift the keyboard
out
of
the machine.
Disassembly
Important!
Work
cleanly. The keyboard assembly must
be
kept free
of
dirt.
1.
Set the keyboard (upside down) on
two
books
or
similar objects at least 1 inch (2.54 mm) thick. or
fasten it upside down
in
the machine.
'i1'
i
2.
Check that there is no pressure on any
of
the
keys.
CAUTION
Removing the keyboard
PC
board with a key
pressed allows the flyplate •
to
jump out
of
the
module.
3. Remove six screws from the
PC
board
II
and
lift
it from the all keys assembly.
4. To assemble.
follow
the removal procedure in
reverse order.
Cleaning
Clean the
PC
board
II
with
water and a lint free cloth.
Check the flyplates •
for
dirt; clean only the flyplates
that are dirty or causing failures.
Contamination Shield
(located directly
under key top)
~-..,
-;"'"----11
Keyboard Model C 2-45