2–6
Transpector CPM Operating Manual
2.4.1 Installing the Support Kit
1 Measure the support leg to make sure there is ample room for installation. The
leg may be cut to size.
NOTE: One end of the support leg has a threaded hole for the adjustable foot.
When cutting the leg, make sure that the threaded hole end is used for
the support.
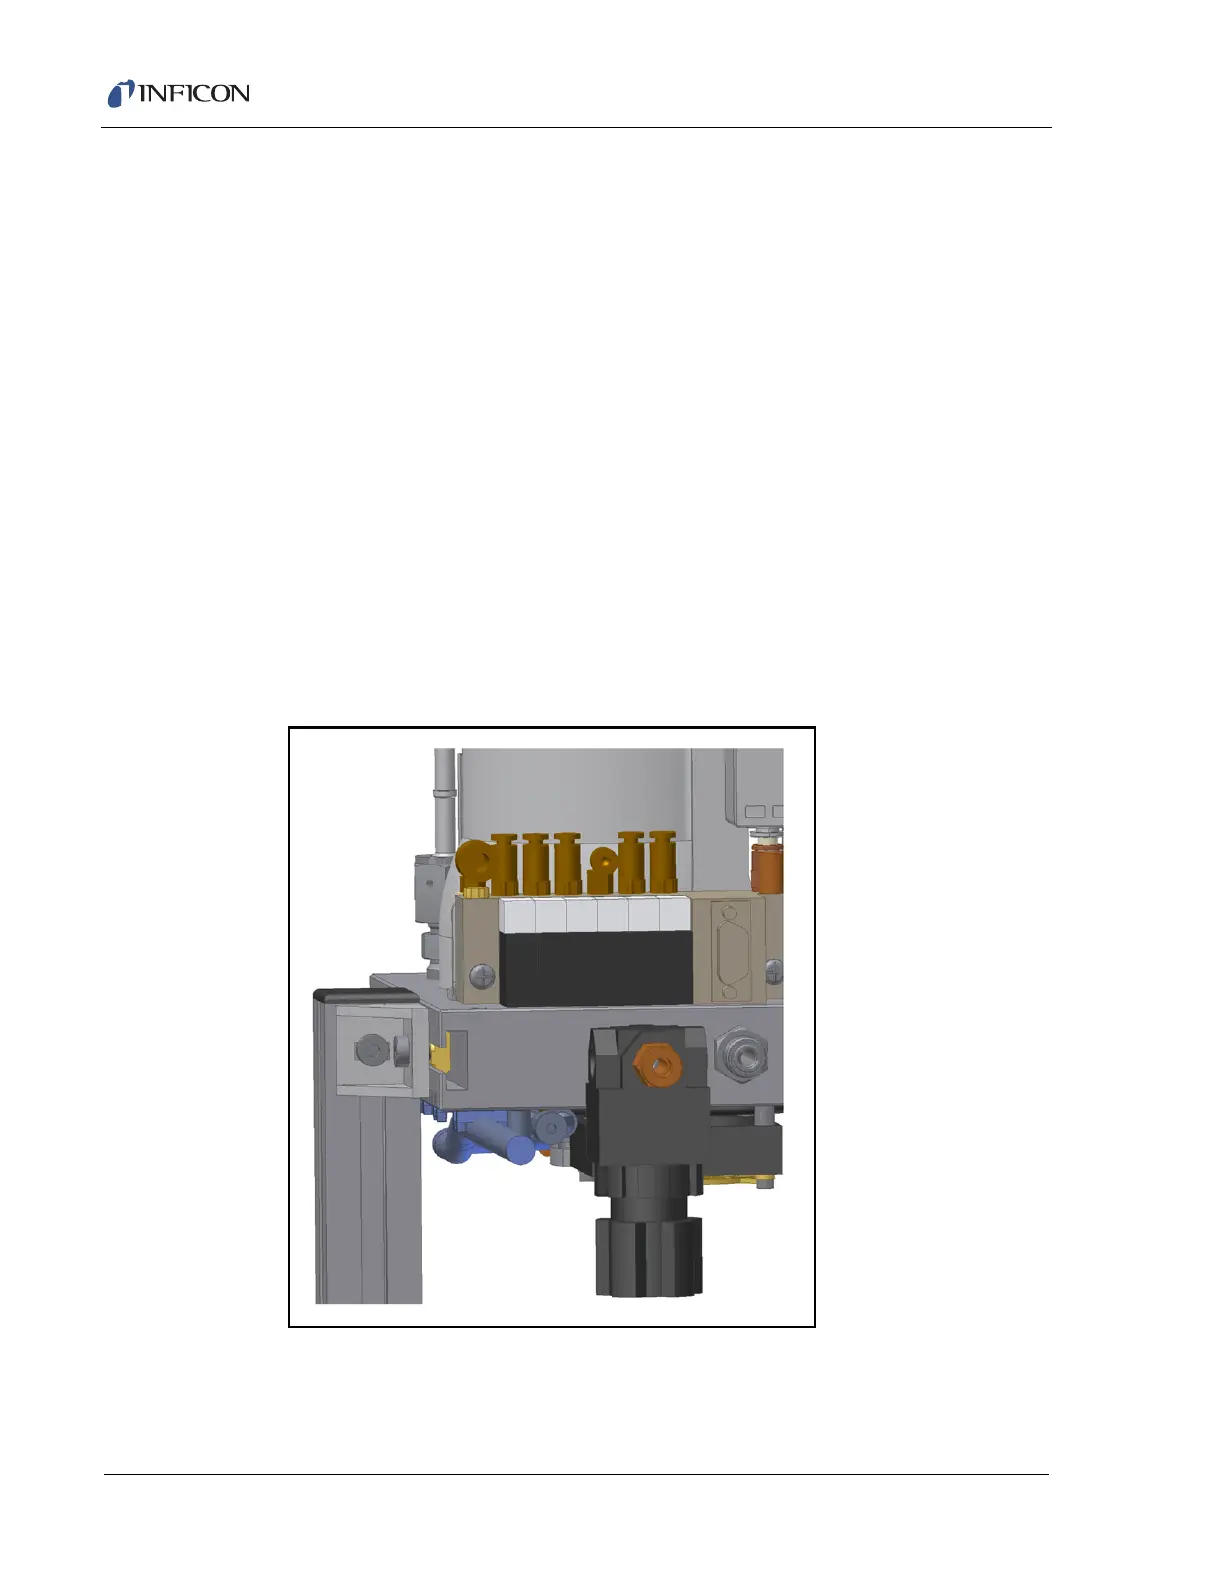
2 Screw the adjustable foot fully into the bottom of the support leg. (See Figure
2-4.)
3 Install the right angle bracket onto the support leg using the T-nut and bolts
provided. Finger tighten.
4 Install the second bolt and T-nut into the bracket, leaving it loose.
5 Slide the T-nut into the CPM foreline block groove and adjust the position of the
leg so that it is perpendicular to the floor with the adjustable foot about 12.7 mm
(1/2 in.) from the floor.
6 Tighten all hardware.
7 Install the safety cap.
Figure 2-4 Adjusting leg position
8 Unscrew the adjustable foot until it supports Transpector CPM and relieve
pressure from the flange.
9 Tighten the lock nut on the adjustable foot against the support leg.