PLANNING STAGE
Manual Part Number
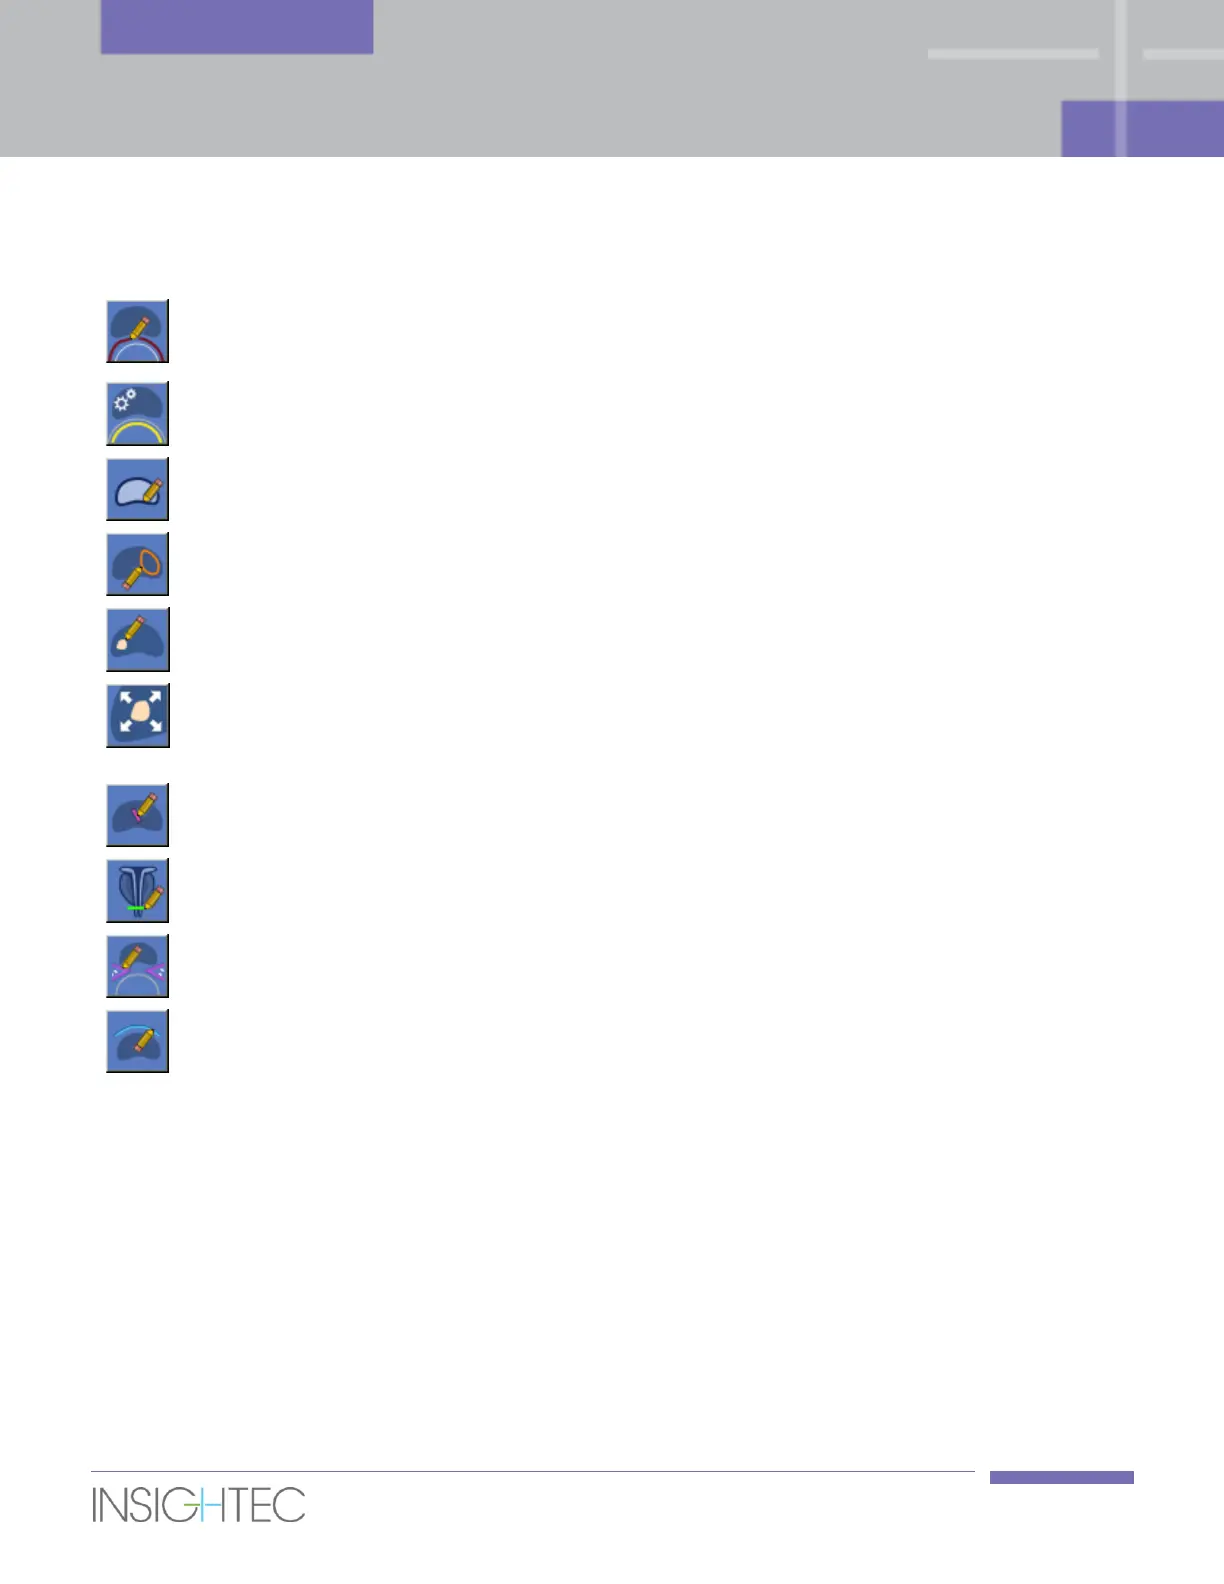
Press this button to draw the rectal wall.
Detect Balloon
Boundaries
Press this button to automatically detect the balloon boundaries.
Press this button to draw the outline of the prostate capsule.
Press this button to draw the outline of the volume to be treated (ROT).
Press this button to draw the Target Volume.
Expand Target
Volume to ROT
Press this button to expand the drawn Target Volume by customizable
margins (under the Treatment Protocol dialog) to automatically create
the volume to be treated (ROT).
Press this button to draw the urethra LEDR (optional).
Press this button to draw the sphincter LEDR (optional).
Press this button to draw the nerve bundles LEDR (optional).
Press this button to draw the bladder LEDR (optional).
6.7.2. Draw the Rectal Wall
The rectal wall is a mandatory drawing; the Exablate workstation will not allow you to proceed to Treatment
stage prior to drawing it.
The Exablate workstation uses the rectal wall drawing when planning the sonications to ensure that no
thermal dose reaches it. The system will warn you if you add or drag a sonication so that it’s predicted dose
is less than 1mm away from the rectal wall drawing.
Always draw the rectal wall at the interface between the rectal wall and the prostate (NOT at the interface
between the rectum and the balloon, see Figure 6-7).