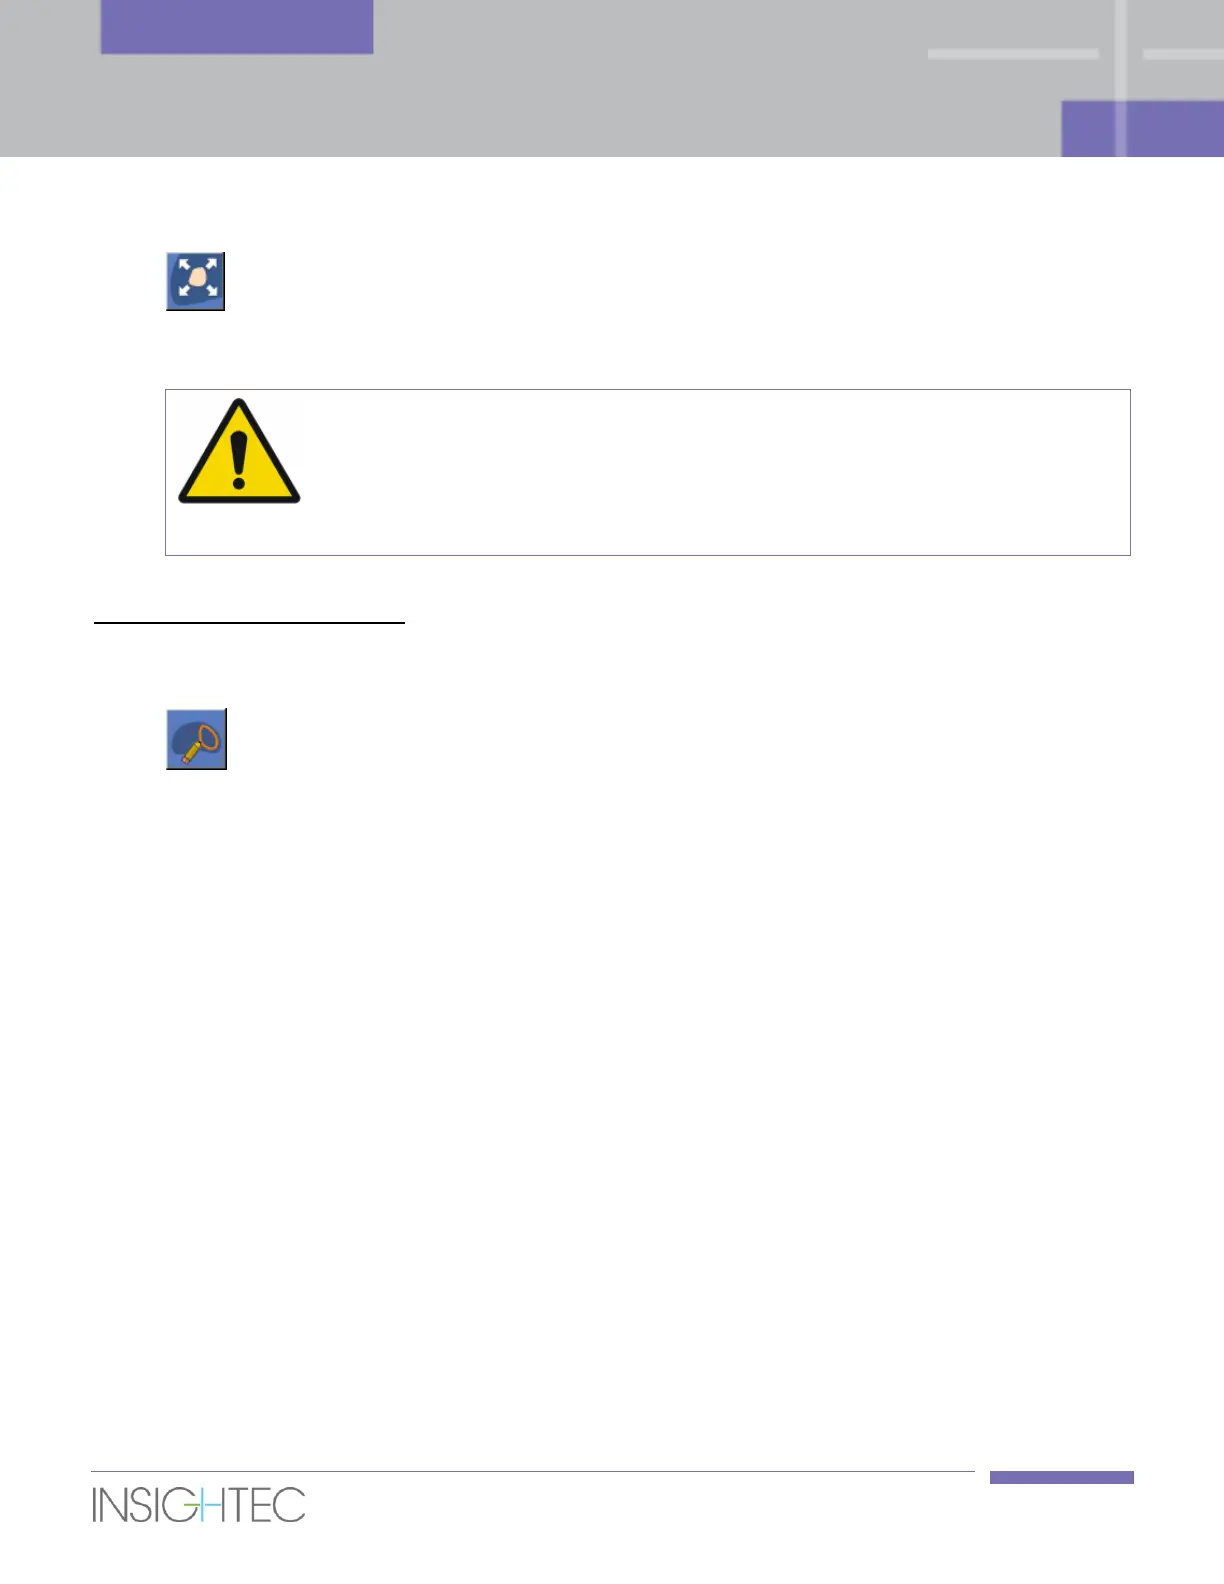
9. Press this button to automatically expand the Target Volume and create a Region of
Treatment (ROT). The system will use the Target Volume drawing and automatically add margins
as defined in the Treatment Protocol (see section 6.8 for more details).
Option 2: Directly draw the ROT
1. Press on an Axial Planning image (the drawing starting point) to display it in the selected image
window.
2. Press this button in the selected image window, click on the desired location to start the ROT
outline.
3. Move the cursor in one direction, while pressing the left mouse button or by clicking on successive
points to create the ROT outline.
4. Complete a non-intersecting polygon.
5. Press the box at the end of the line to close the ROT polygon.
6. Continue to define the ROT on all required slices.
7. Unclick the Draw ROT button or alternatively click on another drawing button and the system will
automatically interpolate the drawing. Verify the automatic interpolation of the ROT is correct in all
Axial slices.
8. Move the drawing by clicking and dragging it. Delete the drawing by clicking it and the Delete (or
Delete All) button.
6.7.5. Automatic Balloon Boundaries Detection
The balloon boundaries are a mandatory element; the Exablate workstation will not allow you to proceed
to Treatment stage prior to setting it.
Balloon boundaries mark the interface between the balloon and the rectal wall. They are used by the
Exablate workstation for Baseline Thermometry calculations, as the balloon boundary has the know
temperature of the endo-rectal balloon water.