Affinity
2.0
Additional Information Page 7
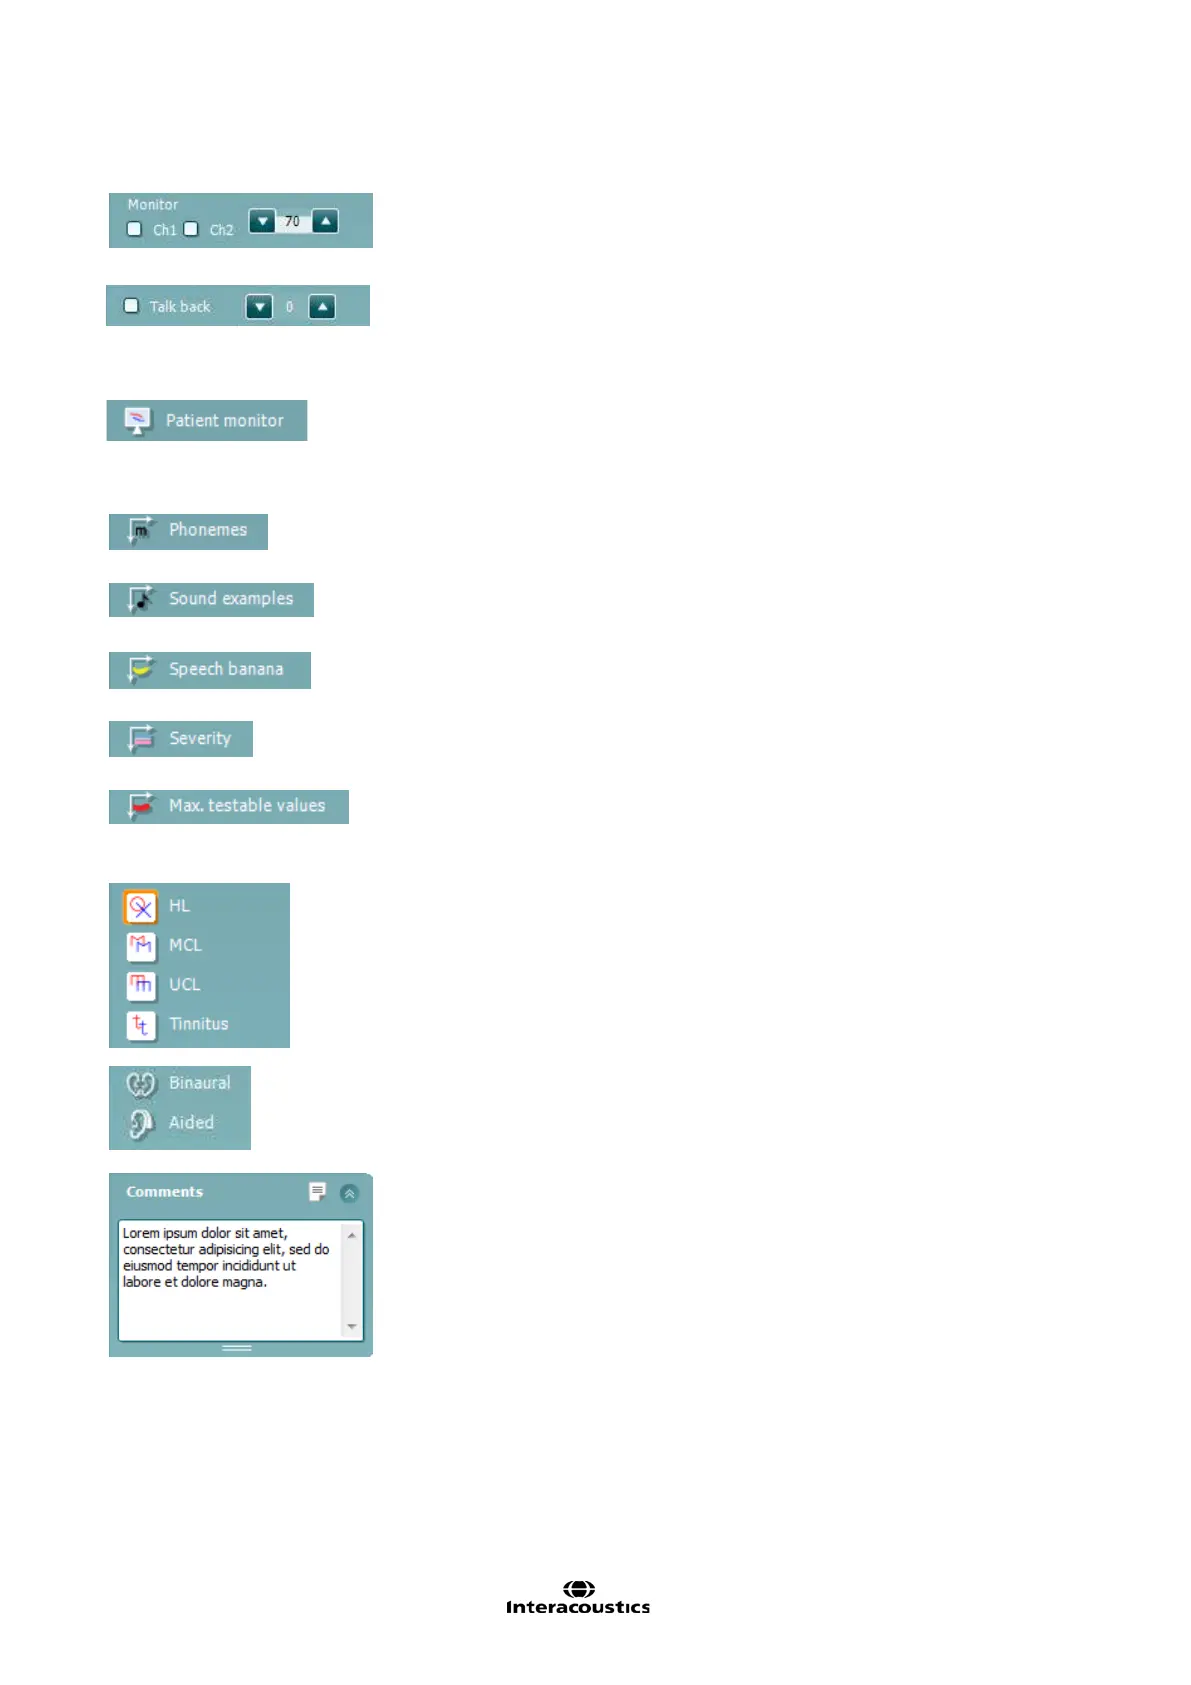
Selecting the Monitor Ch1 and/or Ch2 check boxes allow you to monitor
one or both channels through an external loudspeaker/headset connected
to the monitor input. The monitor intensity is adjusted by the arrow keys.
The Talk back check box enables you to listen to the patient. Note that
you need to be equipped with a microphone connected to the talk back
input and an external loudspeaker/headset connected to the monitor
input.
The Patient monitor opens an always-on-top window with the tone
audiograms and all its counselling overlays s
hown. This provides an
easier layout to counsel the patient.
The size and position of the patient
monitor gets saved for each examiner individually.
The Phonemes counselling overlay shows phonemes as it is configured
in the protocol that is currently i
n use.
The Sound examples counselling overlay shows pictures (png-
files) as they are set up in the protocol that is currently in use.
The Speech banana counselling overlay shows the speech area as it is
set up in the protocol that is currently in u
se.
The Severity counselling overlay shows the degrees of hearing loss as it
is set up in the protocol that is currently in use.
The Max. testable values overlay highlights the area beyond the
maximum intensity
that the system allows. This is a reflection of the
transducer calibration and
differs when the extended range is activated.
Selecting HL, MCL, UCL or Tinnitus sets the symbol types that are currently
in use by the audiogram
for different tests. HL stands for hearing level, MCL
most comfortable level and UCL stands for uncomfortable level.
display the unmasked right and left symbols of the
currently selected symbol set.
Each type of measurement is saved as a separate curve.
Binaural and Aided allows for indicating if the test is performed with hearing
aids or binaurally with corresponding symbols. The measurements will be
saved as separate curves.
In the Comments section you can type comments related to any audiometric
test. The used space by t
he comments area can be set by dragging the
double line with your mouse. Pressing the
Report editor button opens a
separate window for adding notes to the current session. The report editor
and comment box contain the same text. In case the formatting of t
he text is
important, this can only be set within the report editor.
Note that after saving the session changes can only be added to the report
within the sessions date. Therefore once the date changes you cannot add
anything further or make amendments. See section 4.2
for more information