5─19
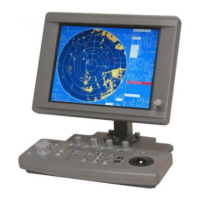
ATA Setting
1. Vector Time
6 min
2. Past Position
OFF
3. CPA Limit
10 nm
4. TCPA Limit
1 nm
5. CPA Ring
ON
6. TRIAL
9. Target Number Display
ON
0. EXIT
1. OFF
2. 0.5 min
3. 1 min
4. 2 min
5. 4 min
6. 0.1 nm
7. 0.2 nm
8. 0.5 nm
9. 1 nm
Display of Past Positions [PAST POSN]
Procedures 1 Press [ATA MENU] key.
2 Press [1] key.
The ATA Setting menu will appear.
3 Press [2] key.
The Past Position screen will appear.
4 Select the past position display
interval to be set, pressing the
numeric key.
The selected past position display interval will
be set.
OFF: Hides past positions.
Time/Range: Past positions are displayed at the
set intervals.
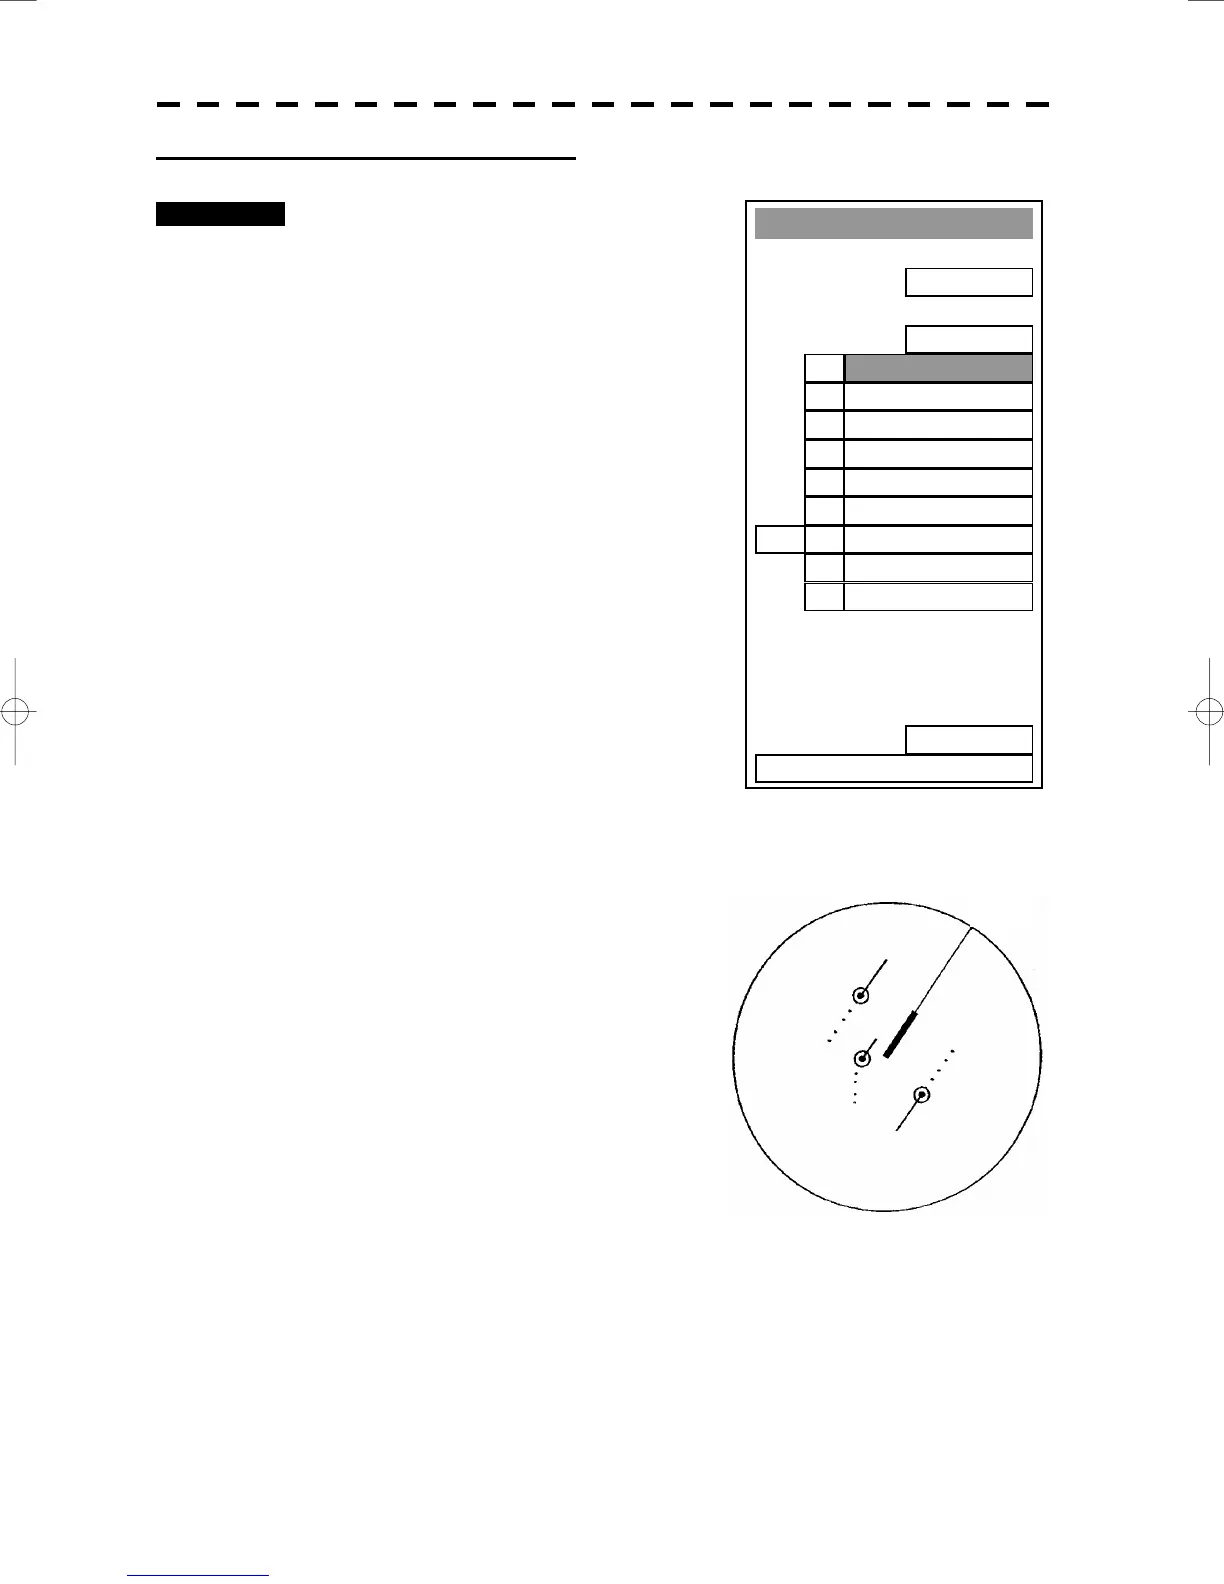
The ATA Past Position function can display up to 6 past positions of a target. The display interval can be set
to specified time intervals of 0.5, 1, 2, or 4 minutes, or specified range intervals of 0.1, 0.2, 0.5, or 1 nm. The
specified interval is shown on the right of PAST POSN in the ATA information display area. When OFF is
shown, Past Position is set to OFF in the menu.
Switching between the True and Relative Vector modes takes place
at the same time the vector mode is switched. In relative mode,
target’s relative tracks displayed.
HL

 Loading...