7-33
IV2 Series User's Manual (Control Panel)
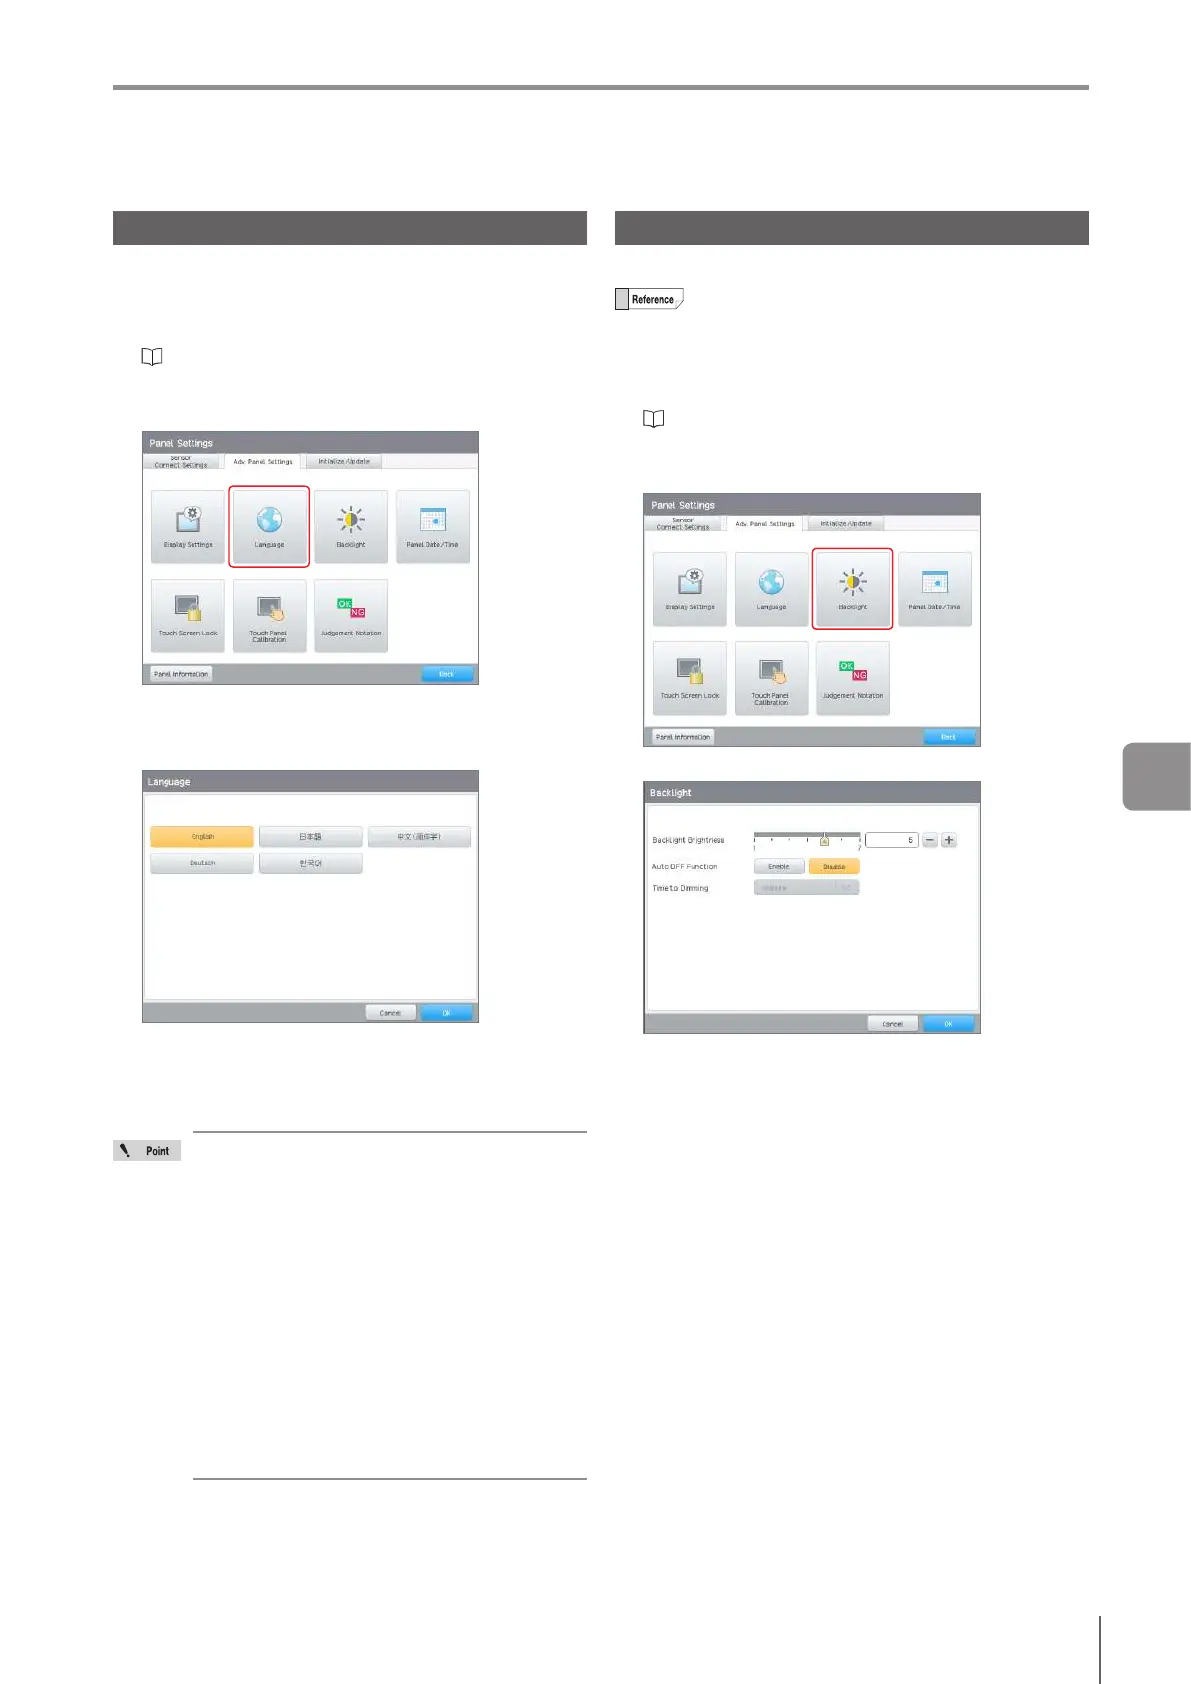
Setting Advanced Control Panel Information
Language
Select the language to be displayed on the control panel.
1
Display the control panel menu and tap the [Panel
Settings] button.
“Control panel settings” (Page 7-26)
2
Tap the [Language] button on the [Adv. Panel
Settings] tab.
3
Select the button for the language to be
displayed on the control panel and tap the [OK]
button.
4
Tap the [OK] button.
The control panel restarts.
After the restart, the display language will be switched
to the selected language and the RUN screen opens.
About the display of the characters in device
names (Page 7-19) and program names (Page
7-8) when changing the display language
Characters which cannot be displayed with the
language after the change are replaced and
displayed as hyphens (-).
If the device or program name has not been
changed after you changed a language, those
names can be displayed as they were in the
previous language once you change back to
the previous language.
If the device or program name has been
changed after the language change, the name
will remain replaced by hyphens (-) and the
former information will be erased when the
language is changed back to the previous
language.
Backlight
Conguresthecontrolpanelbacklight.
The monitor exists from dim mode when the touch
panel is operated or when an error occurs
1
Display the control panel menu and tap the [Panel
Settings] button.
“Control panel settings” (Page 7-26)
2
Tap the [Backlight] button on the [Adv. Panel
Settings] tab.
3
Congures the control panel backlight settings.
Backlight Brightness
Adjusts the brightness of the backlight.
The brightness can be adjusted between level 1 to 7
(default : 5).
Auto OFF Function
Selectsthe[Enable]/[Disable]fortheAutoOfunction.
Time to Dimming
This is available when the [Enable] is selected for the
AutoOfunction.Setsthetimeuntilthecontrolpanelis
dimmed. After 30 minutes of the monitor being dimmed,
themonitorscreenwillturno.
Options: 30 sec/1 min (default value)/5 min/10 min/30
min
4
When setting is completed, tap the [OK] button.
7
Various Functions
 Loading...