4-15
IV2 Series User's Manual (Control Panel)
1. Image Optimization (Clearly Image a Target)
Advanced Brightness Adjustment
1
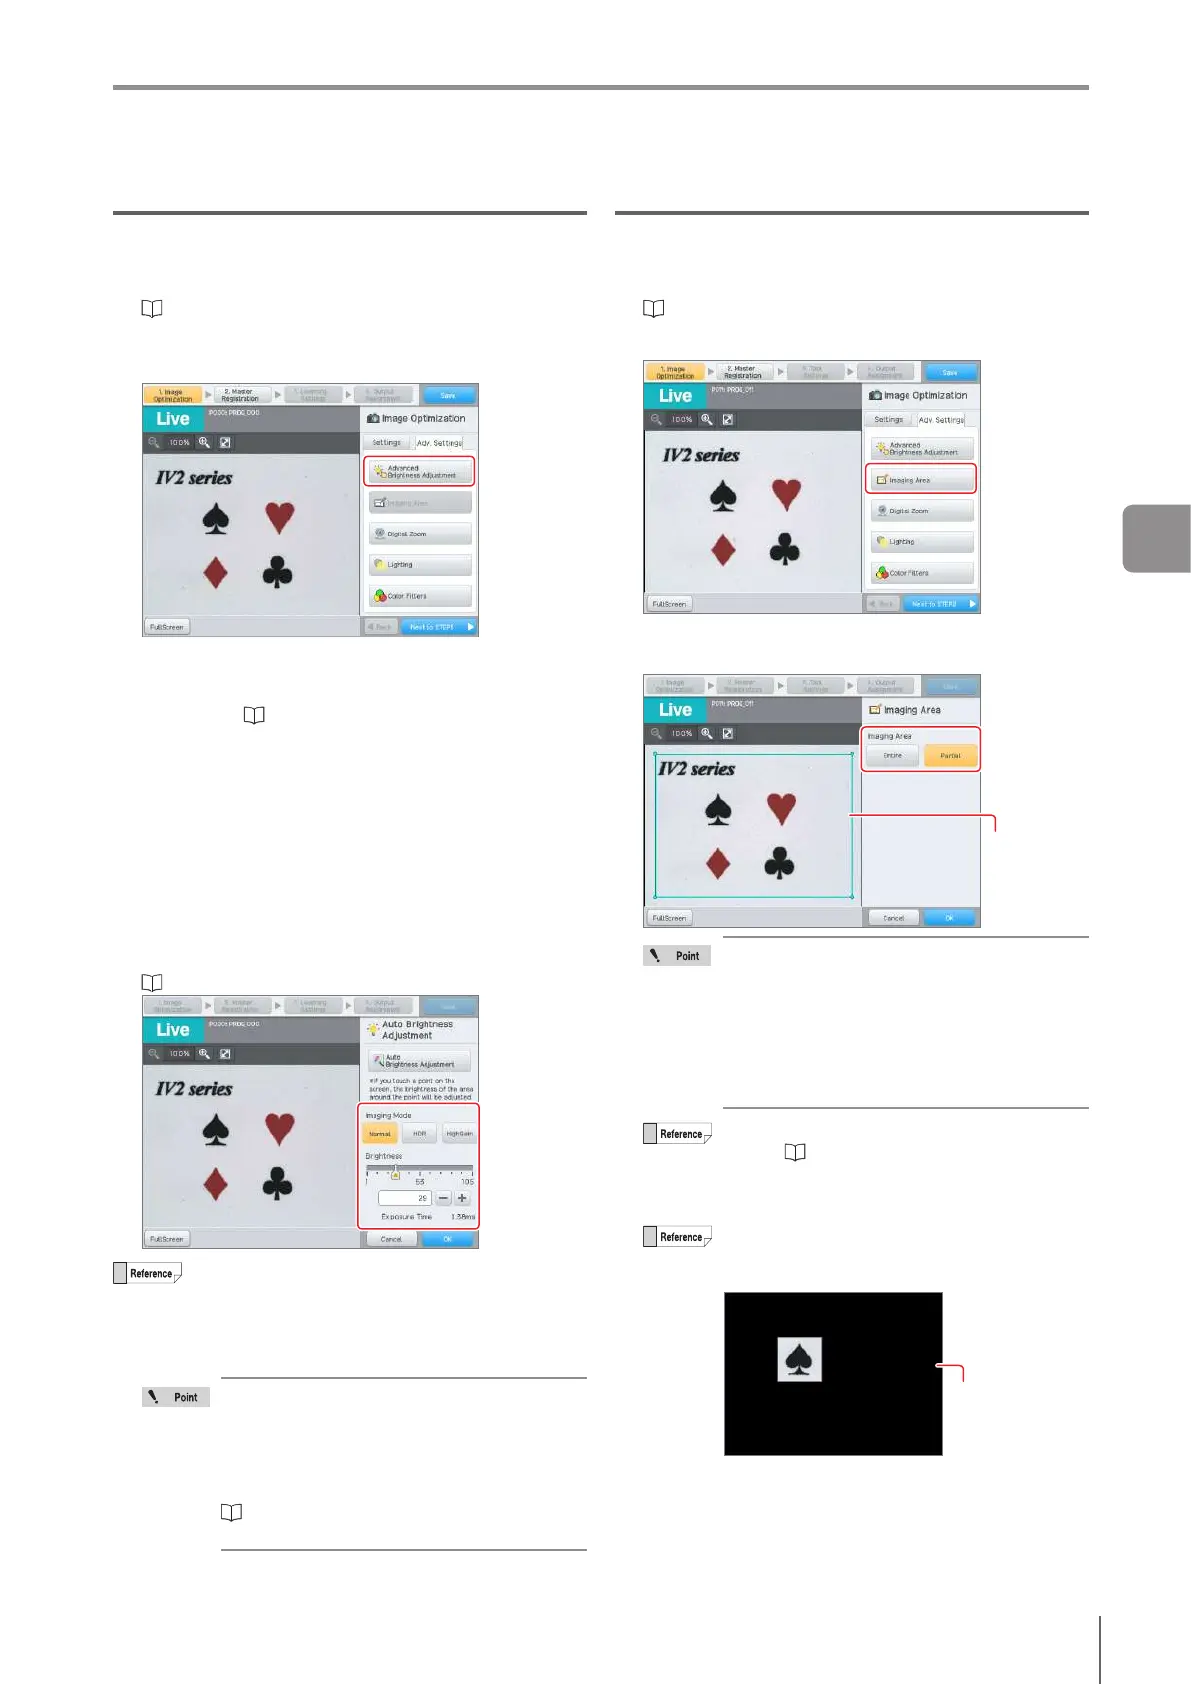
Select the [Adv. Settings] tab.
“Main screen for Image Optimization” (Page 4-8)
2
Tap the [Advanced Brightness Adjustment]
button.
3
Adjust the brightness by the following methods.
Tapping the [Auto Brightness Adjustment] button
The same as “Auto Brightness Adjustment” (Page 4-12).
Adjust automatically the brightness so that the entire
image becomes optimal.
Adjusting automatically by tapping the target
If you touch on the screen, the brightness around the
touched position will be optimized automatically.
Used when the adjustment results of the [Auto Brightness
Adjustment] button are too bright or dark due to the
inuenceoftheimagebrightnessotherthanthetarget.
Setting the “Brightness” and “Imaging Mode”
Adjust the brightness manually according to the
combination of the brightness slider and imaging mode.
“Editing Numbers” (Page 3-20)
Auto adjustment optimizes the imaging mode and
brightness automatically.
The exposure time will be calculated automatically.
4
When setting is completed, tap the [OK] button.
When the master image is registered and
settings other than Trigger Options and imaging
areaarechanged,aconrmationmessagethat
recommends you to re-register the master image
opens. Tap the [OK] button and re-register the
master image.
“2. Master Registration (Registering an
Image as a Reference)” (Page 4-18)
Imaging Area (Standard Mode Only)
1
Select the [Adv. Settings] tab.
“Main screen for Image Optimization” (Page 4-8)
2
Tap the [Imaging Area] button.
3
Select type of imaging area.
If [Partial] is selected, edit the imaging area.
Imaging Area
If a tool has been set, a rectangular area
containing tool windows of all tools which
have been set will be displayed by dotted line
rectangle as [Actv Range]. The imaging area
cannot be set smaller than the active range.
To narrow down the imaging area, change
the placement of the tool windows within the
imaging area.
For details about how to edit the tool window,
refer to “Editing the Window” (Page 3-19).
4
When setting is completed, tap the [OK] button.
Whenanimagingareaisspecied,thearea
outsidethespeciedareawillbedisplayedin
black.
Outsideofspecied
area
4
Settings Navigator
 Loading...