Fax RX setting
7
7-26 bizhub 226
7.5
7.5.7 Configuring the RX mode
1 Press the Utility key.
2 Use +, to select [FAX RX OPERATION], and press the OK key.
3 Use +, to select [RX MODE], and press the OK key.
4 Use +, to select [AUTO RX] or [MANUAL RX], and press the OK key.
This returns to the fax RX settings screen.
7.5.8 Configuring the forward mode
1 Press the Utility key.
2 Use +, to select [FAX RX OPERATION], and press the OK key.
3 Use +, to select [FORWARD], and press the OK key.
4 Use +, to select [OFF], [ON], or [ON (PRINT)], and press the OK key.
% If [ON] or [ON (PRINT)] is selected, go to Step 5.
% If [OFF] is selected, the display returns to the fax RX settings menu.
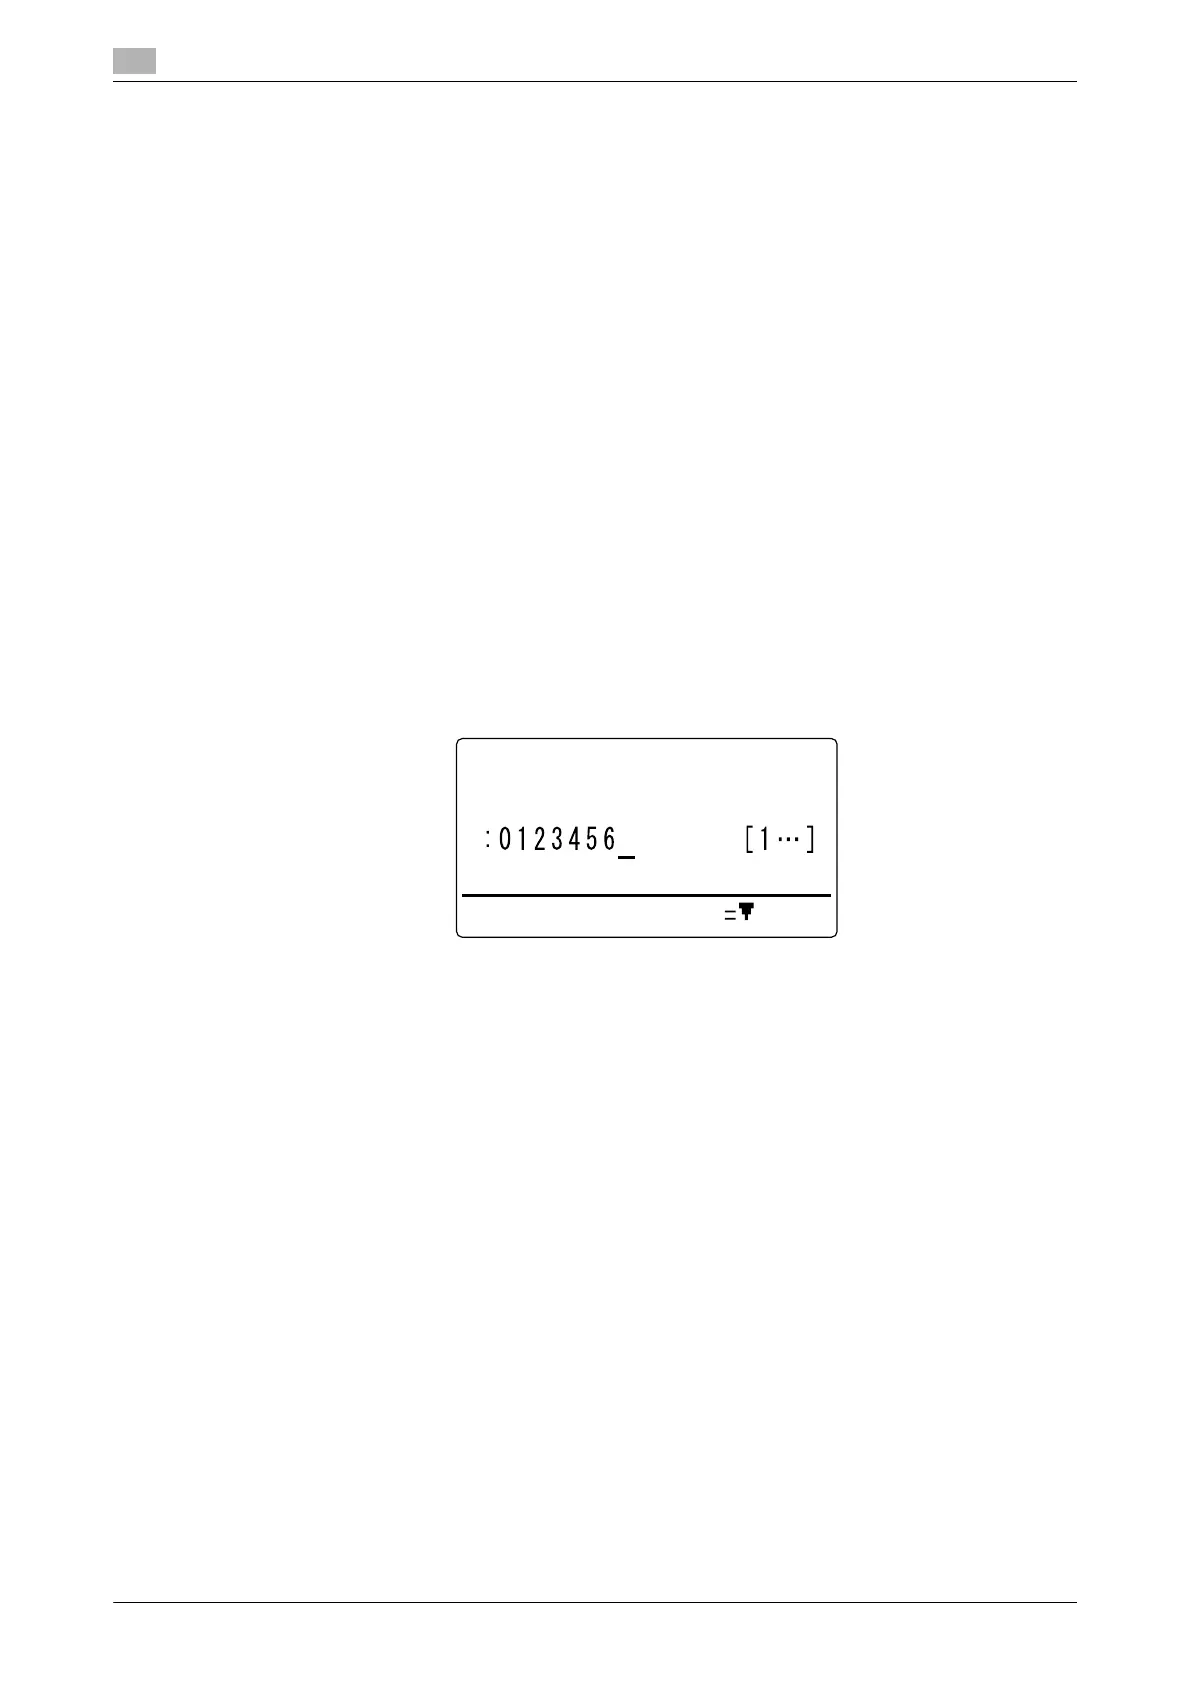
5 Use the One-Touch Dial Key, speed dial, or Keypad to specify a fax number of a forward destination,
and press the OK key.
% If an optional Image Controller IC-209 or Network Card NC-504 is installed on this machine, an
E-mail address can be specified as a forward destination. For details, refer to PageScope Web
Connection - [Address] - [Fax Configuration] of [User's Guide Network Administrator].
This returns to the fax RX settings screen.
7.5.9 Configuring footer printing
1 Press the Utility key.
2 Use +, to select [FAX RX OPERATION], and press the OK key.
3 Use +, to select [FOOTER], and press the OK key.
4 Use +, to select [OFF] or [ON], and press the OK key.
This returns to the fax RX settings screen.
FORWARD
DESTINATION
SUB,SID SETTING
 Loading...