Ch.7 Optional Functions
< 180 >
REGIUS Console CS-3 OPERATION MANUAL Ver. 1.10 2005.2
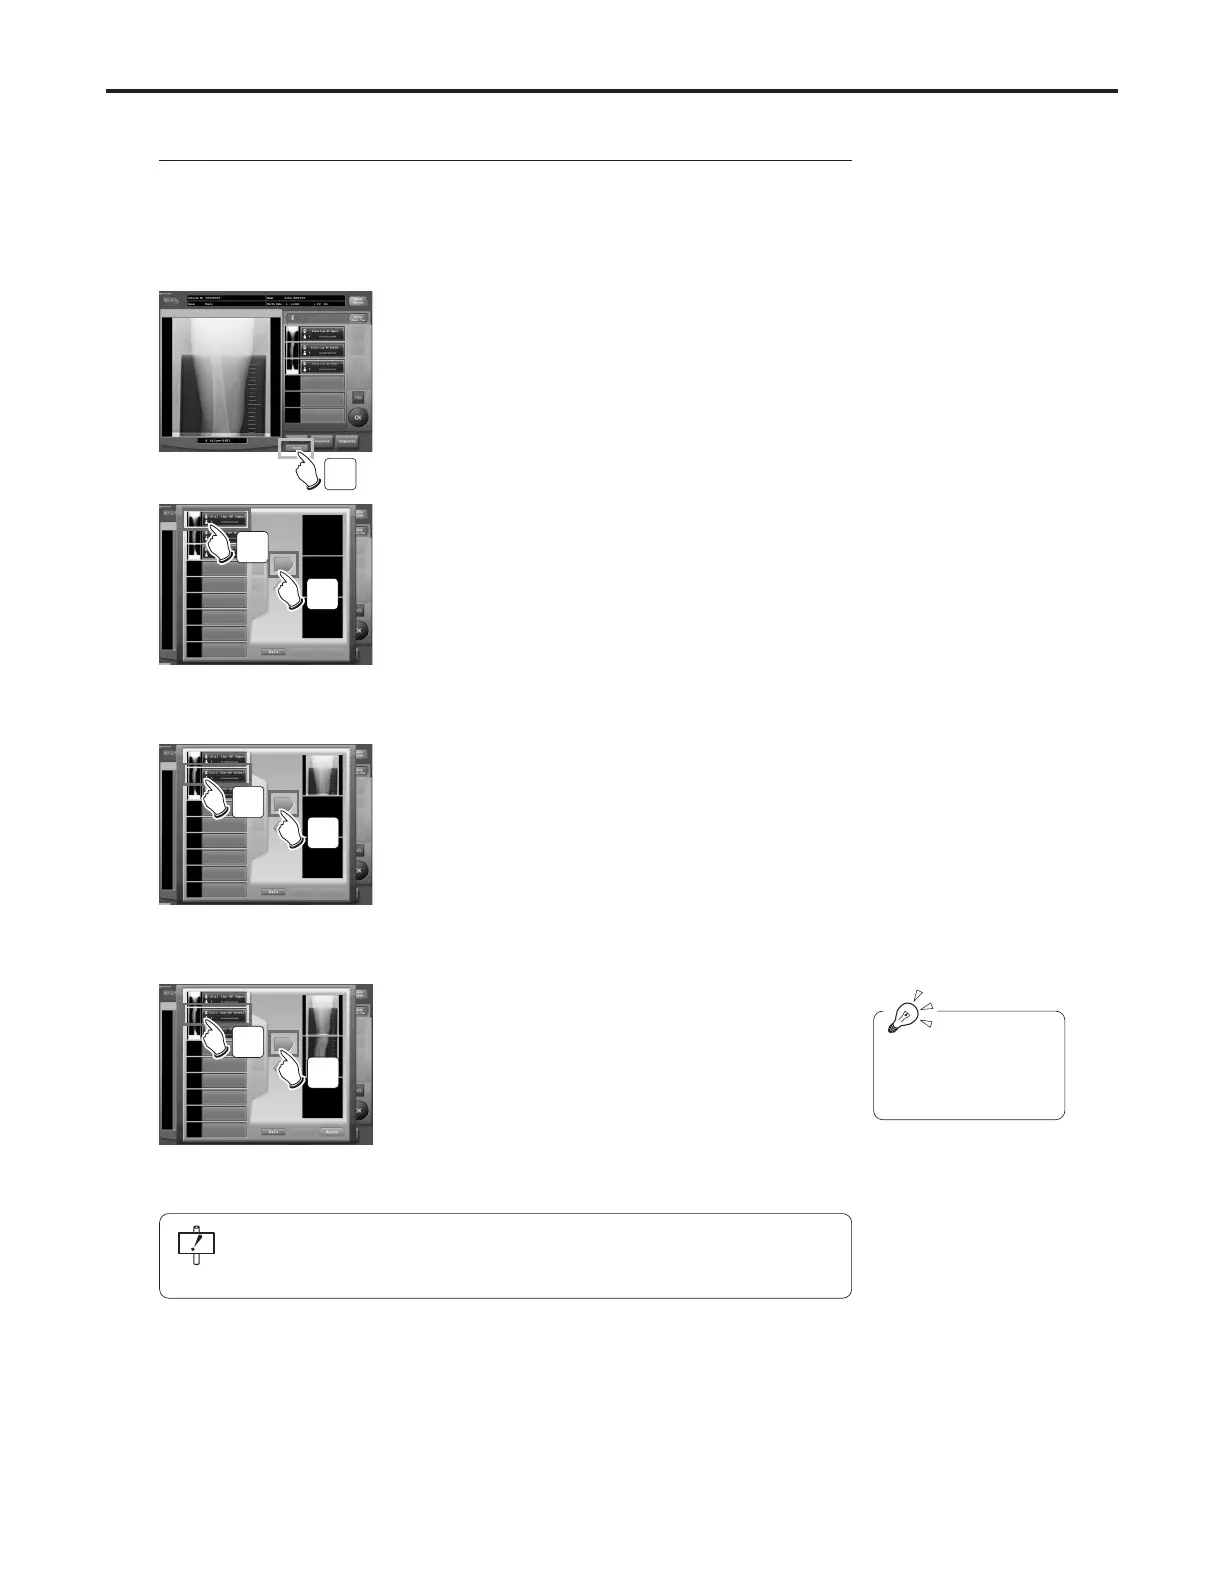
1 Insert and read all cassettes for long body parts on
the reader.
2 Touch the [Stitch] Button.
• “Composite Image Select” screen will be displayed.
3 Touch the order name that should be allocated in
the top of the composite image.
• Frame of the order changes to green.
2
3
4
4 Touch the [
→
]Button.
• The image will be allocated in the top of the com-
posite image.
5 Touch the order name that should be allocated in
the middle of the composite image.
• Frame of the order changes to green.
6 Touch the [
→
]Button.
• The image will be allocated in the middle of the
composite image.
5
6
7 Touch the order name that should be allocated in
the bottom of the composite image.
• Frame of the order changes to green.
8 Touch the [
→
]Button.
• The image will be allocated in the bottom of the
composite image.
7
8
Stitching process is not completed only by registering the multiple orders for the
display of composite image. It will be stitched and become effective when the
[Build] button is touched and the “Composite Image Adjust” screen is displayed.
Stitching the Images
Procedures to stitch the long body part images are described below.
For the composite image
comprised of two images
only, step 7 & 8 are not
necessary.

 Loading...


