12 Pellet Stirrer Plus
12.2 Installation instructions, FE type S
The conveyor worm system is a versatile modular system (MBDK0001) in section 17).
Modules that can be combined: Stirrer, channel extension, elbow worm, drop shaft, suction system
Acoustically decouple the fuel extractor
Place the supplied insulating elements under all support brackets. The bolted connection of the fuel extractor must
be surrounded by insulating elements on all sides. (Point 10.8, step 10, 11, 13)
Before installation
• Comply with the instructions in all diagrams. Install the FE so that the storage room space is optimally utilised.
• Ensure that the eject point is correctly positioned. Ensure that there is adequate space for maintenance tasks.
• Mark the position of the support brackets on the storage room floor.
• Check the evenness and incline of the floor.
• Use shims to align the support points horizontally.
Maintenance distances, storage room (MBDK0001 in section 17)
Wall penetration side, at least 10 cm
Worm end side, at least 15 cm wall distance to the flange plate
After installation cover these areas.
12.3 Installing the pellet worm
Bring the parts into the storage room
Place the conveyor channel and worms in the storage room in the correct sequence. (MBDK0001 section 17).
Slide the worms into the associated trough.
If there is a lack of space, or for single-piece fuel extractor the worms can be slid into the troughs beforehand.
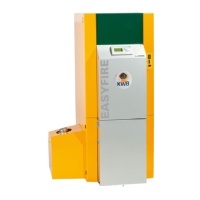
1.) Wrap the connecting piece with rock wool
Wrap the connecting piece with rock wool. (Scope of delivery)
Fasten the rock wool with aluminium adhesive tape.
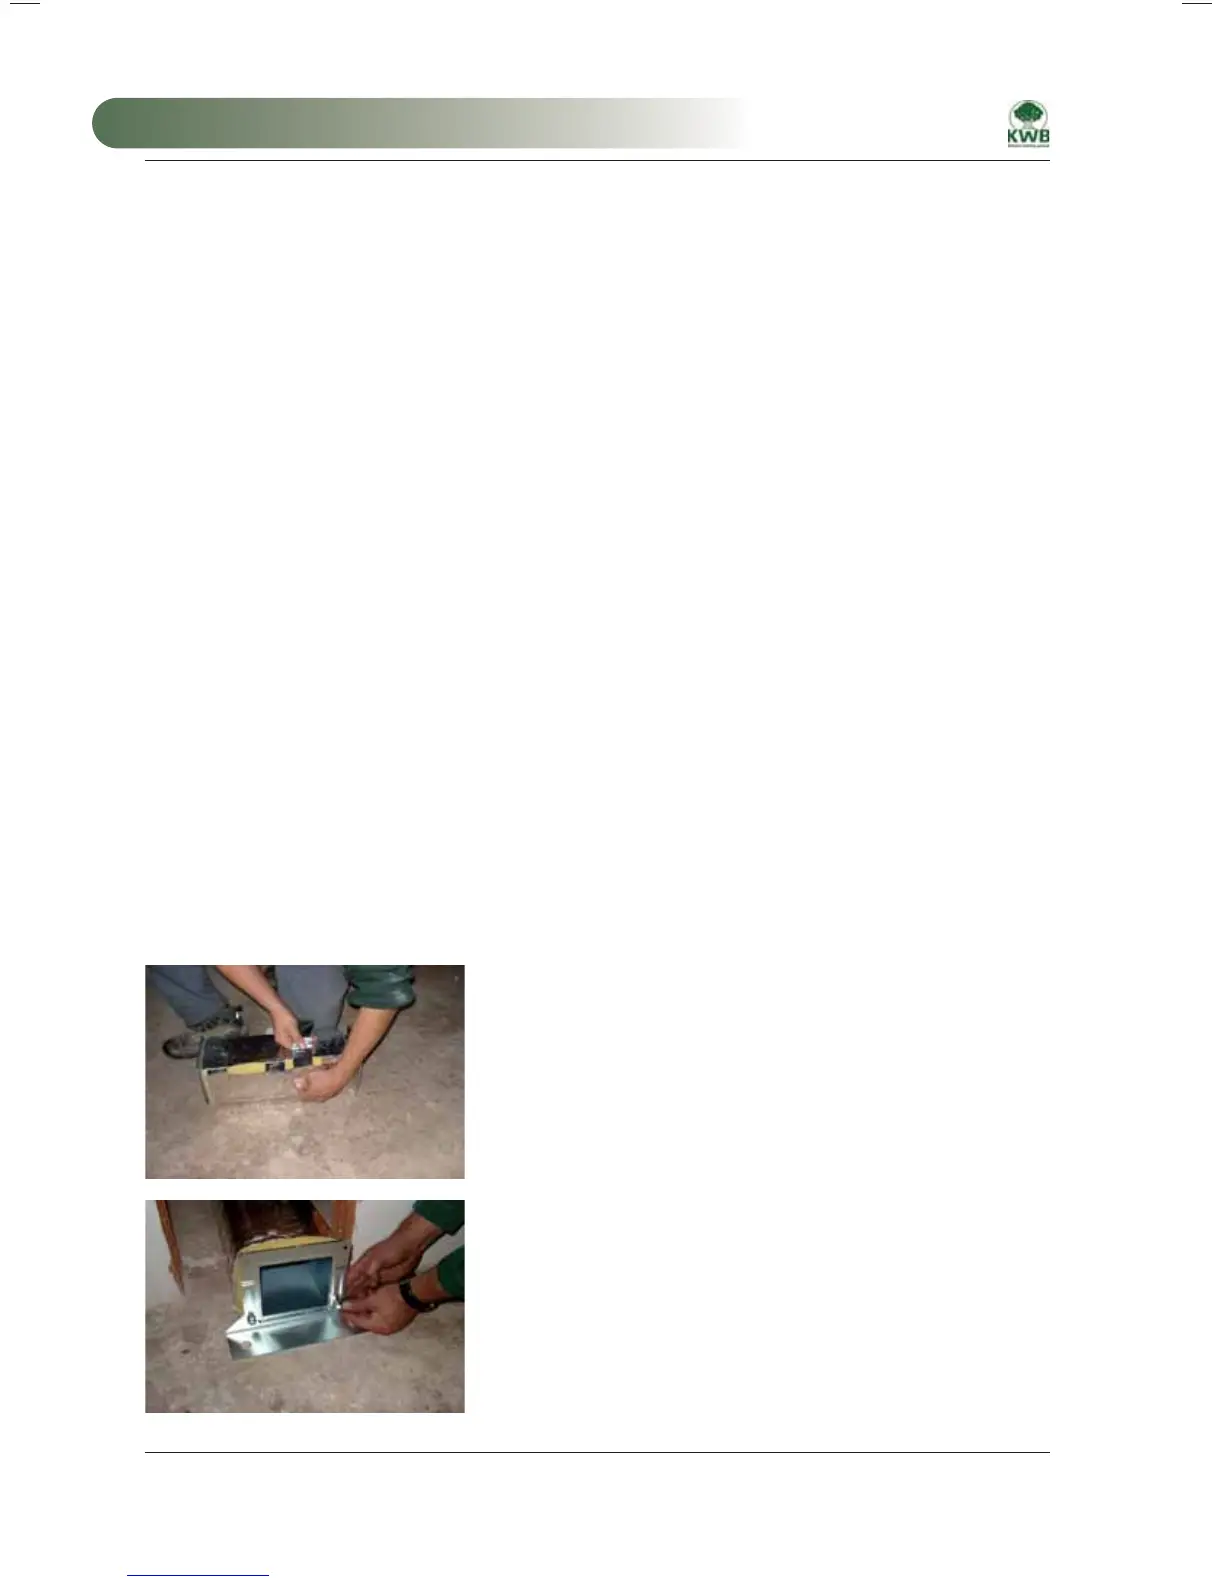
2.) Install the trough supports on the connecting trough
Mount the supplied trough supports on the storage room side of the
connecting trough.
Tip:
First place the connecting trough at the lowest point of the trough
supports and initially tighten the bolts lightly. Execute final fastening
after aligning the entire fuel extractor system.
MA-Easyfire 10.2008_EN.indd 116MA-Easyfire 10.2008_EN.indd 116 30.03.2009 13:31:02 Uhr30.03.2009 13:31:02 Uhr
 Loading...