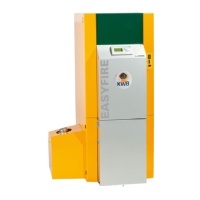
13 Suction conveyor
13.2 Installing the pellet worm see point 10.3
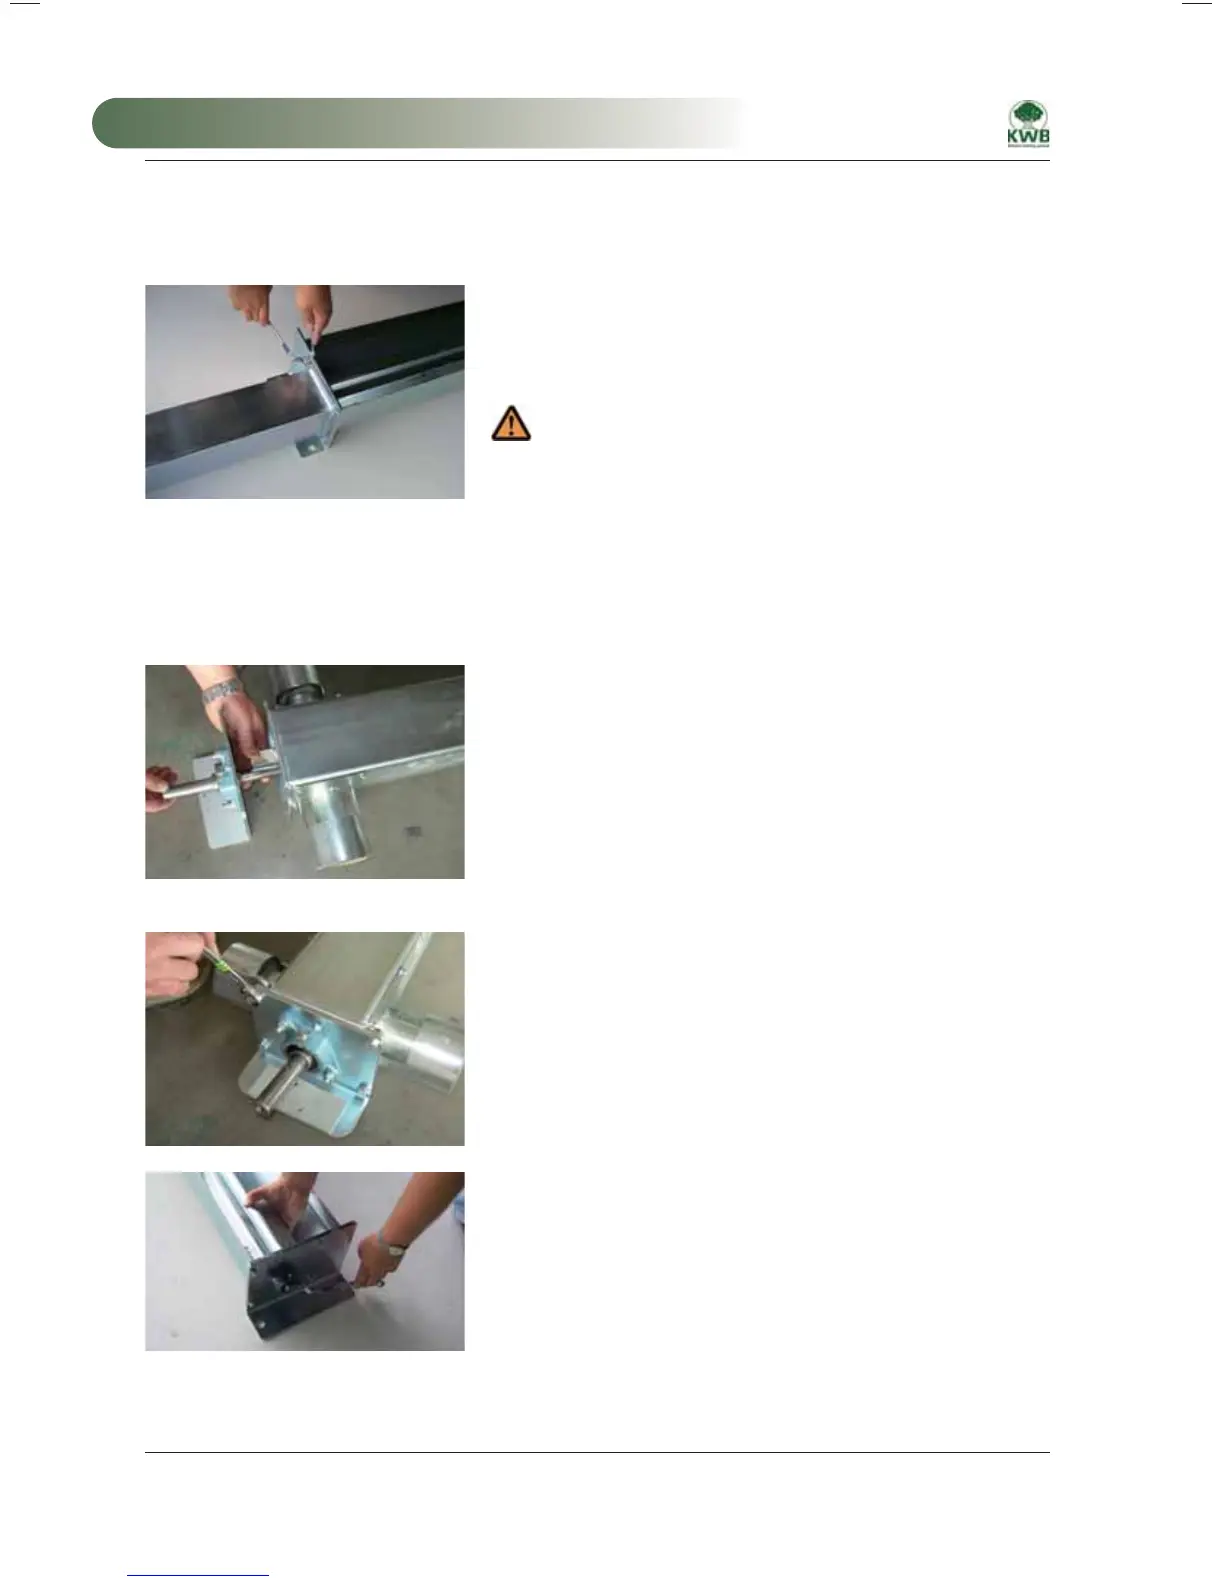
13.2.1 Connection, pellet worm – connecting piece
1.) Assemble the conveyor channel with head piece
Guide the assembled room extractor part through the wall penetration
with the projecting worm end in front. Guide the head piece (closed
trough piece) through the wall penetration from the outside.
When fitting the connecting piece, remove the shim
material from trough. However do not lower the free shaft end;
keep it at axis height.
Bolt the head piece to the fuel extractor part using the supplied
fasteners. Prior to tightening align the inner surfaces of the troughs so
that they are flush!
Install the drive worm
Mount the connecting piece
2.) Install the drive-side flange bearing (fixed bearing)
First install the flange bearing on the support bracket (lubricating nipple
pointing upward). Do not tighten the screws yet.
Remove the worm screws of the inner bearing ring – these are no longer
required.
Introduce the worm shaft into the intermediate bearing or flange bearing
that is at the end of the trough.
Remove the last of the shim material and slide the bearing bracket onto
the shaft end
Install the fixed bearing bracket
Bolt the support bracket to the head piece. Tighten the screws of
the flange bearing just tight enough that the worm shaft can still be
centred.
Turn the worm shaft several times all the way through to ensure that
the worm runs free.
Tighten the screws of the flange bearing.
Install the fixed bearing
3.) Install the flange bearing on the end of the channel
(moveable bearing)
Remove the worm screws from the inner ring of the bearing. Slide
the worm firmly against the stop (toward the drive). Mount the flange
bearing on the support bracket (lubricating nipple pointing upward).
Only tighten the nuts slightly. Ensure that axial play is at least 1 mm.
Adjust the play by adding or removing shim rings.
Install the moveable bearing
MA-Easyfire 10.2008_EN.indd 126MA-Easyfire 10.2008_EN.indd 126 30.03.2009 13:31:16 Uhr30.03.2009 13:31:16 Uhr
 Loading...