Maintenance and Service
Laborie NXT Pro Owner’s Manual LBL-00146, MAN2010 83
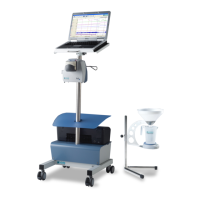
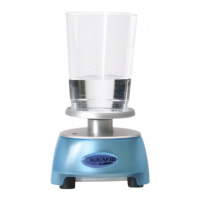
5.1.3.2 Cleaning the Urocap NXT
This section provides instructions for cleaning the Urocap NXT and its accessories. Ensure
that the vent plug is inserted into the open vent hole. Then, follow the instructions provided
in the section Performing Manual Cleaning on page 85
to clean the Urocap NXT, being
certain not to apply excessive force to the top of the Urocap NXT.
IMPORTANT: Excessive force applied to the top of the Urocap NXT, where the beaker
is placed, during cleaning or handling can damage the measurement apparatus.
If the area around the battery cover ventilation holes on the Urocap NXT becomes soiled,
this portion of the device should be cleaned as follows:
Remove the vent plug if connected.
Visually inspect the vent hole for soiling. If soiling or debris is observed, gently
wipe the affected area with a cleaning wipe. Take care to prevent any excess
cleaning reagent from entering the vent hole.
Repeat as necessary using a fresh wipe or the clean side of the existing wipe until
the affected area is visibly clean. If visible soil persists, use a soft-bristle brush to
gently brush away or loosen the remaining soil, and then wipe again using a fresh
wipe.
Wipe the area with a dry, lint-free cloth. Ensure that the area is dry to the touch.
Reinsert the vent plug.
Cleaning the Urocap NXT accessories and Urocap NXT stand:
• Rinse and dry the beaker after each use. Although the beaker can be reused, it
will discolor over time and may need to be replaced.
• When cleaning the funnel, the maximum cleaning temperature should not exceed
80°C (176°F).
• For instructions on cleaning the Urocap NXT stand, refer to MAN1000.
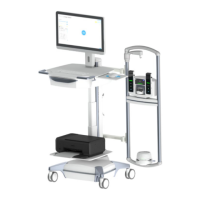
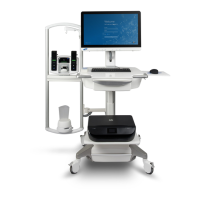
5.1.3.3 Cleaning the Roam NXT and PIM NXT
To clean the Roam NXT and PIM NXT, follow the instructions provided in the section
Performing Manual Cleaning on page 85
.
If the area on the PIM NXT for T-DOC normally covered by the transducer doors becomes
soiled, this portion of the device should be cleaned as follows:
Open the transducer doors.
Visually inspect the transducer doors and their hinges for soiling. If soiling or
debris is observed, carefully remove the transducer doors and place them safely
aside. If no soiling or debris is observed, proceed without removing the doors.
Gently wipe the affected area with a cleaning wipe, taking care to avoid the
transducer channels. Take care to prevent any excess cleaning reagent from
entering the transducer channels. Wipe each transducer door to remove soiling
and debris.