Maintenance 7-33
D-H023.0906EN
innovators in agriculture
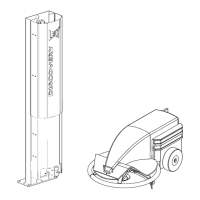
8. Pull the appendix (page 7-36) until the lock ring engages correctly
in the bottom of the teat cup shell (fig. 48
, page 7-35).
9. Make sure the teat cup liner is not twisted in the teat cup shell.
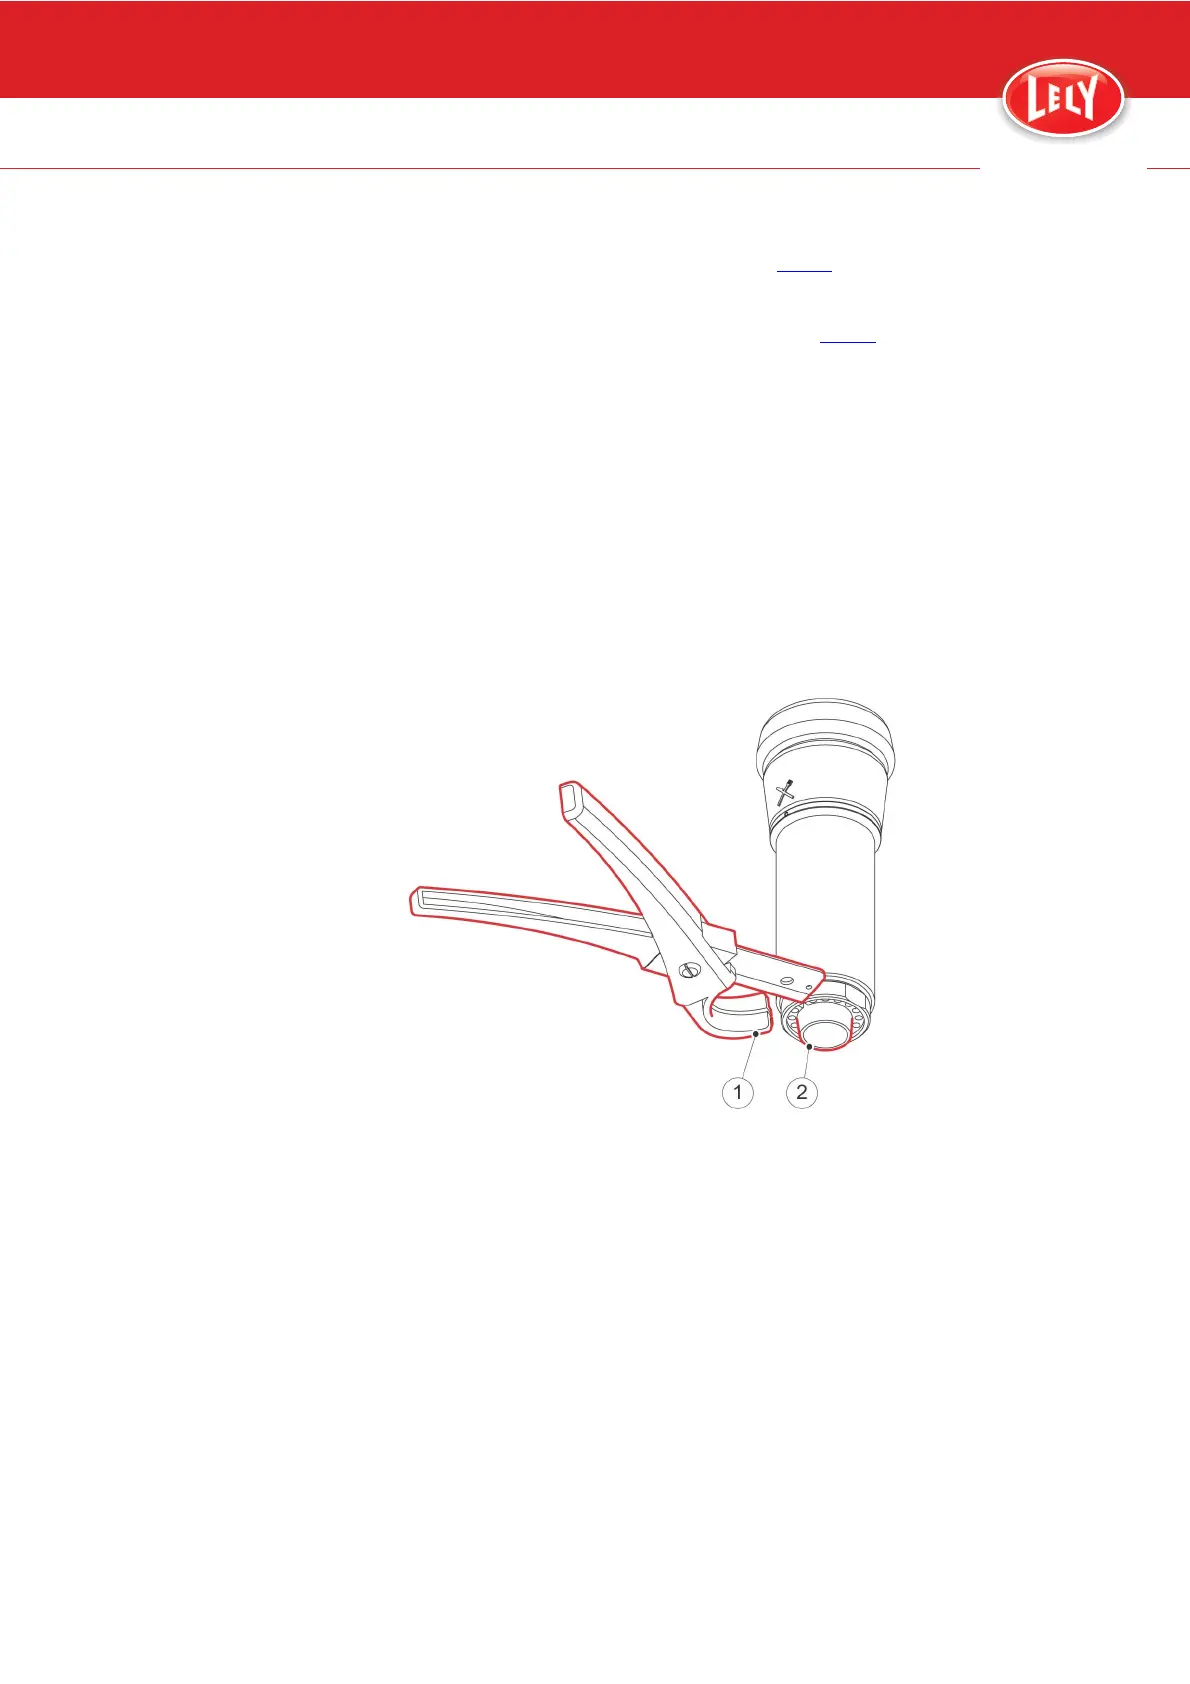
10. Cut the appendix with the hose scissors (fig. 49
, page 7-35).
11. Install the teat cup shell in the milk collector cup.
12. In the field Cord cups, select:
• LF [Fixed]
• LR [Fixed]
• RF [Fixed]
• RR [Fixed].
Close-up
1. Move the robot arm to the home position.
2. Start the local rinse procedure with the X-Link (page 6-10).
3. Put the milking robot in operation with the X-link (page 6-1).
Figure 45. Cut off the bottom of the rubber teat cup liner
 Loading...