Operating Laser Welder
116
OM-296747A | 4/15/24
3. Select cleaning program recipe from the Process Mode Chart that came with
the system (section 8.1 [▶119]). For this example we will choose preset
program P1.
4. Select the program (e.g. P1) using the unit’s front panel buttons (section 6.2
[▶94]).
5. Secure parts to be cleaned.
6. Ensure the Work Sense clamp is connected to either the parts, or the electri-
cally conductive welding table on which the parts are placed.
7. Press Trigger 1 on the torch to turn on the shielding gas. Wait for a few seconds
to clear the gas line.
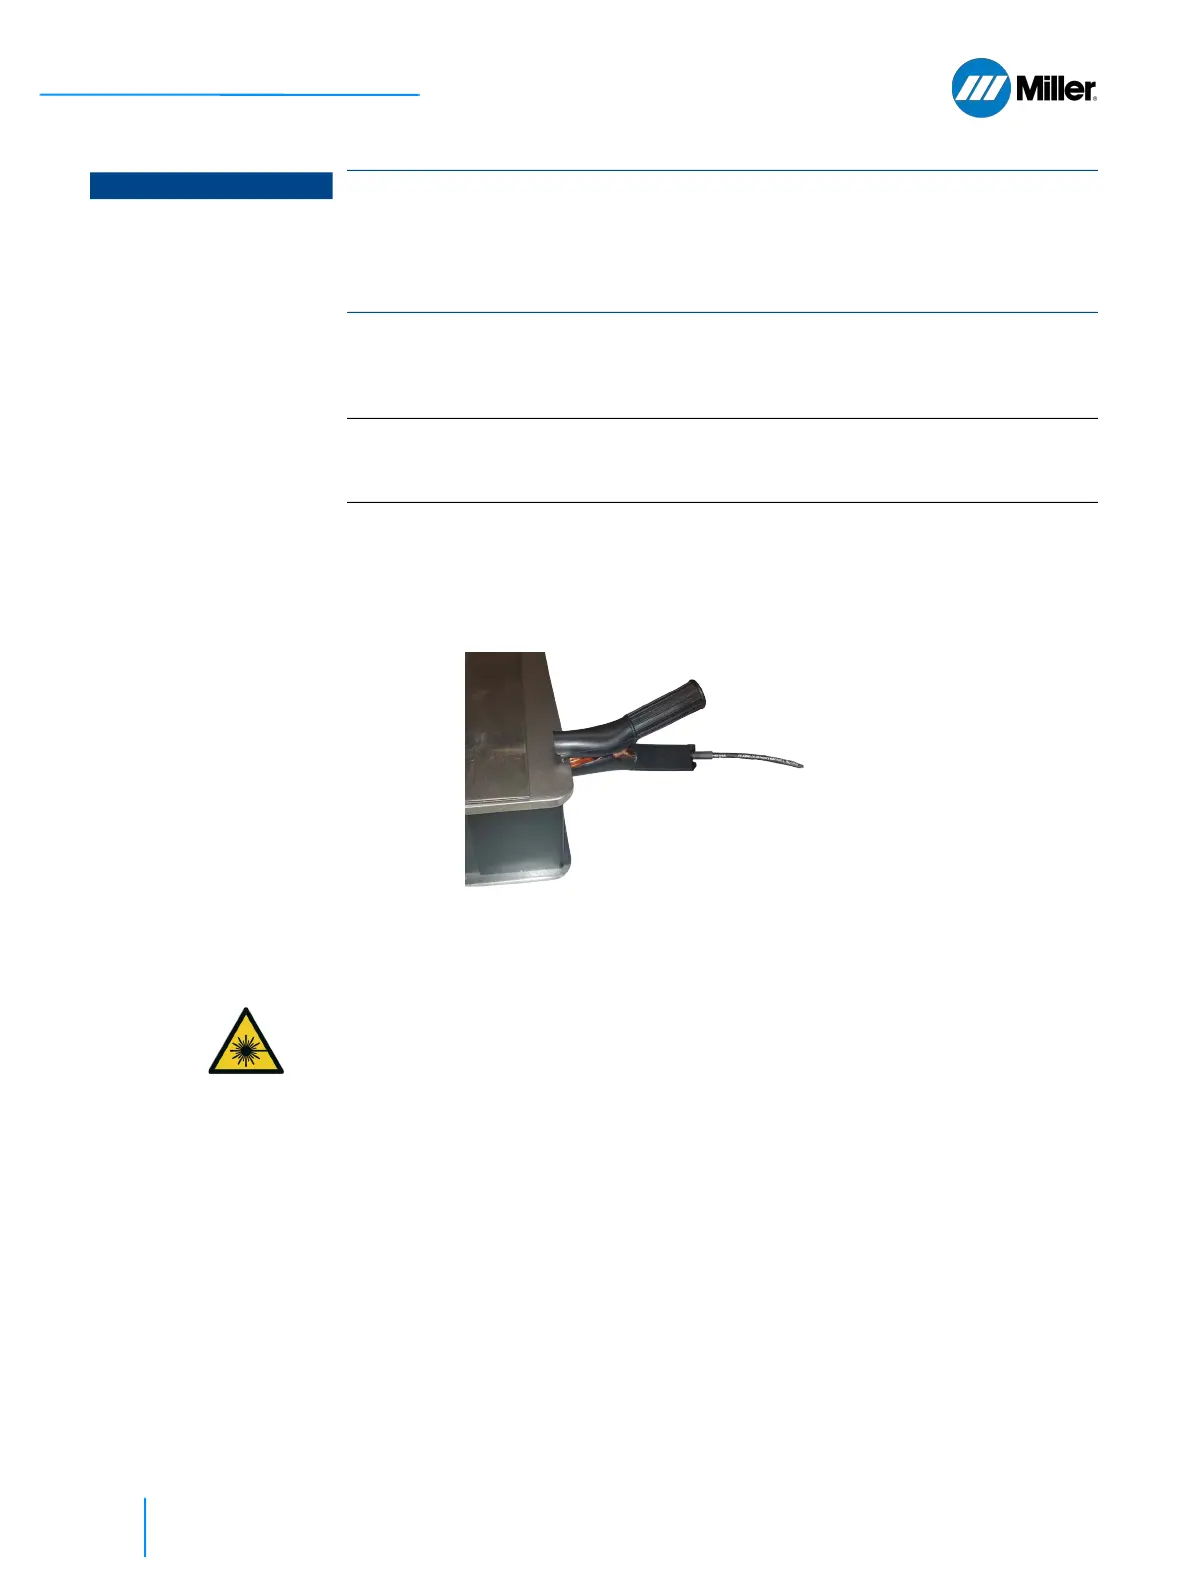
8. Touch the nozzle tip to the part being cleaned. This closes the safety circuit
and the laser is now ready to fire. Since the IR laser beam is invisible, use the
red guide beam to position the nozzle correctly onto the part. The picture
below shows the proper angle to hold the torch when positioning the nozzle
onto the part being cleaned.
NOTICE
Using incorrect nozzle results in torch damage
Damage to torch if beam wobble length is set to value greater than 5 mm while
using a welding nozzle tip.
For cleaning width 5 to 15 mm, one of the cleaning nozzles MUST be installed on
the torch.
IMPORTANT
There are preset cleaning programs for stainless steel, steel, galvanized steel
and aluminum. For each material specified there will be a a choice between a
less aggressive or more aggressive cleaning program option.
 Loading...