APPENDICES
189
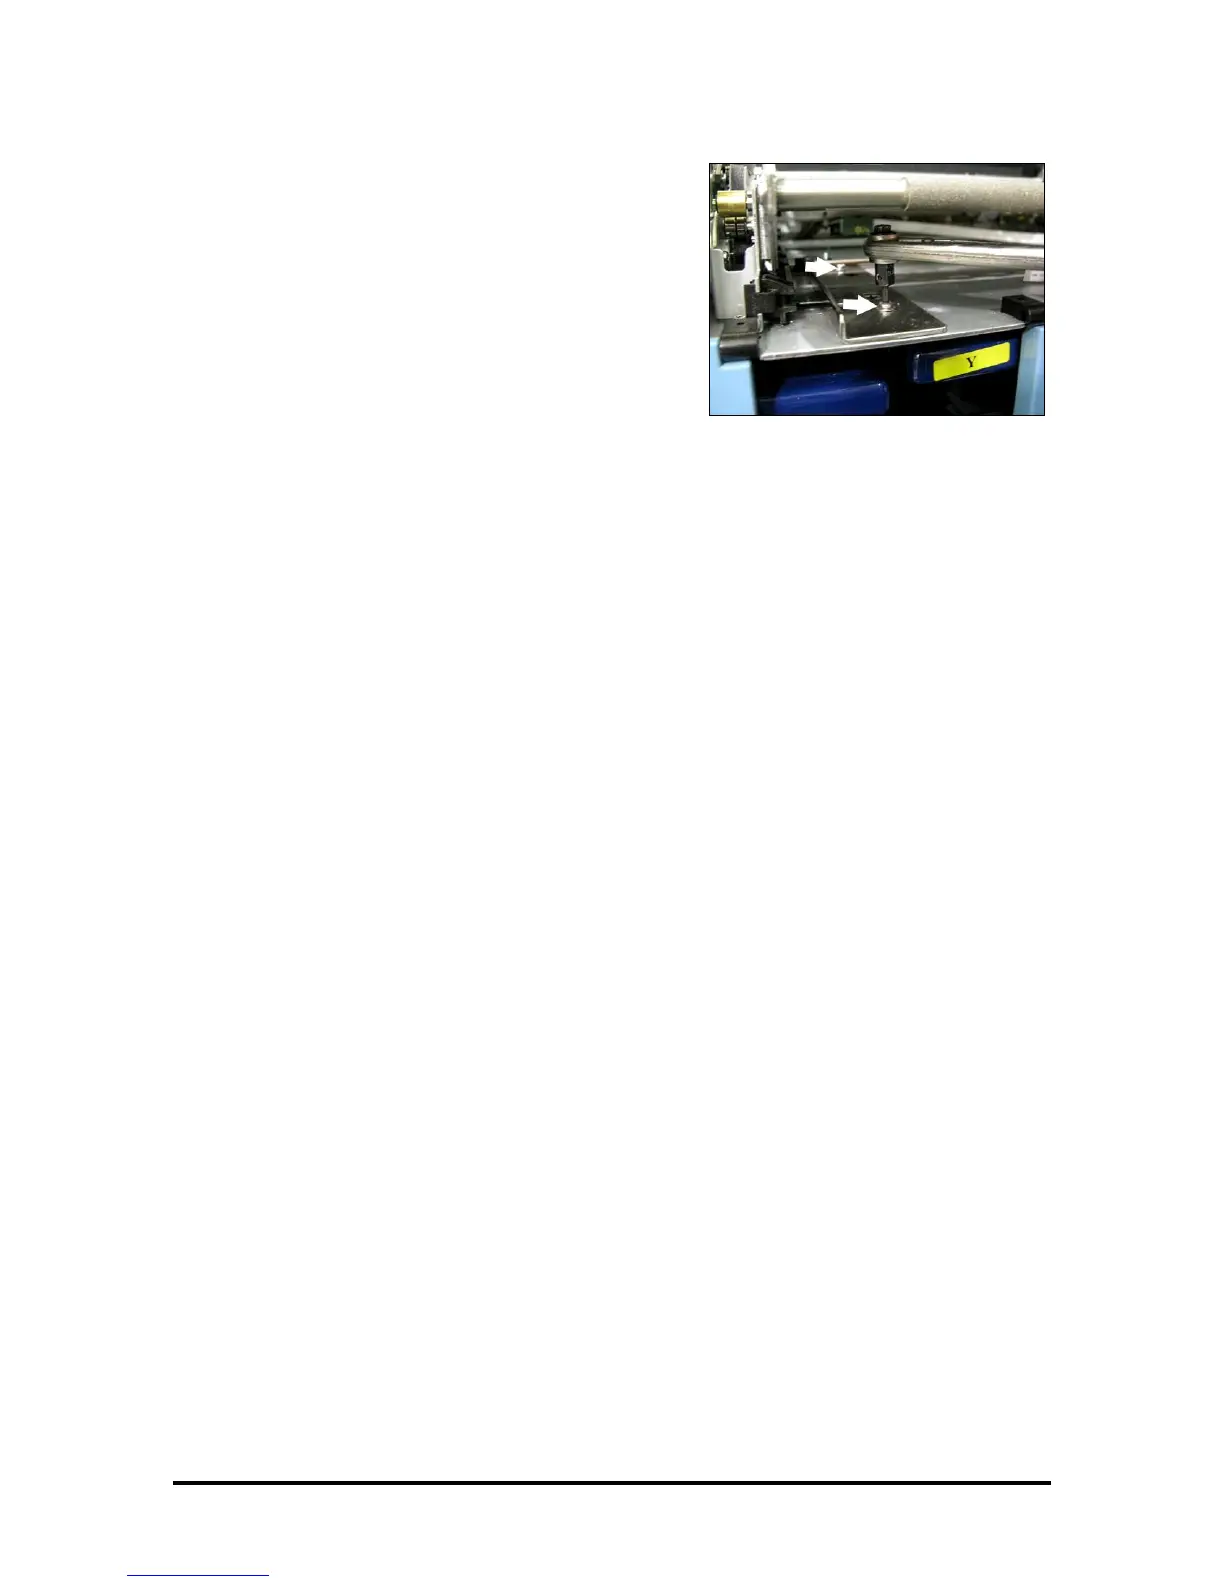
13. While holding the Guide into position; install the two
longer T10 Screws and the Washers that were
included in the kit.
Note: Two washers are used on each screw to prevent
the screw from bottoming out before it is able to
secure the Guide.
Secure each screw fully, then back off just enough so
the Guide can still be re-positioned with only a small
amount of resistance.
CAUTION: DO NOT over-tighten screws.
14. Lubricate the following components; as outlined in the section titled “Lubricating the Service
Station Friction Points”.
The upright edge of the new Service Station Guide
The grove that the Service Station Guide rides in, on the bottom of the Service Station.
The Service Station Sled side rails (they rides in the Service Station Side Rail Tracks)
Service Station Side Rail Tracks (operator and non-operator side)
Lifting Arm Cams (operator and non-operator side)
CAUTION! Be very careful not to get lubrication on the flag (cup) of the Lift Arm
Sensor or any other sensors in the unit.
Worm Gear on Lifting Arm Motor
continued on next page

 Loading...

