APPENDICES
191
4. Drive the Service Station into the slot, just far enough that you have access to the T10 Torx
screw, which is located closest to the exit end of the Guide and printer.
Since the screws that secure the Guide are only slightly snug; this process should allow the Guide
to self-align.
5. Using your Ratchet Wrench and T10 Torx bit, tighten the T10 Torx screw to secure the exit
end of the Guide.
CAUTION: DO NOT over-tighten screws
6. Using the large Gear, drive the Service Station out (exit direction) just far enough to gain
access to the T10 screw located at the inner end of the Guide. Access to this screw cab be
obtained through the Printhead area (top of print-engine); since printhead was removed in a
previous step.
CAUTION: DO NOT over-tighten screws
7. Using your T10 Torx screwdriver, tighten the screw to secure the inside end of the Guide.
8. Make sure the Service Station is still engaged with the Service Station drive gears but not
installed more than 1/4 inch past the drive shaft (BAR).
WARNING! If you manually position the Service Station too far past the drive shaft (BAR) then
the Index Sensor will already be interrupted by the Service Station Sled and the printer will not be
able to determine the location of the Service Station. This will cause Service Station positioning
problems, drive problems and Toolbox error messages.
9. Power up the printer. Turn on the Main Power switch. Then press the ON/Off Button.
The printer should automatically pull the Service Station all the way into the back wall. It will jog
in and out about a small distance, then it will move to the printing or capping position. Watch and
listen for proper Service Station movement/operation.
IMORTANT: If you hear motor stalling noises or grinding noises, the Guide may not have been
aligned properly or there is some other obstruction with Service Station or Lifting Arm drive.
Contact Tech Support for assistance.
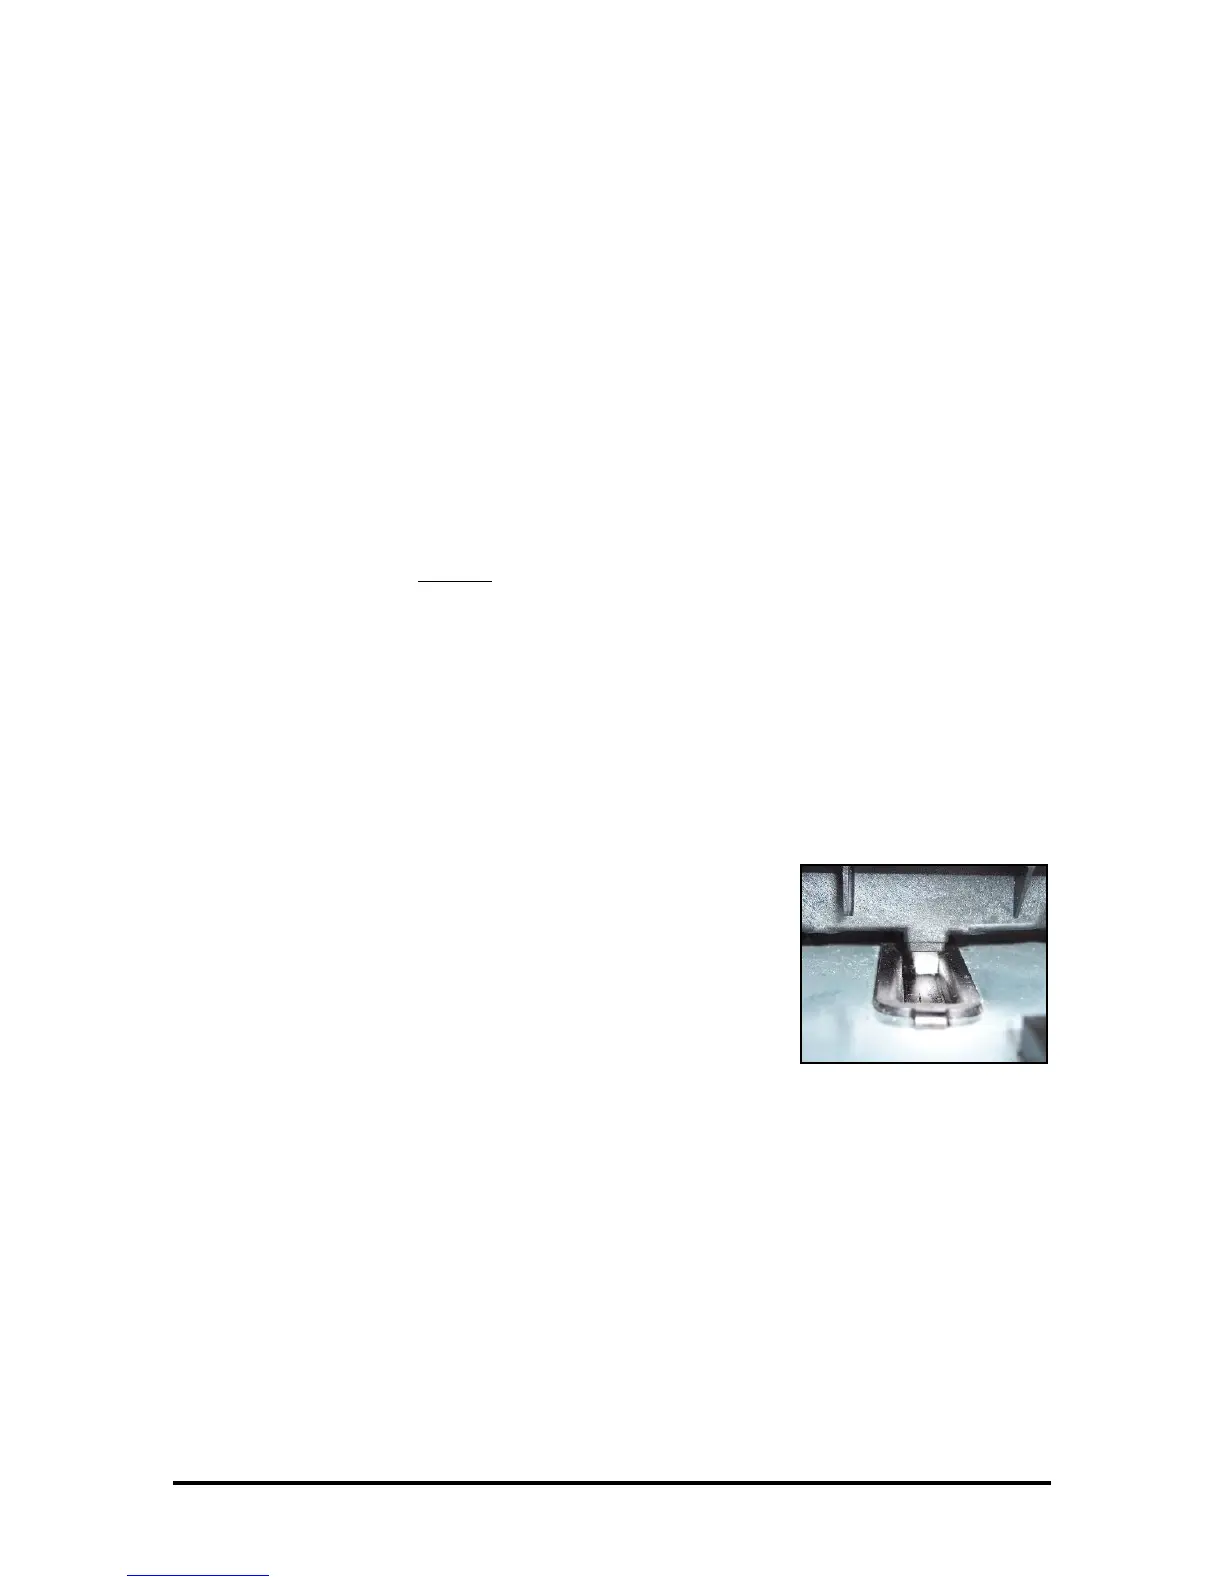
10. Make sure the Wick, which hangs from the bottom of the
Service Station, is hanging into the Trough.
If the Wick sits on the side of the trough, ink will leak into the
body of the printer, onto the Ink Tanks and out of the printer. This
will cause damage to items the ink makes contact with; inside and
outside the printer.
Reposition the wick; as needed.
11. Carefully close the Clamshell. To avoid damage to the system; hold the Latches open until the
Clamshell is closed, then carefully release the Latches to lock the Clamshell.
12. Install the Printhead as outlined in the Operator’s Gide.
Also refer to the “Improved Printhead Priming Procedure”. These documents can be found on the
Knowledgebase and on the Rena Dealer Net site.
13. Re-install the Exit Roller Cover.
14. Close the Ink Tank Door.
15. Close the Top Cover.
16. Test the Printer for proper operation.

 Loading...

