- 113 -
Adjusting Color with a Printer Driver
Windows PCL Printer Driver
1
Open the file to be printed.
2
On the [File] menu, select [Print].
3
Click [Preferences] (or [Properties]).
4
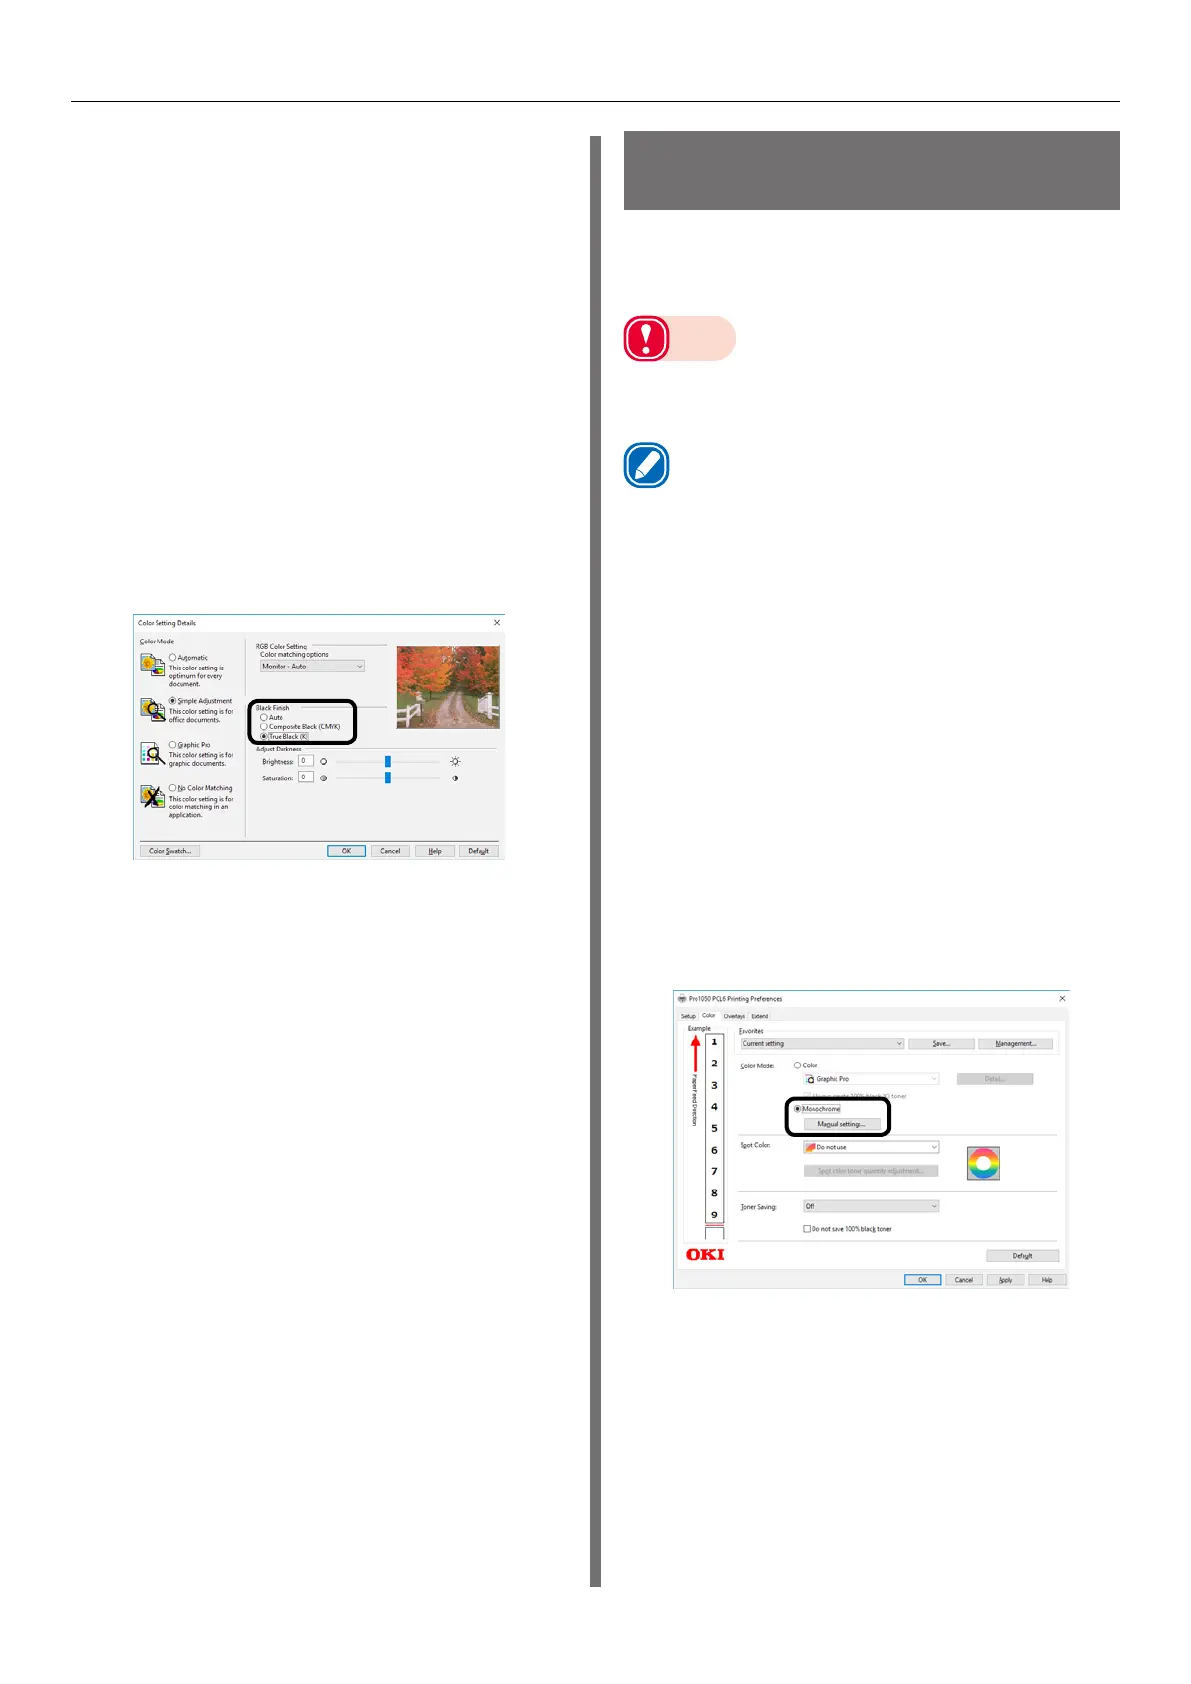
On the [Color] tab, select [Simple
Adjustment] or [Graphic Pro], and then
click [Detail].
5
In the [Black Finish] section, select the
black finishing method. In the [Graphic
Pro] mode, also select ON or OFF for
[Pure Black Text/Graphics], and then
click [OK].
6
Print.
Monochrome
(Black and White) Printing
The color data is printed using grayscale (shades
of black and white) without touching the print
data.
Note
z
If implementing color printing after printing by specifying
"Monochrome", a delay may occur depending on the
temperature adjustment of the fuser unit.
Memo
z
Even if the cyan (blue), magenta (red), yellow print
cartridge life has been reached, monochrome printing
using only black can be done by specifying “Monochrome”.
z
Refer to “Printing Using the Specified Print Cartridge Only
(Lift Up)” (P.80) regarding printing with black only.
z
For information about roll paper, see “Roll Paper
Specifications” (P.12).
Windows PCL Printer Driver
1
Open the file to be printed.
2
Select [Print] in the [File] menu.
3
Click [Preferences] (or [Properties]).
4
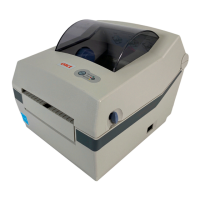
On the [Color] tab, select [Monochrome].
Adjust lightness and darkness as
required.
5
Print.