- 35 -
Calibrating the Sensor
Sensor Calibration
1
Click [Start] and select [Control Panel]
in [Windows System].
2
Click [View devices and printers].
3
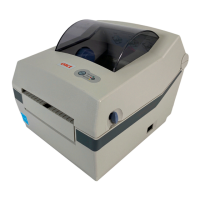
Right-click the [Pro1050 PCL6] icon,
and then select [Printing preferences].
4
On the [Setup] tab, click [User-defined
paper].
5
Input information about the paper you
want to register. To adjust settings that
are already registered, select the names
of the paper from the list in [Registered
user-defined paper].
6
Click [Sensor Adjustment].
Memo
z
[Sensor Adjustment] appears if the following
conditions are met.
- The Media Form is one of the following
Continuous Paper (Black Mark)
Die-cut Label (Gap)
Die-cut Label (Black Mark)
Continuous Label (Black Mark)
- The [Ports] of the printer driver is USB or
standard TCP/IP port
z
Before performing [Sensor Adjustment], make sure
that the printer is “online”.
z
If [Sensor Adjustment] does not appear, advance to
step 12 of this procedure.
7
Click [Next].
Memo
z
Before performing the next steps of this procedure,
make sure that paper is loaded.
z
If there are no paper size settings configured on the
control panel, it may cause a paper size mismatch
on the device. Pressing the <OK> button on the
control panel overwrites the device paper size
setting with the paper size setting in the printer
driver.